In this guide, we’re going to take a closer look at how to install the Genie Smart Hub, step by step. Whether you’re a tech whiz or still figuring out why your coffee maker keeps blinking, I’ll break it down for you in an easy-to-follow manner. So get ready to take your garage door into the future!
What Is the Genie Smart Hub?
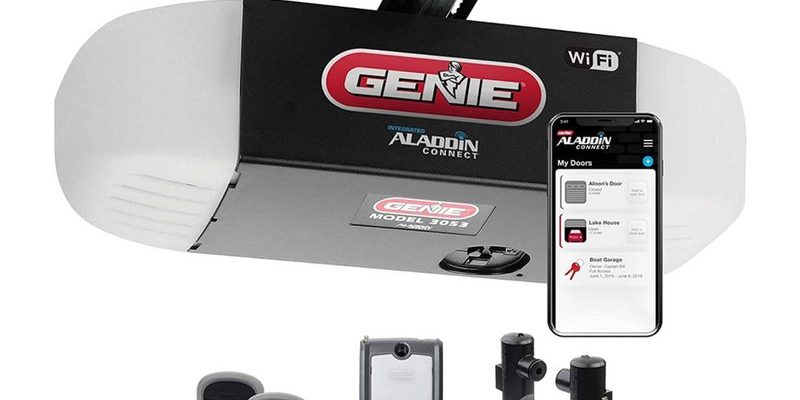
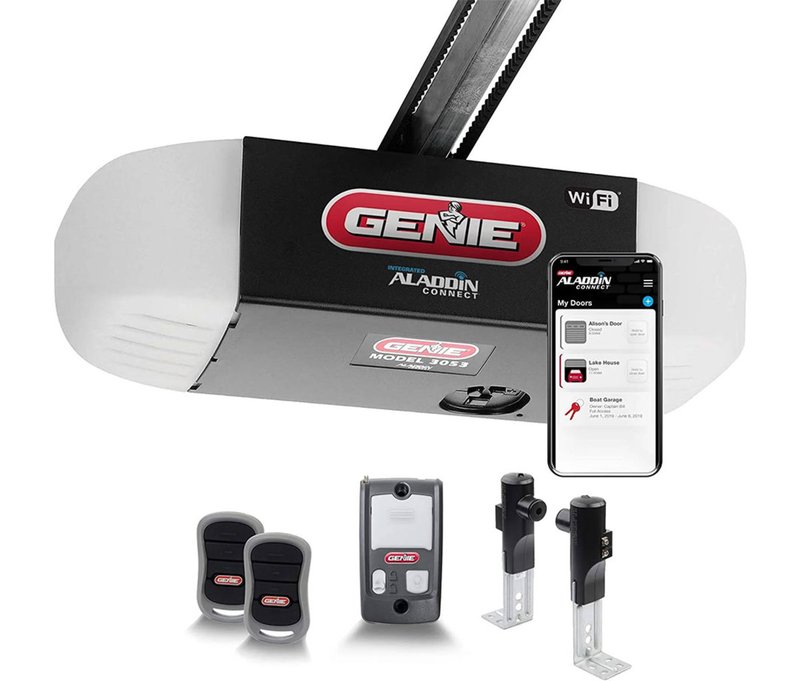
A Genie Smart Hub is a nifty device that connects your existing Genie garage door opener to your Wi-Fi network. This means you can operate your garage door using a smartphone app—no more scouring for remotes that might be buried under a pile of junk in your car. Essentially, the smart hub turns your garage door opener into a smart device that you can control with a tap on your phone.
Installing the Genie Smart Hub will not only add convenience to your life but also enhance your home security. You can receive notifications when your garage door opens or closes and even set schedules. Here’s the thing: it’s not just about convenience; it’s also about peace of mind. You’ll never forget to close your garage again when you can do it from anywhere.
Gather Your Tools and Prepare
Before you dive into the actual installation, let’s gather everything you’ll need. You won’t need much, but having the right tools on hand makes the job smoother. Here’s a short list:
- Genie Smart Hub
- Smartphone with the Genie Aladdin Connect App
- Wi-Fi Network (2.4 GHz supported)
- Flathead Screwdriver
- Phillips Screwdriver
Now, you might be wondering, “Do I need to be a tech guru to install this?” The answer is no! If you can follow a few directions and have a little patience, you’re all set. Bonus tip: it’s best to install the smart hub close to the garage door opener for a strong Wi-Fi signal.
Step 1: Connecting the Genie Smart Hub
Once you have everything ready, the first step is to connect your Genie Smart Hub to your garage door opener. Start by finding a suitable location on the garage opener motor. Look for the terminal blocks on the unit itself—this is where you’ll connect the Smart Hub.
You’ll find two wires with connectors in your Genie Smart Hub’s packaging. First, loosen the screws on the terminal block for the “Safety Sensors” connection (usually labeled). Now, gently insert the connectors into the appropriate terminals, ensuring they’re snug but not overly tight.
Remember, this is a crucial step for syncing your devices. If there’s a loose connection here, it can cause future issues with your remote or app. Overall, just think of it as giving your garage door new “nerves” to communicate better!
Step 2: Powering Up
Now that your Genie Smart Hub is wired up, let’s get it powered on. Plug the Smart Hub into an electrical outlet that’s nearby. You’ll notice a light indicator on the hub that should start blinking, signaling it’s receiving power.
Once powered, it’s time to download the Genie Aladdin Connect app on your smartphone. It’s available on both iOS and Android, so you shouldn’t have trouble finding it. Here’s the thing: you’ll need an account to access its features, so create one if you don’t have it already.
Step 3: Syncing Your Devices
After downloading the app and setting up your account, it’s time to sync your Genie Smart Hub with your garage door opener. Open the app and navigate to the “Add Device” section. Make sure your phone is connected to the same Wi-Fi network that you want your Smart Hub to use.
Here’s where the magic happens: follow the prompt on the app to start the sync process. The app will ask you to hold down the “Program” button on your Genie garage door opener until the light blinks. This step is crucial as it helps the hub and the opener talk to each other. It might take a minute, so be patient!
Once the syncing is complete, your app should recognize the garage door opener. You’ll see a confirmation on your app screen—a big win, right?!
Step 4: Testing Your Garage Door
Testing your newly set up Genie Smart Hub is essential. You want to ensure everything is working flawlessly. With your app now recognizing your garage door opener, press the “Open” button on your screen. If your garage door responds, congratulations—you did it!
If the door doesn’t budge, don’t fret. Troubleshooting can be as easy as checking your Wi-Fi connection or ensuring the connections are secure. Sometimes, it’s just a reset that’s needed. The reset button on your Genie Smart Hub can help in this case; hold it down for about ten seconds and try the sync process again.
Step 5: Enjoying the Benefits
Now that you have your Genie Smart Hub installed and working, let’s talk about the perks. Being able to control your garage door from anywhere opens up a world of convenience. Have you ever forgotten if you closed it on your way to work? With the app, you can check and remedy that in no time.
Another fantastic benefit is setting up alerts. You can receive notifications when your garage door opens or closes—great for keeping tabs on kids or pets. Honestly, it’s like having an extra set of eyes watching over your home.
Not to mention, you can schedule your door to close automatically, which is perfect for those sunset evenings when you might forget to button up.
Troubleshooting Common Issues
Sometimes, even the slickest tech can run into hiccups. If you run into issues, like the Smart Hub not connecting to Wi-Fi, here are a few troubleshooting tips:
- Check your Wi-Fi: Ensure you’re connected to a 2.4 GHz network since some devices may not support 5 GHz.
- Resetting the Hub: If things aren’t working, try resetting the Smart Hub and start the pairing process again.
- Wiring connections: Double-check that everything is snugly connected to the terminal block on your garage opener.
If you’ve gone through these steps and your Smart Hub still isn’t cooperating, consulting the manufacturer’s troubleshooting guide can be a lifesaver.
Installing a Genie Smart Hub can dramatically simplify the way you operate your garage door. From added convenience to enhanced security, it’s a fantastic upgrade for any home. Hopefully, this guide has helped clear up any confusion and made the installation process feel manageable.
Embrace the convenience of controlling your garage door right from your smartphone, and say goodbye to the hassle of lost remotes! Now, go enjoy the smarter side of homeownership with your new Genie Smart Hub. Happy installing!