Whether you have a Craftsman garage door opener or another brand compatible with this type of button, the installation process shares some common ground. It’s a play between connecting wires, mounting the button, and ensuring your remote syncs properly. With just a few tools and a bit of patience, you’ll have that button mounted before you know it.
Gathering the Necessary Tools and Materials
Before you start, it’s essential to gather everything you need. Think of this as prepping for a recipe—you wouldn’t want to start cooking only to realize you don’t have all the ingredients. For the Craftsman wall button installation, you’ll need a few basic tools:
- Craftsman Wall Button: The star of the show.
- Screwdriver: A standard screwdriver will do, but if you have a drill, it’ll speed things up.
- Wire Strippers: These will help you prepare the wires for connection.
- Electrical Tape: Important for securing connections.
- Level: To ensure your button isn’t crooked.
Once you’ve gathered these tools, check the product’s instruction manual. Craftsman usually includes a guide that outlines everything you need to know about installation. Here’s the thing: having this on hand can save you a lot of headaches, especially when troubleshooting later.
Location, Location, Location
Next on our list is picking the perfect spot for your wall button. This isn’t just to show off; it’s about convenience and safety. Ideally, you’ll want to place the button near your garage door but out of reach of children. So, what’s the perfect height? Generally, about 5 feet from the ground works well.
Consider a location that won’t be obstructed by furniture or items in your garage. You’ll want easy access when you’re coming in with groceries or a handful of bags. And, remember, this button can save you from darting back and forth between your car and the button if you set it right. Once you’ve settled on a spot, mark it, and take a moment to ensure it’s level—nobody wants a lopsided wall button!
Wiring The Craftsman Wall Button
Now it’s time to get into the nitty-gritty: wiring. You might think of it like connecting dots—very important dots. First, turn off the power to your garage door opener to avoid any accidents. Safety is key here!
Take your wire strippers and carefully strip about half an inch from the ends of each wire. Here’s the thing: the Craftsman wall button typically has two wires—one for power and the other for the signal. Attach these to the wall button according to the color coding or labeling in your manual. Usually, you’ll connect one wire to the “Common” terminal and the other to the “Open” terminal.
Make sure these connections are snug, and then secure them with electrical tape. This step ensures your connections stay safe and sound. Once you’re done, run the wires back through the wall and connect them to your garage door opener’s control terminal according to its installation guide.
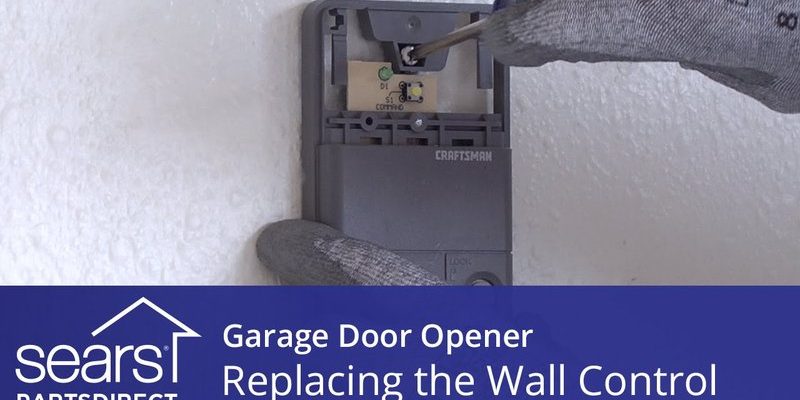
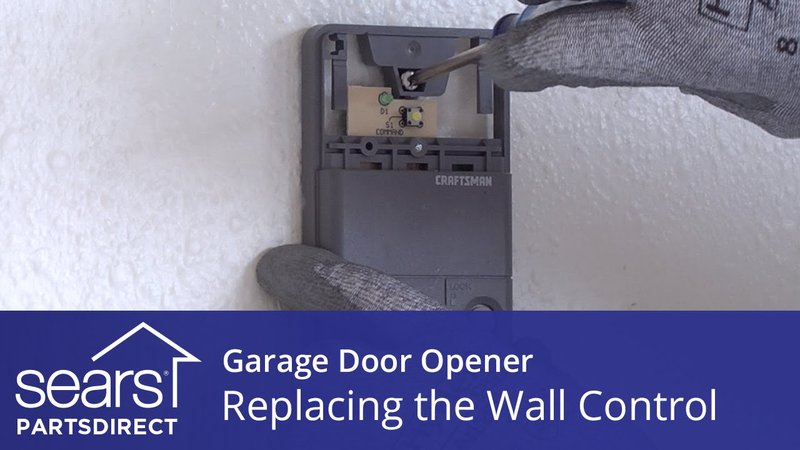
Mounting The Wall Button
After you’ve successfully wired the button, you’ll want to mount it securely. Start by holding the button against the wall in your pre-marked position. Most likely, the Craftsman wall button will have keyholes at the back for easy mounting.
With your screwdriver, drive in the screws (make sure not to over-tighten). Use your level again to double-check that the button is straight. It’s a small detail, but it can make a difference in how professional your installation looks — nobody wants a crooked button spoiling the aesthetic of their garage.
Once securely mounted, double-check the wiring behind the button once more to ensure everything is connected properly, then tuck any excess wire back into the wall.
Powering Up and Syncing The Remote
With the wall button installed, it’s time to power back up your garage door opener. Flip on the circuit breaker, and let’s see if everything is working. You may hear the opener “wake up”—kinda like it’s having its morning coffee!
Next, it’s time to sync your remote to the wall button. Press the button on your Craftsman remote and hold it for a few seconds to allow it to connect with the new wall button. You should see the garage door opener’s lights flash, a good sign that your remote is ready to go. If it doesn’t sync right away, double-check your wiring and connections; there may be a loose wire.
Troubleshooting Common Issues
Sometimes, even the most straightforward installations can throw a curveball. If your wall button isn’t responding, let’s walk through a quick troubleshooting checklist.
– No Power? Check your circuit breaker—did it trip? Sometimes, a simple reset does the trick.
– Remote Not Syncing? Verify the connections again. It is all about making sure those wires are snug.
– Button Sticking? If you find the button is getting stuck or isn’t as responsive, it could be a faulty installation or a response issue with the garage door opener itself. Consider consulting the manual again.
Remember, each issue usually has a straightforward solution, and often it’s just about double-checking your connections or settings.
Enjoy Your New Craftsman Wall Button!
Congrats! You’ve just installed your Craftsman wall button like a pro. It’s amazing what a small device can do. Now, every time you pull into the driveway and push that button, think of all the DIY energy you’re putting into your home.
Having a functioning wall button makes life a lot easier, especially during those rainy days when you’re juggling bags or kids. Just press and drive in without fussing with the remote. So go ahead and enjoy that newfound convenience—it’s the little things that often make the biggest difference.
Whether it’s troubleshooting issues, adjusting the position, or simply getting used to your new setup, remember that you’ve got this. Continue being a DIYer and embrace the convenience that comes with hands-on projects like this. Happy button pressing!