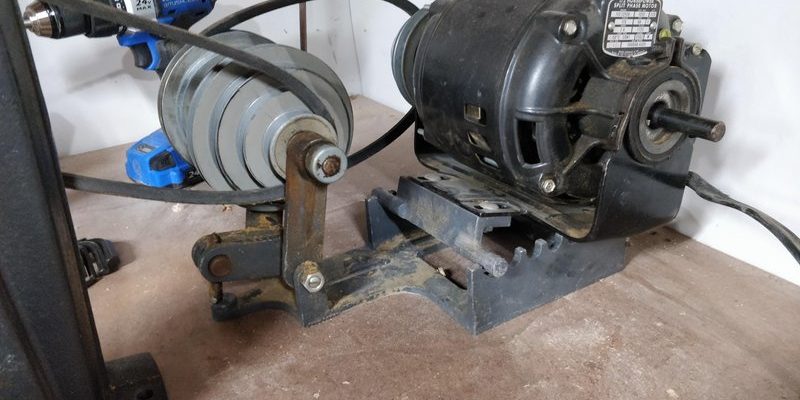
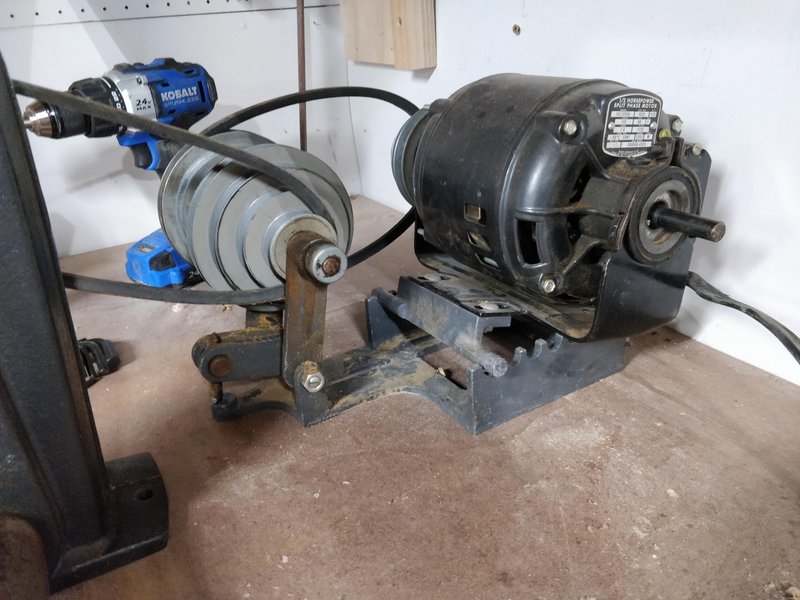
Installing a Craftsman motor unit can be a bit daunting if you’ve never done it before. However, the process isn’t as tricky as it sounds. You’ll be surprised at how straightforward it can be when you take it step by step. Whether you’re upgrading an old motor or replacing a faulty one, you only need a few basic tools and a little patience to get your garage door back to its smooth operation.
In this guide, I’ll walk you through everything you need to know about installing your Craftsman motor unit. From gathering the essential tools to syncing your remote, we’re covering it all. So grab your toolbox, and let’s get started!
Gathering the Necessary Tools and Parts
Before you dive into the installation process, you need to gather a few essential tools and the motor unit itself. Think of this as setting up your workstation before you start a painting—having everything at hand makes the job smoother and more enjoyable.
Here’s what you’ll typically need:
- Socket set: For removing and attaching bolts.
- Screwdriver: Either Phillips or flathead, depending on your motor unit.
- Pliers: These come in handy for bending or holding wires.
- Ladder: If your garage door is high, you’ll need this to reach the motor.
- Safety goggles: Protect your eyes while working.
Once you have your tools ready, make sure you have the correct Craftsman motor unit. Check the model number on your existing motor (if applicable) to ensure compatibility. It’s like getting the right tool for the job; using the wrong unit can lead to frustration and extra work.
Removing the Old Motor Unit
Now that you have everything ready, it’s time to remove the old motor unit. Before we start, remember: safety first! Make sure to unplug the garage door opener or disconnect it from the power source. Here’s how you can remove the unit step-by-step:
1. Disconnect the power: Unplug the unit or turn off the power at the circuit breaker. This step is critical to avoid electrical shock.
2. Remove the mounting screws: Use your socket set to unscrew the motor from its mounting. Keep the screws in a safe place; you’ll need some of them later.
3. Disconnect the door arm: Detach the arm that connects the door to the motor unit. Again, this typically requires a screwdriver or pliers, depending on your setup.
4. Take out the old motor: Once everything is unfastened, carefully lift the motor unit off its rail, making sure not to damage any other components.
Think of this step like prepping a canvas; getting rid of the old motor clears the way for a fresh installation.
Installing the New Craftsman Motor Unit
With the old motor out of the way, it’s time to install your new Craftsman motor unit. This step is similar to assembly—you’re putting together a vital piece of your garage door system. Here’s how to go about it:
1. Position the new motor: Carefully place your new Craftsman motor unit where the old one was located.
2. Secure it: Using the screws from your old motor or the ones included with your new unit, attach the motor securely to the mounting brackets. Make sure it’s level and snug.
3. Connect the door arm: Reattach the arm that connects the motor to your garage door. This is essential for the motor to lift and lower the door effortlessly.
4. Double-check your connections: Go over all your connections to ensure everything is tight. Think of this as making sure the foundation of a building is solid before putting up the walls.
By following these steps, you’re halfway through your installation. Just like baking a cake, each step builds on the last!
Wiring the Motor Unit
Next up is wiring the motor unit, which is a critical step. It’s essential to connect everything properly to ensure smooth operation. Don’t worry, this part is like following a recipe—it might seem complicated, but you just need to blend the right components.
1. Identify the wires: Your new Craftsman motor will have power wires and control wires. Usually, the manual will provide a color-coded diagram.
2. Connect the power wires: Use wire nuts to connect the motor’s power wires to the house wiring. Again, make sure to match colors appropriately: black to black, white to white.
3. Attach control wires: Follow your manual to connect the control wires that communicate with the remote. This step is crucial for syncing your garage door opener with your remote.
4. Secure everything: Make sure no wires are pinched or exposed. A good practice is to use electrical tape for additional security and protection.
Once everything is properly wired, it’s like putting the cherry on top of your cake. You’re nearing the finish line.
Testing the New Motor Unit
Before you declare victory, it’s time to test your new motor unit. You wouldn’t want to find out on the first use that something isn’t working right. Testing ensures everything is running smoothly.
1. Reconnect the power: Plug the unit back into the outlet or turn the circuit breaker back on.
2. Test the remote: Press the buttons on your Craftsman remote to check if the door opens and closes correctly. If it doesn’t respond, don’t panic—check your connections to ensure they’re secure.
3. Adjust the settings: Most Craftsman units allow you to set limits for how far the door opens and closes. Take a moment to adjust these settings according to your garage door’s requirements.
4. Check for smooth operation: Finally, watch the door as it operates. It should move up and down smoothly without any strange noises. If something sounds off, you might need to troubleshoot a bit.
Testing the setup is like giving your new system a warm-up. It’s a crucial step that can save you a headache down the line.
Syncing the Remote
Now for the final touch: syncing your remote with the new motor unit. This step is like giving a new instrument to a musician; it needs to be tuned to play harmoniously.
1. Locate the learn button: Find the “learn” button on your Craftsman motor unit. It’s typically near the wiring connections.
2. Press the learn button: Press it once and you’ll usually see a light indicator that starts flashing.
3. Press the remote button: While the light is flashing, press the button on the remote that you want to use to open the door.
4. Wait for confirmation: Once the motor unit detects the remote, the light will flash or go solid. This means the remote is successfully synced!
With the remote synced, you can now operate your garage door with ease. You’ve done it—you’ve revived your garage door system!
Troubleshooting Common Issues
Even after a successful installation, you might encounter some hiccups. But don’t worry—every new system comes with a learning curve, and troubleshooting is part of the process.
Some common issues may include:
– Remote not responding: If this happens, double-check your wiring and ensure the remote is synced correctly. You might also want to replace the remote battery as a simple fix.
– Door doesn’t close all the way: Adjust the limit settings on your Craftsman motor unit. Sometimes they need fine-tuning after installation.
– Strange noises: If you hear grinding or rattling, shut everything down immediately. Check for any obstructions in the tracks or ensure that all connections are secured.
Remember, troubleshooting is just a part of the installation journey. With patience, you can sort out most issues quickly.
As you can see, installing a Craftsman motor unit isn’t that daunting when you break it down into manageable steps. By following this guide, you’ve not only improved your garage door but also gained confidence in your DIY skills. Now, whether you’re heading out or coming home, you can rely on your garage door to open and close with ease. Happy DIYing!