Safety sensors are crucial for your garage door.
They act like the eyes for your door, preventing it from closing on anything in its path—be it your car, a pet, or even a curious child. This guardrail against mishaps works with your Chamberlain garage door opener remote. Understanding how to install Chamberlain safety sensors can not only save you from potential accidents but also provide peace of mind.
In the following sections, we’ll break down this process step-by-step. We’ll talk about what you need, how to do it, and even some troubleshooting tips because, let’s face it, things rarely go as planned. So, grab your tools, and let’s get to it!
What You’ll Need for Installation
Before diving into the installation process, it’s essential to gather everything you need. Think of it as laying out your tools for that hypothetical couch-lifting session. Here’s a convenient list to get you started:
- Chamberlain safety sensor kit
- Phillips-head screwdriver
- Flat-head screwdriver
- Tape measure
- Drill (if needed)
- Level (for alignment)
Having all of these supplies ready means you won’t have to stop halfway through to find something you forgot. It’s the difference between a smooth project session and a scavenger hunt in your garage!
When you’ve gathered your materials, make sure your Chamberlain garage door opener is unplugged. This is crucial for safety—not just for the installation process but for your peace of mind as you work.
Identifying the Correct Placement for the Sensors
The next step is to figure out where the sensors should go. Think of this as finding the perfect spot for that couch—neither too far from the wall nor too close, making it awkward to move around.
The safety sensors usually go 6 inches above the ground on either side of the garage door. This height ensures they can effectively detect any objects that may be in the way. Use your tape measure to mark this height on the wall.
This positioning is vital because if the sensors are installed too high or too low, they might fail to detect obstacles. Remember to check for any potential obstructions, like shelves or tools hanging around—these nasty surprises can interfere with sensor function!
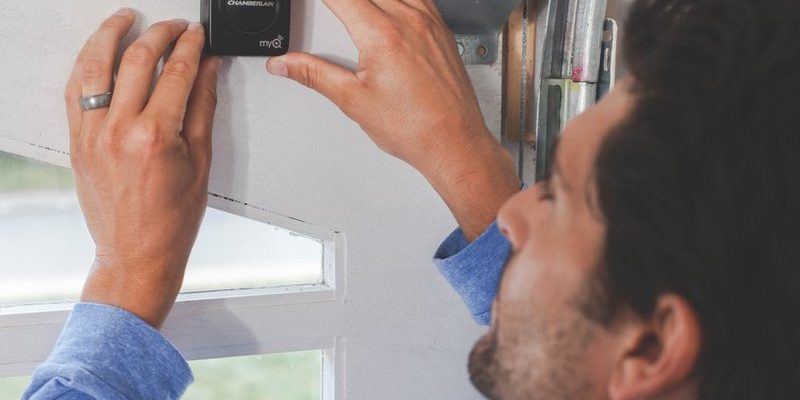
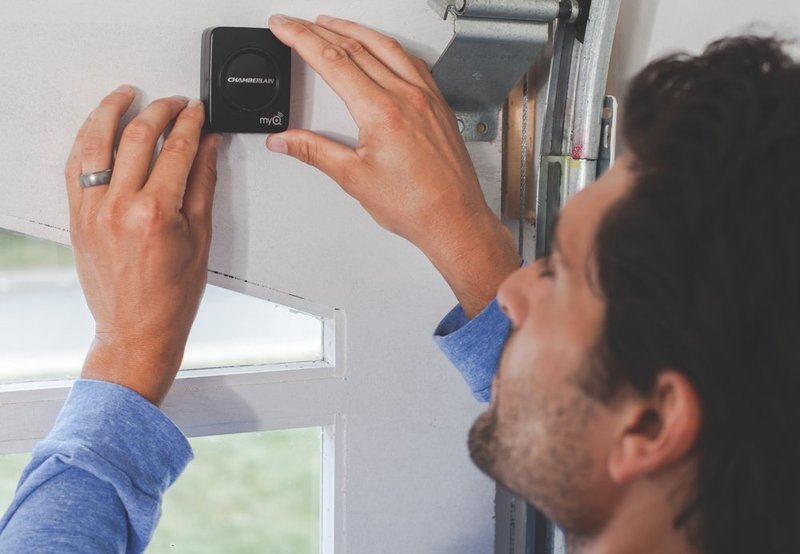
Mounting the Sensors
You’re in the home stretch! Mounting the Chamberlain safety sensors is straightforward. Start by unpacking the sensors from the kit and getting familiar with their parts. You’ll notice there are two sensors: one sends a signal, while the other receives it.
To mount them, follow these steps:
1. Align the sensor to the marked height.
2. Use a level to ensure it’s straight. An angled sensor won’t work properly, and you don’t want that couch to wobble, so to speak!
3. Screw the sensor into place. If needed, drill holes and use wall anchors to ensure a secure fit.
You want these sensors secured well enough that they won’t shift or fall; a little wobble could mean big problems! Repeat this process on both sides of the garage door.
Wiring the Safety Sensors
Now that you have the sensors mounted, it’s time to wire them up. This stage can seem a little intimidating, but take a deep breath—you’ve got this!
Here’s how to connect the sensors to your Chamberlain garage door opener:
1. Locate the wiring terminals on your garage door opener.
2. Connect the wires from the sensors to the corresponding terminals. It usually involves matching colors or placing connectors into specific slots.
3. Double-check your connections to ensure they’re tight and secure.
Once wired properly, consider testing the connections by plugging in your garage door opener to see if the sensors light up. A lit LED typically indicates a healthy connection.
Testing the Safety Sensors
Before you consider the installation complete, it’s essential to run a testing phase. Think of it as giving that couch a trial sit: you want to ensure everything feels right before you settle in for good.
Here’s how to test your Chamberlain safety sensors effectively:
1. Ensure nothing is in the way of the garage door.
2. Close the garage door using your remote.
3. Wave an object (like a broom or cardboard) in front of the sensors while it’s closing.
If everything is working correctly, the door should reverse and open back up when it detects the object. If it doesn’t, there may be an alignment issue or a wiring problem. Don’t panic; this is usually a simple fix!
Troubleshooting Common Issues
Problems can pop up like unexpected guests, especially when you’re knee-deep in a project. Here are some common issues you might face with your Chamberlain safety sensors, plus how to handle them:
– Sensors not lighting up: Check the wiring connections. They might be loose or unplugged.
– Door doesn’t reverse on detecting an object: Make sure the sensors are aligned properly and not obstructed by dirt or debris.
– Door constantly reversing without obstruction: This could indicate a faulty sensor. Try resetting the system to see if that clears the issue.
You might be wondering how to reset the sensors. For most Chamberlain models, you disconnect the power for about 30 seconds and reconnect it. It’s like giving your garage door opener a little nap!
Why Proper Installation Matters
Finally, it’s crucial to acknowledge why proper installation of your Chamberlain safety sensors is non-negotiable. It’s kind of like securing that couch before using it to hold snacks; without proper safety measures, it could lead to an unwanted mess—and we’re not just talking about crumbs!
Safety sensors are critical for preventing accidents, preserving your property, and ensuring the safety of family members or pets around the garage door. An improperly installed sensor can lead to injury and added repair costs. By taking the time to install these sensors correctly, you’re not just doing a task; you’re investing in your home and its safety.
It all comes down to this: take your time, follow the steps, and don’t hesitate to ask for help if you need it. In the end, you’ll have a working set of safety sensors that offer protection and peace of mind!
Remember, you’ve got this. And soon enough, you’ll be enjoying your spacious garage, knowing everything is secure and functioning well.