The Chamberlain is a well-known name in garage door openers, renowned for its reliability and user-friendly features. Whether it’s a remote with simple buttons or an app that connects to your smartphone, Chamberlain systems are designed to make your life easier. Before you start the installation, let’s take a deep breath and dive into the steps together. You’ll be a pro in no time!
Gathering Your Tools and Parts
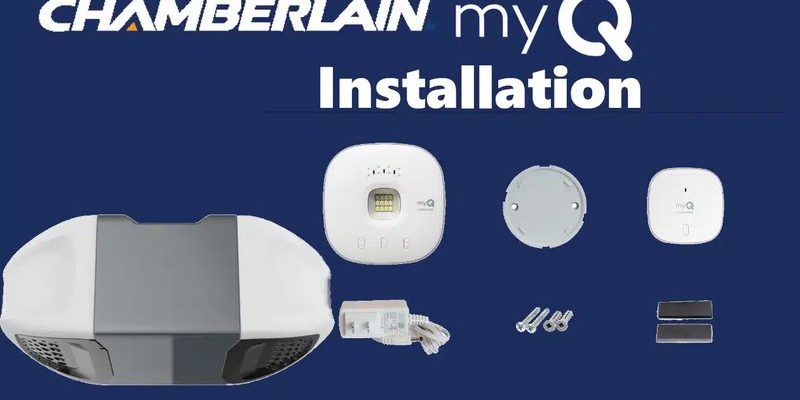
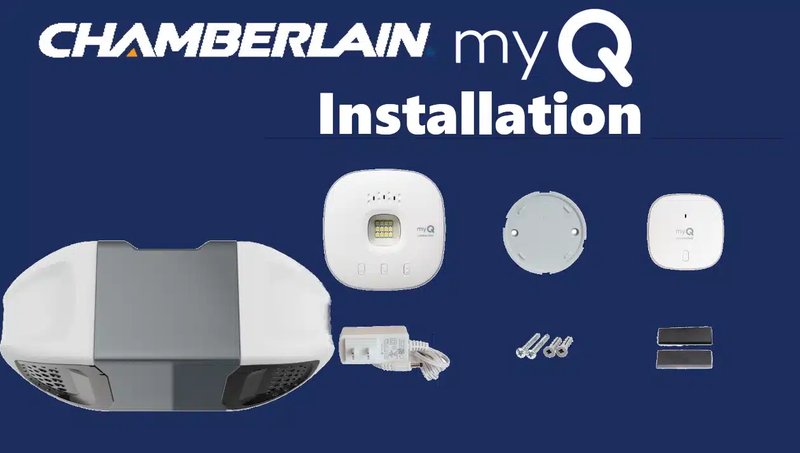
Before you launch into the installation, it’s essential to check you have everything you need. Picture gathering all your ingredients before whipping up a delicious meal; it just makes the process smoother. For the Chamberlain motor unit installation, here’s a handy list of what you might need:
- Chamberlain motor unit kit
- Safety goggles
- Drill with drill bits
- Screwdriver (both Phillips and flathead)
- Tape measure
- Ladder
- Level
Having these tools ready means you won’t have to break your flow to run to the hardware store mid-installation. It’s all about keeping things easy and efficient!
Preparing Your Garage Door
Now that you have your tools, it’s time to prepare your garage door for the installation. Ensuring everything is in top shape is like warming up before exercise. This preparation helps avoid any nasty surprises later.
First, disconnect the power to your garage door opener. This might seem like a small step, but it’s crucial for your safety. After that, check the door’s tracks for any dirt or obstructions. A clean path allows your door to operate smoothly. If there are any mechanical issues, like a squeaky hinge or misaligned tracks, try to fix them before moving forward. This will save you headaches down the road.
Here’s the thing: if your garage door is heavy or you notice any problems, it might be best to call in a professional. Safety first!
Mounting the Motor Unit
Now comes the fun part—installing the motor unit itself! Positioning it correctly is key to smooth operation. Follow these steps to mount it securely to the ceiling of your garage:
1. Find the right spot: Measure about 8 feet from the floor to the bottom of the motor unit. This is typically around the center of the garage door’s width.
2. Mark the mounting holes: Use a pencil to mark where you’ll attach the unit. If the unit has a bracket, ensure it’s level; otherwise, your door might not open or close properly.
3. Drill the holes: Carefully drill into the ceiling where you’ve made your marks. Make sure to use appropriate anchors if you’re drilling into drywall or concrete.
Once your unit is mounted securely, give it a gentle tug to ensure it’s stable. If it wobbles or feels loose, it could lead to concerns later. Double-check this step; a solid mount sets the foundation for successful operation.
Connecting the Garage Door Arm
With the motor unit in place, it’s time to connect the garage door arm. This piece acts like a bridge between your motor and the door, translating those motor movements into door movements.
1. Attach the arm to the motor unit: Follow the instructions to attach the arm to the motor unit. Generally, this involves slotting it into the appropriate groove and securing it with bolts and nuts. Don’t forget to use the washer here.
2. Connect to the door: The other end of the arm connects to your garage door. Make sure this connection is snug but allows for some movement. This way, your garage door can open and close without resistance.
Here’s a tip: frequently check that both ends of the arm are secure. You don’t want it coming loose when you’re in a rush to head out the door!
Wiring and Electrical Connections
Next up is the wiring. Think of this like the nervous system of your motor unit. You want to ensure everything is connected correctly so it can operate smoothly.
1. Connect the power: Make sure the motor unit is plugged in and the power is restored (if you had previously disconnected it).
2. Wire the safety sensors: These sensors are crucial for preventing the door from closing on anything in its path. Install them about 6 inches above the ground, one on each side of the door entrance.
3. Verify connections: Check all wire connections from the motor unit to your power source and any remote controls you’ll be using. Ensuring these connections are solid can save you troubleshooting time later.
If you’ve ever twisted your own hair into knots, you know that every little strand matters. The same goes for these connections—make sure they’re tidy and secure!
Program Your Remote Control
Once everything is connected, it’s time to program your remote control. This step makes all your hard work pay off. If you’ve ever synced your phone to Bluetooth, you already have a good grasp of what’s next!
1. Activate the motor unit: Press the “Learn” button on the motor unit (normally located on the back or side).
2. Press the remote button: Within 30 seconds, press the button on your remote control that you’d like to use. You should see a light blink on the motor unit, indicating that it has recognized the remote.
3. Test the remote: Stand back and press the button again to see if the garage door opens or closes. If not, you may need to reset it and try again.
This step is crucial! If the remote doesn’t work, check the battery and try reprogramming following the same steps.
Troubleshooting Common Issues
Even the best garage door motors can run into hiccups, so it’s good to be prepared! Let’s address some common issues you might face after installing the Chamberlain motor unit.
Door doesn’t respond: If your garage door isn’t responding to the remote, start by checking the power supply. Is the motor plugged in? Did the circuit tripped? Also, ensure the remote’s battery is fresh.
Unexpected stops or reversals: Sometimes, the door might stop working or reverse direction mid-cycle. This usually indicates that the safety sensors are misaligned or blocked, so give them a quick check. Clear away any dirt or objects that might be obstructing them.
Unusual noises: If your garage door makes strange grinding or clunking noises, it could indicate a misalignment with the tracks or that the door needs lubrication. A little grease on the hinges and rollers can often fix this.
Understanding these common issues helps you troubleshoot like a pro. After all, who wants to get stuck in the garage when you’re running late?
Final Thoughts on Installation
Congratulations! You’ve just tackled the installation of your Chamberlain motor unit. Honestly, it may seem a bit daunting at first, but piece by piece, you’ve made it through. It’s not just about getting the job done; it’s about making your daily life easier and more efficient. With a little patience and practice, you can take on more DIY projects around the house!
Remember, even if you hit a snag or two, it’s all part of the learning process. Rest assured, whether you’re using a remote or scheduling your garage door through an app, you’ve set the stage for your garage door to operate reliably for a long time. Enjoy the freedom of coming and going with ease!