Chamberlain is known for its reliable garage door openers, which come with features that make your life easier, like remote access and smartphone integration. Whether you have a chain drive or a belt drive model, the installation process follows similar steps. So grab your tools, roll up those sleeves, and let’s dive in!
Gather Your Tools and Materials
Before starting the install, ensure you have everything in place. You don’t want to get halfway through the process and realize you left your tools in the garage (which is already locked up). Here’s what you’ll need:
- Drill with drill bits
- Screwdriver (both flat-head and Phillips)
- Level
- Tape Measure
- Ladder
- Safety Glasses and gloves
- Your Chamberlain garage door opener kit
Once you have your tools, find a clear workspace in the garage to lay out your opener and its components. This setup will help you keep track of everything as you work through the installation process. After all, nobody wants to step on any stray screws!
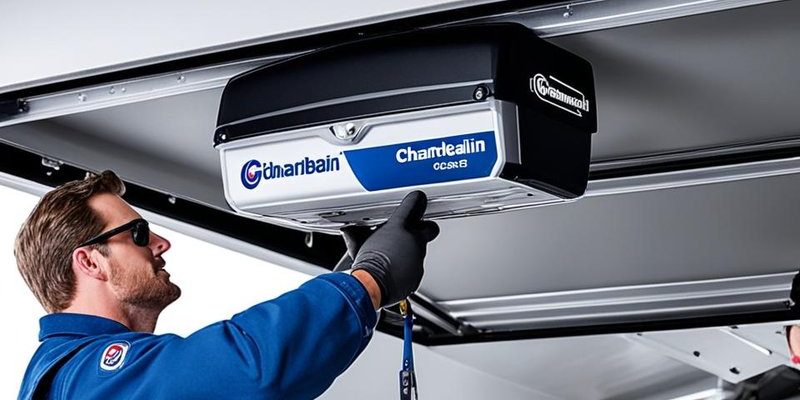
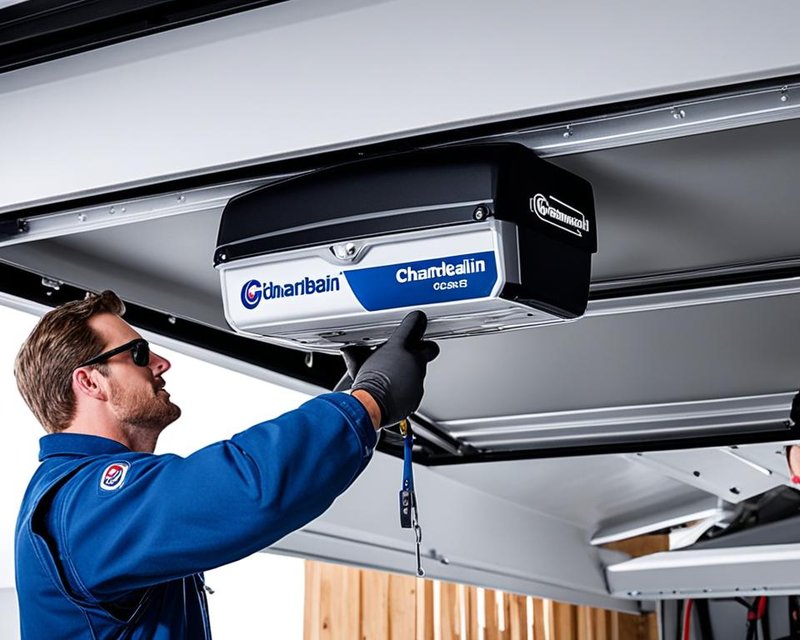
Understand the Parts of Your Chamberlain Opener
Before getting started, get familiar with the parts of your Chamberlain garage door opener. It’s like knowing the ingredients before baking—important for a successful outcome! Here’s a quick rundown:
- Motor Unit: This is the powerhouse that pulls or pushes the door up and down.
- Rail: It guides the door. Think of it as the track—keeping everything in line.
- Control Panel: Where you’ll set your preferences and manage settings.
- Remote Control: Your ticket to easy access. It’s like having magic powers over your garage door!
Understanding these parts will help you visualize the installation process. Plus, if something goes wrong later, you’ll know which piece to troubleshoot.
Remove the Old Garage Door Opener
If you’re replacing an existing opener, it’s essential to remove it completely before installing your new Chamberlain model. Here’s how:
1. Disconnect Power: Safety first! Unplug the old unit from the electrical outlet.
2. Remove the Mounting Brackets: Use your screwdriver to take out the screws that hold the old opener in place.
3. Detach the Rail and Door Arm: Carefully separate the opener from the garage door by removing the door arm.
4. Take Down the Motor Unit: With the help of a ladder, lift the old motor unit down.
Keep in mind to document where anything comes from—taking pictures can be a lifesaver! Once it’s all out, give the area a quick clean-down, making way for your new champ—the Chamberlain garage door opener.
Install the Rail Assembly
Now that you’re ready to bring in the new starter, let’s install the rail assembly. This step is crucial as it directly affects how smoothly your door operates. Follow these steps:
1. Attach the Rail to the Motor Unit: Align the rail vertically with the motor unit and insert the connecting screws using your screwdriver. Make sure it’s secured tightly.
2. Connect Rail to the Garage Ceiling: Use the brackets and mount the rail to the ceiling, following the manufacturer’s instructions. Don’t forget to check if it’s level; a crooked rail means a crooked door!
3. Adjust Depending on Door Height: Each garage is unique, so adjust the rail’s height for the door’s measurements.
If installation gets tough, remember—take a break to clear your head. Like assembling furniture, sometimes it just takes a little patience!
Connect the Garage Door Arm
At this stage, we’re set to attach the garage door arm. This is what connects your door to the opener, so let’s make sure it’s done correctly:
1. Attach the Door Arm to the Garage Door: Take the door arm and connect it at the midpoint of the garage door using the appropriate hardware included in your kit.
2. Secure to the Rail: Next, affix the other end of the arm to the rail. This ensures that when you activate the opener, the door will open and close properly.
3. Test the Movement: Manually lift the door to check for smoothness. Everything should glide easily—the last thing you want is a stuck door!
If you experience resistance, make adjustments to the arm placement. Getting this part right is essential for future use.
Wire and Configure the Opener
You’re almost there! Now, it’s time to wire and configure your Chamberlain opener. This may sound technical, but it’s quite manageable if you take it step by step:
1. Connect the Power: Plug the unit back into the electrical outlet. Ensure the power cord doesn’t get pinched or trapped in the door’s path.
2. Attach Safety Sensors: These are crucial for safety. Install the sensors about six inches above the ground on either side of the door, ensuring they line up directly across from each other.
3. Program the Control Panel: Follow the instructions in the manual to set up your preferred settings and pair your remote. Test it out to see if it responds correctly.
Check that all cables are tidy and securely attached. If you encounter a hiccup, refer back to the troubleshooting section in the manual.
Perform Final Adjustments and Testing
Now that everything is installed, let’s wrap it up with final adjustments and testing. This is like the final touches on a painting—you want everything to be just right:
1. Adjust the Force Settings: This control makes sure your garage door doesn’t slam down or require too much force to open.
2. Test the Safety Features: Check that your safety sensors are working by obstructing the path of the closing door; it should stop immediately. If it doesn’t, troubleshoot again!
3. Run a Final Test: Open and close the door using the remote several times to ensure everything runs smoothly.
Performing these checks gives you peace of mind and ensures the investment you made in your Chamberlain garage door opener is set for reliable, safe use.
What To Do If Something Goes Wrong
Even if you followed each step neatly, sometimes things don’t work out perfectly. Here’s where troubleshooting comes into play. Common issues might include:
– The Door Won’t Open: Check the power connection and ensure the remote is working. If the issue persists, consult the manual for any reset instructions.
– Noise or Jerking Movement: This may suggest misalignment of the rails or door arm. Inspect and realign as necessary.
– Remote Not Responding: If your remote isn’t communicating, try changing the battery and re-syncing it with the opener.
Remember, every problem has a solution, and you’re more than capable of figuring it out with a bit of patience and the right guidance.
Closing this chapter, your Chamberlain garage door opener should now be installed, making your life a tiny bit easier. So enjoy your newfound convenience! Whether you’re racing home with groceries or heading out for a weekend, your garage door is ready to roll whenever you are. Happy opening!