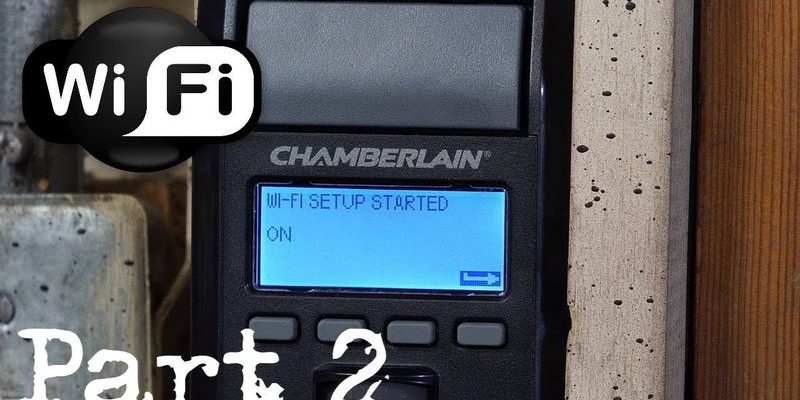
Before diving into the installation, you should be familiar with the Chamberlain brand. Chamberlain is known for its user-friendly garage door openers and a wide range of accessories. The control panel typically allows you to open the door, manage settings, and even program additional remotes—kind of like the remote control for your favorite TV show, but for your garage. Let’s get started!
Gathering Your Tools and Materials
Before you jump into installing your Chamberlain control panel, you need to gather a few tools and materials. This preparation acts as the foundation for your DIY success. Here’s what you’ll typically need:
- Chamberlain control panel
- Screws and anchors (if not included)
- Power drill or screwdriver
- Wire stripper (if necessary)
- Level (to ensure straight placement)
- Measuring tape
Having all these items handy will make the installation process smoother. Think of it like setting up a workspace for a craft project—you wouldn’t want to get halfway through without your scissors! Also, check the instructions that came with your control panel, as they may specify specific tools or materials unique to your model.
Powering Down the Garage Door Opener
It’s vital to power down your garage door opener before starting the installation. This step is like turning off the stove before you start cooking. You would rather not accidentally activate the garage door while you’re working on it, right?
To power down, unplug the garage door opener from the electrical outlet. If you need to access wiring for hardwired models, switch off the circuit breaker that controls your garage door opener. This precaution ensures safety and prevents any surprises—like the door unexpectedly closing while you’re in the middle of installation.
Removing the Old Control Panel
If you’re replacing an old control panel, you’ll need to remove it carefully. Start by unscrewing the existing panel from the wall. Keep track of the screws; it helps to avoid losing them.
Once it’s detached from the wall, gently pull the wiring away from the old panel. If you notice any dirt or wear on the wires, it might be a good time to check them for any damage. Just like you wouldn’t want to serve a dish with spoiled ingredients, your installation will benefit from clean, functional wiring.
Connecting the Wires to the New Panel
Now comes the fun part: connecting your new Chamberlain control panel. First, make sure to identify the wires. You’ll typically see two colors—red and white. Red is usually the power wire, and white is for the door control.
Make sure the exposed wire ends are stripped if they haven’t been already. It’s like unwrapping a present—get to the good stuff! Then, match the wires from the wall to the new control panel:
1. Connect the red wire to its corresponding terminal.
2. Connect the white wire to its corresponding terminal.
Check your instruction manual for specific details, as models may vary. A secure connection will ensure your new control panel works effectively. If everything looks good, move on to the next step.
Mounting the Control Panel
With the wires securely connected, you can mount your new Chamberlain control panel. This step is akin to hanging a picture—getting it just right adds sleekness to your garage’s appearance. Use your level here to ensure that the panel is straight. Misalignment seems minor but can be a visual distraction.
Once you find the right spot, mark the holes for your screws using a pencil. Use a power drill or screwdriver to fasten the panel to the wall. If the screws provided don’t seem to grip well, consider using anchors to provide extra support. Your control panel should be sturdy and ready for use, like a well-placed picture frame.
Powering Up and Testing
Now it’s time to power up your system again. Reconnect your garage door opener to the electrical outlet or flip the circuit breaker back on. You’ll want to watch your panel like a hawk during this step.
After powering up, test the new control panel. Press the “Open” button and see if the garage door responds. If it doesn’t open, double-check your wiring connections. Sometimes, even slight irregularities can cause issues. Keeping your expectations realistic helps; you might need to fiddle with it before it functions perfectly.
Final Adjustments and Troubleshooting
After confirming everything is working, take a moment to fine-tune the settings if your model allows for it. This might include adjusting the travel limits or setting the close timer. Look for instructions in your user guide, as some models come with unique features.
If you encounter any issues, here are a few troubleshooting tips you can try:
- Check for any loose connections.
- Inspect the wiring for damages.
- Make sure batteries (if applicable) are fresh.
- Look for interference from nearby electronics.
Remember, being patient during troubleshooting can lead to a smooth outcome. It’s like solving a riddle; sometimes you just need to approach it from a different angle.
Enjoy Your New Control Panel
Congratulations on successfully installing your Chamberlain control panel! Not only have you updated your garage system, but you’ve also learned a valuable skill. Remember, every time you press that button and hear your garage door smoothly open up, you’ll have a little sense of pride knowing you did it yourself.
If you find yourself needing help in the future—whether it’s about syncing your remotes or adjusting settings—don’t hesitate to refer back to your manual or search for solutions. Embrace the journey of DIY home improvements; you’ll find it both rewarding and empowering.