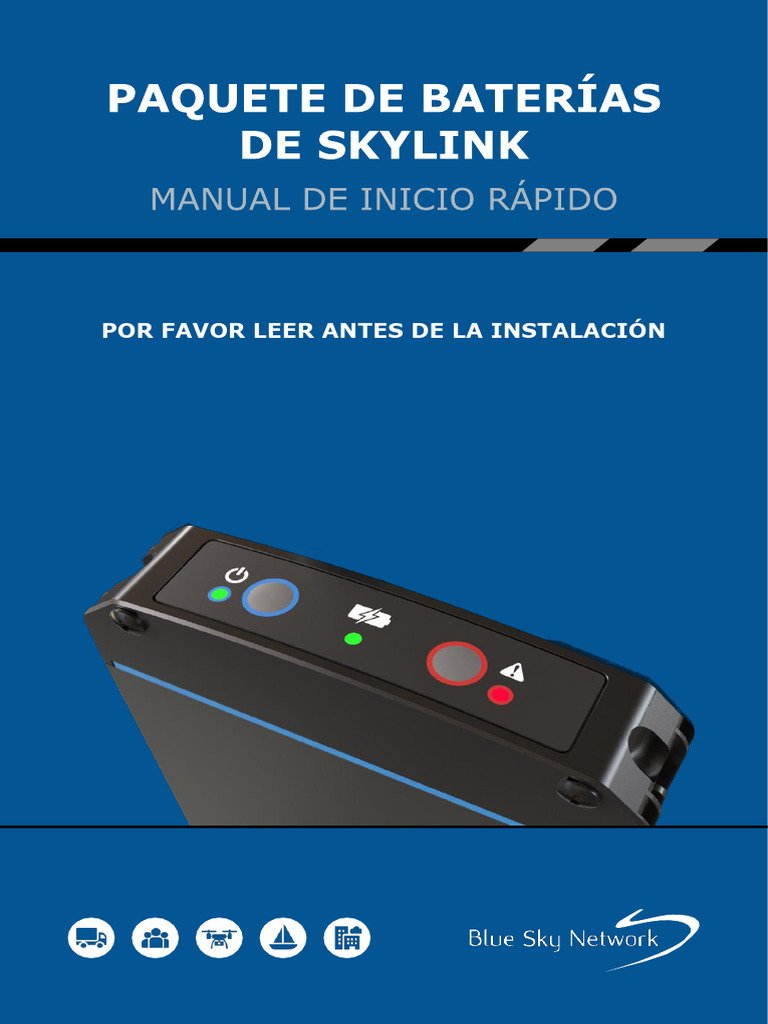
You might be wondering why battery backups are so important. Well, they keep your garage door working even during power outages. Imagine getting home in the middle of a storm, only to find the power’s out, and your garage door won’t budge. Not a fun scenario, right? Thus, understanding how to fix your Skylink battery backup is key to hassle-free home access. Let’s dive in!
Understanding Your Skylink Battery Backup System
When you look at your Skylink battery backup, it might seem straightforward, but there’s quite a bit going on behind the scenes. This system includes a rechargeable battery that provides power when your main electricity supply fails. Think of it as the insurance policy for your garage door; it ensures that no matter what happens with your home’s power, your garage door remains operable.
There are generally two main types of batteries you might encounter: lead-acid batteries or lithium-ion batteries. Lead-acid batteries are more commonly found in older models, while newer Skylink openers are increasingly using lithium-ion technology for their longer life and lower maintenance needs. Understanding which type you have can help determine the best way to troubleshoot and fix any issues.
If your battery backup light is flashing or not lighting up at all, it’s a sign something isn’t right. These indicators are essential for diagnosing the problem, much like the warning lights on your car’s dashboard. Before jumping into any fixes, you’ll want to make sure you’re familiar with these indicators.
Common Issues with Skylink Battery Backup
So, what kind of problems should you look out for with your Skylink battery backup? Here are a few of the most common issues:
- Battery Not Holding Charge: This is a prevalent issue; sometimes the battery simply loses its ability to hold a charge.
- Indicator Light Malfunctions: Whether it’s flashing or not working at all, the indicator lights can give you valuable clues.
- Remote Pairing Problems: If the battery backup isn’t syncing with your remote, this can render your whole system useless.
- Corroded Connections: Over time, connections can corrode, leading to poor performance.
By being aware of these common issues, you can identify what might be affecting your battery backup more quickly. Now, let’s talk about how to tackle these problems step by step.
Step 1: Inspecting the Battery
First things first: you’ll want to inspect the actual battery. This is a crucial step in figuring out if the battery is indeed your problem. Here’s how you can do that:
1. Turn off the Power: Before you begin, ensure that the power to the garage door opener is completely turned off for safety.
2. Locate the Battery Compartment: Usually, this is situated at the back or side of the garage door opener.
3. Remove the Battery: Carefully take it out, avoiding any damage to the connectors.
Once you have the battery out, you can look for any visible signs of wear or damage. If the battery feels significantly lighter than normal, it could mean it’s no longer holding a charge, which is a sign it may need replacing.
Step 2: Testing Battery Charge Levels
Next, you’ll want to check if the battery holds a charge. Here’s how to do that:
1. Use a Multimeter: If you have one lying around, set it to the DC voltage setting. Connect the multimeter leads to the battery terminals.
2. Read the Voltage: A fully charged lead-acid battery should show around 12.6 volts. For lithium-ion, around 15.4 volts indicates a healthy charge.
If the readings are significantly lower, it’s time to consider replacing your battery.
Step 3: Cleaning Connections
Sometimes, it’s not the battery itself that’s the issue but the connections. Over time, connections can corrode or become rusty, impeding the flow of electricity. Here’s what to do:
1. Inspect the Connectors: Look for any visible corrosion or dirt.
2. Clean Them Up: Use a mixture of baking soda and water to scrub off any corrosion, or use a small wire brush if needed. Make sure to dry everything afterward, as moisture isn’t a friend to electronics.
Clean connections can often resolve issues with syncing your battery backup to the rest of your garage door system.
Step 4: Resetting the System
If you’ve cleared up the battery and cleaned the connections, but the problem persists, you might want to reset the system. Here’s how to do that:
1. Find the Reset Button: This is typically located on the main unit of the garage door opener.
2. Press and Hold: Hold the reset button for about 10 seconds; you’ll see lights flash, signaling a successful reset.
After resetting, try pairing your remote again to see if it syncs up properly.
Step 5: When to Replace Your Battery
If after the previous steps your battery backup is still acting up, it might simply be time to replace the battery. Here are some signs that you need to get a new one:
- Age: If your battery is over 3-5 years old, it’s likely at the end of its lifespan.
- Recurrent Issues: If you keep having problems despite cleaning and resetting.
- Physical Damage: If you see bulging or leakage, it’s absolutely time to replace.
Having a fresh battery can ensure that your garage door opener works smoothly, giving you peace of mind.
Dealing with a Skylink battery backup can seem daunting, but breaking it down into manageable steps makes it much more approachable. From checking the battery’s charge to cleaning connections, these guidelines ensure your garage door remains a reliable access point to your home in any situation.
Remember, regular maintenance can save a ton of hassle down the line. If problems continue, don’t hesitate to consult a professional. Your garage door opener is a critical part of your home, and taking care of it will keep your life running smoothly!
