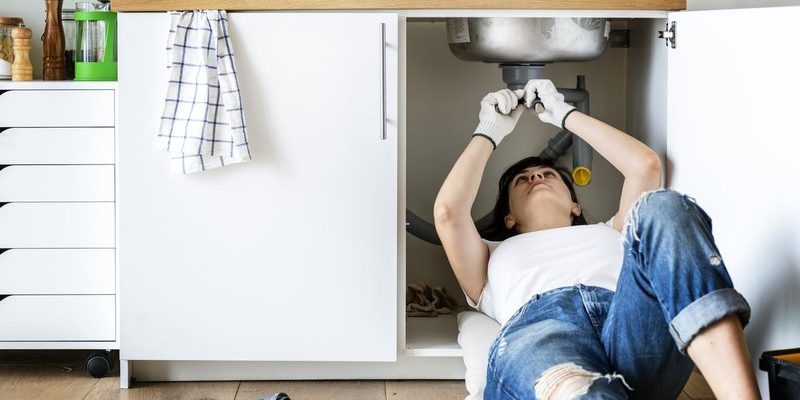
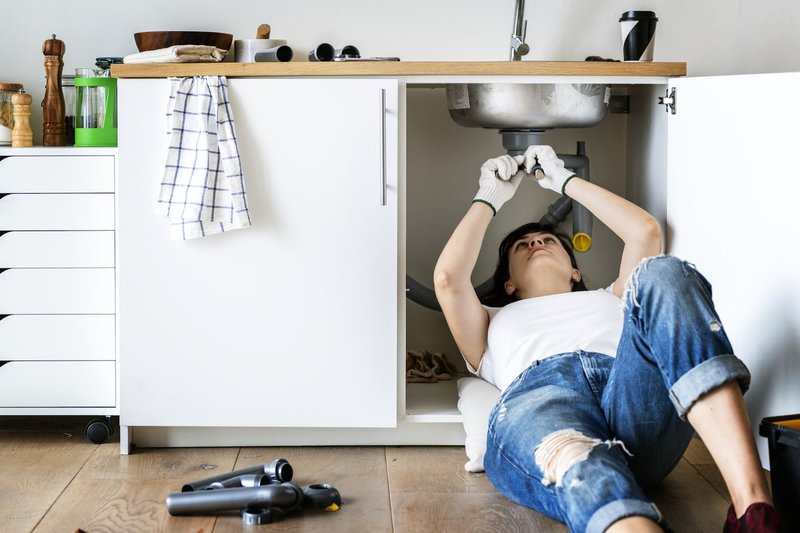
When it comes to Sears garage door openers, they often come with a keypad or a remote. If you’ve got a Sears Craftsman garage door opener, you’re in good company. These units are reliable but can sometimes require a little TLC. In this guide, we’ll walk through the common problems associated with these units and how you can bring them back to life. Whether you’re familiar with tools or are just dipping your toes into DIY repairs, I’ve got your back.
Common Issues with Sears Motor Units
Many of the problems that arise with Sears motor units can seem daunting at first, but knowing what to look for can help you navigate through them. Power issues are often the first culprits—if your opener won’t respond at all, it might not be getting power. This could stem from a tripped breaker, worn-out wiring, or a faulty outlet. Check these possibilities before moving on to the more complex components.
Another frequent issue is remote communication. Your remote might be out of sync with the motor unit, leaving you fumbling with buttons that don’t work. It’s like trying to send a text but finding your phone out of service. When your remote isn’t paired correctly, it can be frustrating. If your garage door starts to open but then stops halfway, it could be because of a misaligned *safety sensor* as well.
Finally, don’t overlook mechanical problems. The garage door opener motor itself can have physical issues. Gears might be stripped, or the motor might be on its last legs. These are often more intensive to repair or replace, but understanding this step can save you headaches later on.
Checking Power Supply
Before you dig into repairs, make sure your motor unit is actually getting power. It’s simple to overlook, but it could save you time and effort. First, check if the light on the motor unit is working. If it’s off, plug in another device into the same outlet to verify if it’s receiving power. If that device works, then your garage opener is likely the issue.
If the outlet appears to be dead, check your home’s circuit breakers. Sometimes, a power surge can trip them, causing your opener to turn off. If that’s the case, flip the breaker back to on. This quick fix can often get you back on track. If the circuit keeps tripping, it’s a sign of a bigger problem, like an overworked motor or a wiring issue.
Sometimes, the problem might lie with extension cords or power strips. If your motor unit is plugged into one of these, try plugging it directly into the wall. Bad connections are often at the root of many power issues, so eliminating these can be key.
Resetting Your Garage Door Opener
Resetting your Sears motor unit can seem like a daunting task, but it’s often the simplest solution to various issues. To reset your garage door opener, first, locate the reset button, which is usually found on the back or side of the motor unit. This button can be a lifesaver for restoring connection with a remote or keypad.
Press and hold the reset button until you see the light on the motor unit flash. This blinking light indicates that the unit is in reset mode. After a few moments, release the button. You might need to try pairing your remote again. To do this, press the remote button while standing near the motor unit. If done correctly, the light should blink again and, hopefully, your door will respond.
Don’t forget to check the manual for specific instructions related to your model. Different models might have different reset procedures, and following the right steps ensures success.
Reprogramming Your Remote
You might be wondering, “What if the problem is my remote?” If the remote seems unresponsive even after a reset, it could need reprogramming. To do this, start by removing the battery from your remote. Replace it with a new battery to ensure you’re working with fresh power.
Next, locate the programming button on the motor unit. This button is usually red or orange. Press it until the light on the motor unit blinks, then release the button. Within 30 seconds, press any button on your remote. If done correctly, the motor unit’s light should blink rapidly, confirming that programming was successful.
Test your remote by standing within the recommended range of the motor unit and pressing the send button. If it doesn’t work, repeat the steps above to make sure you didn’t miss anything the first time around.
You might also be using a universal remote. In that case, ensure it is compatible with Sears models, or refer to its specific manual for programming instructions.
Inspecting Safety Sensors
Another common issue arises with the safety sensors located near the floor on either side of the garage door opening. These sensors prevent the door from closing if something is in the way—a crucial safety feature. However, sometimes they get misaligned or dirty, causing the door to malfunction.
First, ensure that the lenses on both sensors are clean. Dust and dirt can cloud them, much like smudges on glasses impair your vision. Wipe them down gently with a soft cloth. If they’re clean but still not working, check the alignment. Both sensors should face each other directly—if they’re off even a little, you’ll get errors.
You can often tell if they’re misaligned by observing the lights on the units. If one light is blinking while the other is steady, it indicates a problem. Adjust the sensors until both lights are steady. Once they’re aligned, test your door again.
Replacing Faulty Parts
If all else fails, or if you’ve discovered that the gears or the motor are damaged, it might be time for a parts replacement. This can sound scary, but it’s often more straightforward than it seems—much like changing a tire on your car.
Start with the user manual for your motor unit. It usually lists parts that could be causing issues and provides part numbers for replacements. Common parts that might need replacing include gears, capacitors, or the motor itself.
You can find these parts online or at local hardware stores. Follow the instructions in the manual to uninstall the old part. Use basic tools like a screwdriver or wrench. Once the new part is installed, make sure to reconnect everything properly and test it. It’s satisfying to breathe new life into a device with a simple replacement!
If you’re unsure about replacing parts on your own, asking for help from a professional can be a good option. It’s better to get a second opinion than to further complicate the issue with incorrect installations.
Keeping Your Sears Motor Unit in Top Shape
Now that you’ve tackled your Sears motor unit, maintaining it can help you avoid future issues. Regular inspections are crucial: look for worn-out parts, loose connections, and debris around the door tracks. Think of it as regular checkups to keep your engine running smoothly.
Consider doing an annual service check, which includes lubricating all moving parts like chains and screws. A bit of silicone-based lubricant can go a long way in ensuring smooth operation. After all, you take care of your car; why not give the same love to your garage door opener?
Also, consider programming your remote as the seasons change. Sometimes, fluctuations in temperature can affect electronics, so a quick reprogramming can help. Always keep your rules in mind: if it’s not working today, it might just need a little reset or care.
Troubleshooting and fixing your Sears motor unit can be daunting, but with a little patience, you can handle it like a pro. Start simple by checking the power supply and ensuring everything is aligned properly. Ascertain the problem—whether it’s with the remote, sensors, or motor itself—then tackle it step-by-step. Cleansing and routine maintenance can make a world of difference in how well it operates.
By keeping your unit well-maintained and knowing how to perform basic troubleshooting, you’ll save yourself time and maybe even a few bucks in the long run. Embrace the challenge of DIY; after all, there’s a kind of satisfaction in knowing you’ve done it yourself! Now, go ahead and open that door—safely and securely.