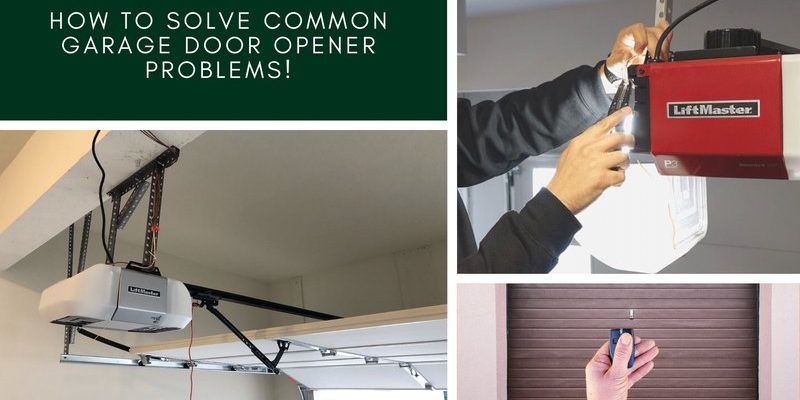
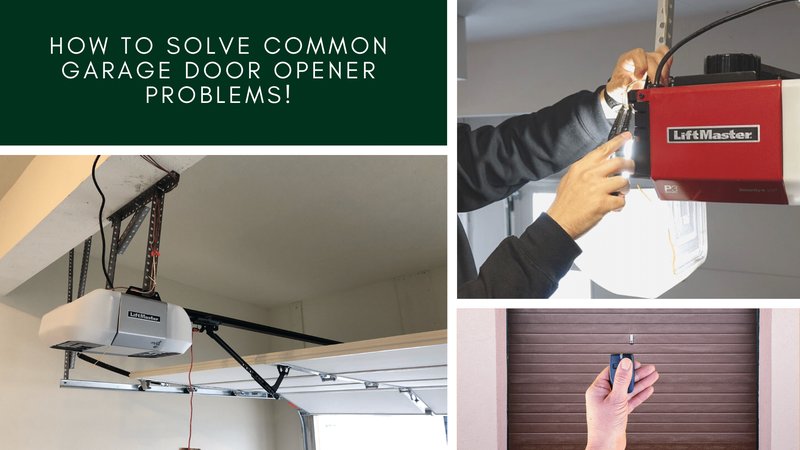
Sure, you might think of garage door openers like some complicated piece of machinery. But honestly, they’re a lot like any other appliance: sometimes they just need a quick fix. As you read through this guide, I’ll walk you through some common problems and solutions for fixing your Sears garage door opener. Whether you’re dealing with a remote that won’t sync or a motor that seems to have kicked the bucket, I’ve got your back.
Let’s break down the troubleshooting steps you can take, and soon enough, you’ll be back in the driver’s seat—literally.
Identifying Common Problems with Your Sears Garage Door Opener
First things first—identifying the problem is half the battle. You may encounter a variety of issues with your Sears garage door opener. Here are a few common culprits:
- Remote Control Issues: Sometimes, the remote can lose its connection or the battery can die.
- Motor Malfunctions: The motor may struggle to engage, leading to a non-responsive door.
- Track Obstructions: Dirt, leaves, or even small animals can sometimes block the tracks.
- Limit Settings: If the door isn’t opening or closing completely, it could be due to misconfigured limit settings.
Understanding what’s going wrong allows you to focus on fixing that specific issue. The good news is that most of these problems are fixable with a little patience and effort.
How to Fix Remote Control Issues
One of the first things you’ll want to check is your remote control. Sometimes, it’s simply a dead battery. Start by replacing the battery in your remote. You’d be surprised how often this solves the issue.
1. Open the remote: Look for a small slot on the back or bottom of your remote.
2. Take out the old battery: Pay attention to the orientation of the battery; there should be a + (plus) side that needs to face one direction.
3. Insert the new battery: Make sure it’s in correctly.
If replacing the battery doesn’t work, you may need to reset or reprogram your remote. Most Sears remote controls have a particular sequence for this:
1. Locate the “Learn” button: Usually found on the opener’s motor, it may be under a light cover.
2. Press the “Learn” button: The indicator light should turn on.
3. Push the remote button within 30 seconds: Your opener will “learn” the code from the remote, and you should see the light blink to confirm it accepted the remote.
Troubleshooting Motor Malfunctions
If your garage door opener’s motor isn’t engaging, it’s time for a little detective work. Here’s what you should look into:
1. Check the Power Supply: Ensure the outlet the motor plugs into is working. You can test it by plugging in another appliance.
2. Look for Obstructions: Inspect the area around the motor to see if anything is blocking its path.
3. Examine the Wiring: Sometimes, the wiring can become frayed or disconnected. A visual inspection can help you identify any obvious issues.
If everything looks fine but the motor still isn’t functioning, you may need to consult a professional to take a closer look or replace the motor.
Clearing Track Obstructions
Okay, so let’s say you’ve checked the remote and the motor is humming along, but the door still won’t budge. One common issue can be obstructions in the tracks.
Start by following these steps:
1. Inspect the Tracks: Look for any dirt, leaves, or other debris that could be blocking the tracks. This is a straightforward fix and often the first place to check.
2. Clean the Tracks: Use a damp cloth to wipe down the track to remove any gunk.
3. Check the Rollers: Ensure the rollers are moving freely along the track. They may need a little lubrication if they’re sticky.
Regular maintenance of the tracks will keep your opener functioning smoothly over time. Every few months, give the tracks a quick once-over to make sure they’re clear.
Adjusting Limit Settings
Now, let’s dive into those limit settings. If your door opens only partially or closes too quickly, adjusting these can make a world of difference.
To adjust the limit settings:
1. Locate the Limit Adjustment Screws: These are usually found near the “Learn” button. Refer to your manual for their exact location.
2. Make Adjustments: Using a screwdriver, turn the screws to adjust the travel distance of your door. Turning it clockwise generally increases the open and close distance.
*Tip: Test your adjustments fully after making changes. You don’t want to pinch your fingers or end up with a door that doesn’t open at all!*
When to Call in the Professionals
After trying all these troubleshooting steps, you might find that your Sears garage door opener still refuses to cooperate. That’s okay. Sometimes, calling in the pros is the best course of action.
Consider reaching out to a garage door technician if:
– You’ve diagnosed a malfunctioning motor.
– The opener has electrical issues.
– You’re not comfortable handling repairs or replacements yourself.
A professional can solve complicated issues quickly—saving you both time and frustration in the long run.
Preventative Maintenance for Your Garage Door Opener
Prevention is always better than cure, right? Regular maintenance can keep your Sears garage door opener running smoothly and reduce the chances of problems arising in the future. Here are some tips for keeping everything in tip-top shape:
- Regular Cleaning: Keep the tracks free of dirt and debris.
- Lubrication: Apply lubricant to the rollers and hinges about twice a year.
- Check the Sensors: Ensure their alignment is proper, and clean them regularly.
Taking these small steps can save you a lot of hassle later on and keeps your garage door opener functioning like new.
In conclusion, troubleshooting and fixing your Sears garage door opener doesn’t have to be an intimidating process. With a little patience and some handy tips from this guide, you can tackle common issues like a pro. Whether it’s a remote control reset or a quick clean of the tracks, the goal is to keep your garage door opener running smoothly. So the next time your door refuses to budge, remember—you’re just a few easy steps away from a quick fix!