Let’s walk through some straightforward troubleshooting steps to get your overhead door wall button back in action. We’ll cover the common causes of the issue and the practical fixes you can try without calling in the pros. Think of this as a friendly chat over coffee, where we dive into the nitty-gritty of troubleshooting your garage door system.
Understanding the Wall Button Mechanics
To appreciate how to fix the overhead door wall button, it’s helpful to understand its basic mechanics. The wall button is connected directly to your garage door opener system, often via low-voltage wiring. When you press the button, an electrical signal is sent to the opener, asking it to either open or close the door. If there’s any disruption in this chain, the door won’t work properly.
You might be wondering, “What could disrupt this signal?” Well, several reasons can lead to this hiccup. Issues can stem from faulty connections, a bad button, or even a problem with the garage door opener itself. It’s like a chain reaction; if one link is broken, the whole process stalls.
To bring clarity, let’s break down what might be wrong:
- Loose or damaged wiring.
- Faulty wall control button.
- Garage door opener malfunctions.
- Power supply issues.
Having a basic understanding of this setup can empower you to tackle the issue head-on when the time comes.
Step 1: Check the Power Supply
The first step in fixing your overhead door wall button is to ensure that the power supply is functioning. It’s common to overlook this, but ensuring that the opener has power could resolve your issues immediately. Check the outlet that the opener is plugged into.
Here’s what to do:
1. Look for any tripped circuit breakers. Reset any that are off.
2. Verify that the garage door opener is plugged in securely.
3. If your opener uses batteries for a backup, make sure they are charged or replaced if they are low.
If your opener is getting power, you can confidently move on to the next step. However, if it isn’t, your troubleshooting may focus on the electrical supply to the opener.
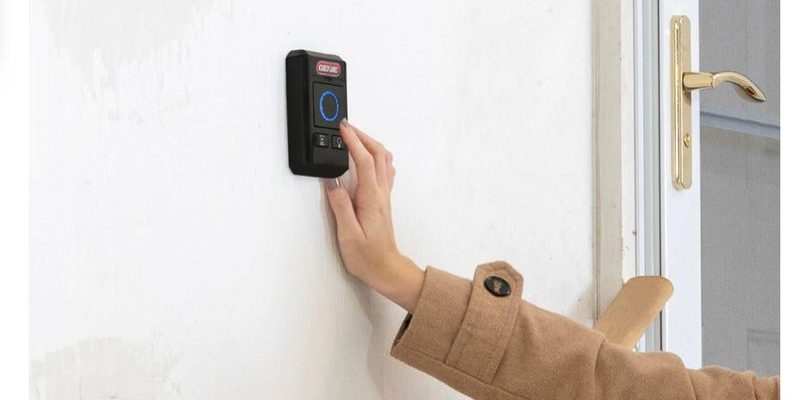
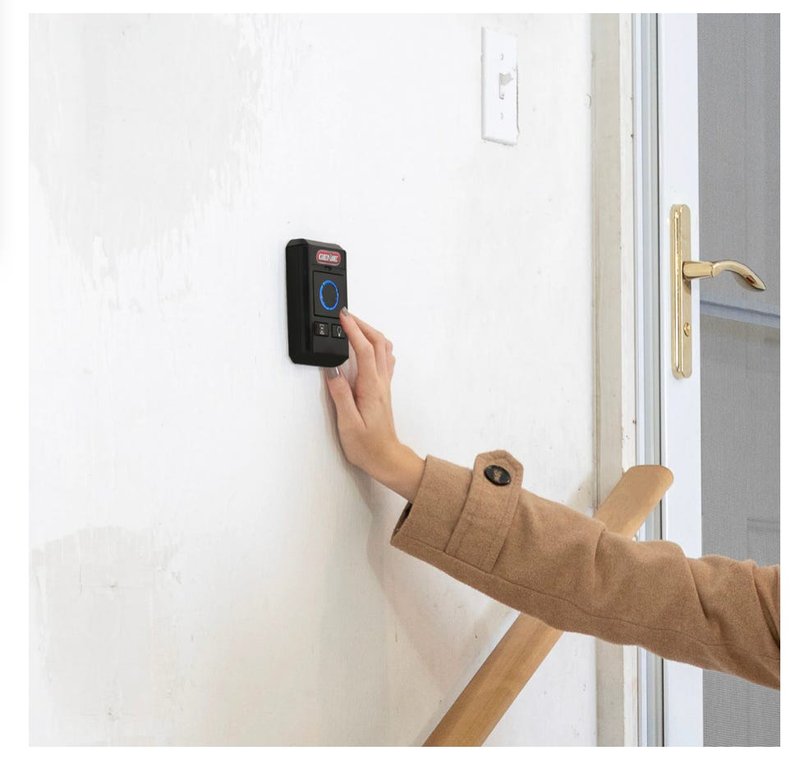
Step 2: Inspect the Wall Button
Now that you’ve confirmed the power supply is active, let’s investigate the wall button itself. Over time, these buttons can wear out or become unresponsive. Here’s how to check:
1. Visual Inspection: Look closely at the button for any visible cracks or damage.
2. Connection Check: Unscrew the button from the wall and check if the wires are connected tightly. Loose connections are often culprits.
3. Test the Button: If you have a multimeter handy, you can check if the button is functioning. If it doesn’t give you a reading when pressed, it might need to be replaced.
The wall button is a simple component, but it’s vital for getting your garage door moving. If yours is malfunctioning and you find that it’s not working properly after this quick check, it might be best to look for a replacement.
Step 3: Examine the Wiring
If the wall button seems fine, your next focus should be the wiring leading to it. The wires connect the wall button to the garage door opener, so if there’s a break in the wire or a loose connection, the signal won’t make it through. Here’s how to inspect:
1. Locate the Wires: Follow the wires from the wall button to the opener.
2. Look for Damage: Check for any visible wear or broken insulation.
3. Tug Test: Gently tug on the wires to see if they pull away from connections. If they do, they need to be repaired.
If you see any signs of wear, re-solder or replace those sections. Properly repaired wiring can help get things back online.
Step 4: Resetting the Garage Door Opener
Sometimes, the issue doesn’t just lie with the wall button but with the garage door opener itself. A simple reset can often help realign the system. Here’s how to reset your opener:
1. Unplug it: Disconnect the power from the opener for at least 30 seconds.
2. Plug it back in: This can help clear minor electronic glitches that might be causing the button to fail.
After plugging it back in, test the wall button again. This reset process is like rebooting your computer – sometimes, that’s all it takes to fix the hiccup.
Step 5: Consider Compatibility Issues
If you’ve recently swapped out your remote or garage door opener, it’s worth checking for compatibility. Some buttons and openers might just not “speak the same language.” Universal remotes, for example, may not work seamlessly with all brands.
If this could be the case, you might need to consult the manual or website for specifics on compatibility requirements. It could save you a lot of trouble down the road.
Step 6: Know When to Call for Help
After trying these troubleshooting steps, if your overhead door wall button is still unresponsive, it might be time to call in a professional. Experts can dive deeper into issues that might seem out of reach, such as internal issues within the garage door opener or more complex wiring problems.
Recognizing when to take the next step can save you time, energy, and potentially money. It’s perfectly okay to ask for help!
Fixing an overhead door wall button doesn’t have to be a daunting task. By checking the power supply, inspecting the wall button and wiring, resetting your opener, and knowing when to seek help, you can navigate most common issues with ease. Think of it as a DIY adventure that empowers you to take control of your garage door experience.
Remember, it’s all about understanding what small pieces contribute to the bigger picture. The next time you press that button, you’ll not only be opening a door—you’ll be confidently handling your own home maintenance. Happy troubleshooting!