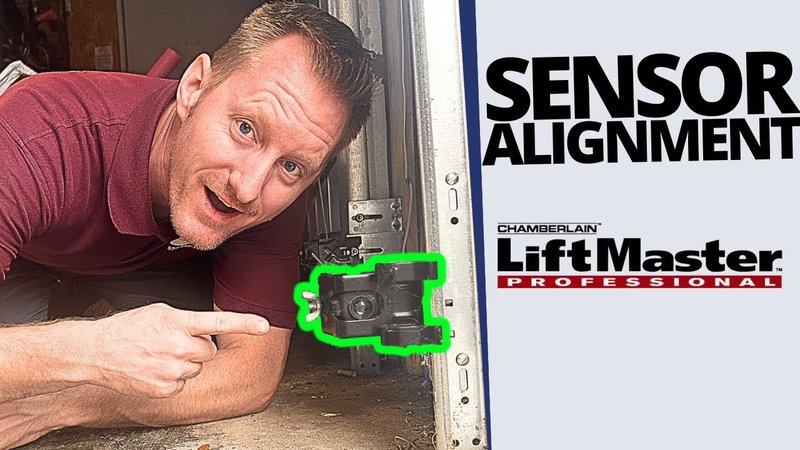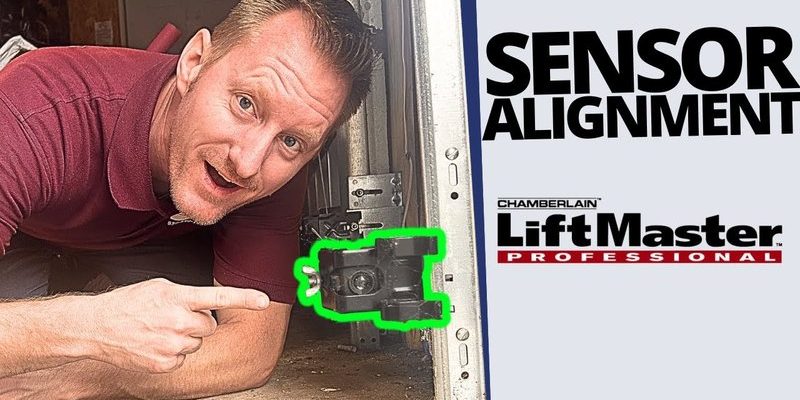
In the grand puzzle of garage door mechanics, the safety sensors play a crucial role. When working correctly, they detect any obstacles in the doorway, signaling the garage door to stop or reverse its path. But like any piece of technology, they can run into hiccups. Let’s walk through what could go wrong and how to fix your Liftmaster safety sensor.
Understanding Liftmaster Safety Sensors
Liftmaster safety sensors are small devices typically located near the bottom of your garage door tracks. They work by emitting an invisible beam, creating a safety net that prevents the door from closing if something is in the way. If this beam is broken—say, by a misplaced box or even a stray leaf—your garage door won’t close. This is a great feature for safety, but it can definitely lead to some irritation when you just want to park your car.
You might be wondering how these sensors communicate. Well, they use a simple code-based system paired with your Liftmaster remote. When the sensors are aligned and functioning, they send a signal to the garage door opener, allowing it to operate smoothly. However, a misalignment or obstruction can lead to a shutdown, effectively acting like a “pause” button on a remote control.
So, what do you do when your Liftmaster safety sensors stop working? Let’s walk through some common issues and the steps you can take to troubleshoot and fix them.
Common Issues with Liftmaster Safety Sensors
The first step in fixing your Liftmaster safety sensor is identifying what’s wrong. Here are some common issues you might encounter:
- Misalignment: If the sensors aren’t pointed at each other, they can’t create that safety beam.
- Obstructions: Anything blocking the sensors can cause them to malfunction.
- Wiring issues: Damaged or loose wiring can disrupt the signals.
- Dirty sensors: Dust, cobwebs, or grime can block the sensor’s view.
Each of these problems is relatively easy to fix with a little patience and attention to detail. Sometimes, it’s just a simple matter of cleaning or repositioning the sensors. Other times, you might need to delve deeper into the wiring.
How to Check for Misalignment
Misaligning safety sensors is one of the most common reasons for malfunction. It’s similar to two friends trying to hold a conversation while facing away from each other—nothing gets communicated! Here’s how to check for this issue:
1. Locate the sensors: They are usually mounted on the sides of the garage door, just a few inches above the ground.
2. Visual inspection: Check if the sensors face each other directly. You can usually see a small light indicating they’re working. One of the sensors should have a green light, meaning it’s aligned correctly and functioning, while the other might show a flashing red light if there’s an issue.
3. Adjust as needed: If they’re misaligned, gently move the sensor until the lights show they’re communicating properly. You want that green light to shine steadily—like a green traffic light saying, “Go ahead!”
Clearing Obstructions Around the Sensors
If your sensors are aligned but still aren’t functioning, the problem might be a little more straightforward—something could be blocking the beam. Here’s how to tackle that:
1. Inspect the area: Take a good look beneath the sensors. Is there debris, plants, or tools nearby? Even a small item can interrupt the sensor’s beam.
2. Clear anything in the way: Remove all items that might obstruct the sensors. Sometimes, even stray leaves or small rocks can cause a problem, just like a twig blocking a view.
3. Re-test the sensors: Once cleared, hit your remote and see if the door operates properly. If it works, great! If not, move on to the next steps.
Cleaning Your Safety Sensors
A little dirt can go a long way when it comes to malfunctioning safety sensors. Dust, grime, and spider webs can block the sensor and cause issues. Here’s how to clean them:
1. Gather your supplies: You’ll need a soft cloth or paper towel and some gentle surface cleaner—water mixed with a bit of vinegar works wonders.
2. Wipe the sensors carefully: Using the damp cloth, gently wipe away any dirt or debris from the front of the sensors.
3. Dry properly: Make sure the sensors are dry before testing to avoid leaving any residue.
It’s a simple step, but it makes a significant difference. Dirty sensors are like looking through a foggy window—you can’t see clearly!
Checking and Repairing Wiring Issues
If everything looks aligned and clean but you’re still having problems, it’s time to check the wiring. Here’s a step-by-step guide:
1. Inspect the wires: Look at the wiring connecting the sensors. Are there any visible damages, like frayed wires or loose connections?
2. Reconnect anything that’s loose: Tightening connections can help restore functionality. Make sure everything is snug without over-tightening, as this can cause more harm than good.
3. Replace damaged wires: If you notice any wires that are seriously damaged, you may need to replace them. You can often find replacement kits at your local hardware store.
Checking the wiring may feel a bit daunting, but taking it one step at a time can simplify the process. Plus, it’ll save you a service call down the road.
Resetting Your Liftmaster System
Sometimes, all your Liftmaster safety sensor needs is a reset—like how we reboot our phones when they start acting weird. Here’s how to reset your system:
1. Locate the “Learn” button: This is usually found on the motor unit hanging from your garage ceiling.
2. Press the button: Pressing the Learn button for about 6 seconds will erase the codes for all remote controls—make sure you have your remotes ready for reprogramming!
3. Reprogram your remotes: Once you reset, follow the instructions in your Liftmaster manual to resync your remotes with the system.
After performing a reset, give your safety sensors another test. Sometimes, a fresh start is all they need.
When to Call for Professional Help
If you’ve tried all the steps above and your Liftmaster safety sensor still isn’t working correctly, it might be time to call for professional help. Here’s when you should consider reaching out:
1. Persistent issues: If problems continue after adjustments and cleaning, it could point to a malfunctioning sensor or a more complex wiring issue.
2. Uncomfortable with DIY fixes: If you don’t feel comfortable dealing with the mechanics of your garage door, it’s better to consult an expert. Safety first!
3. Warranties and damage: Sometimes, attempting fixes can void warranties. If your system is still under warranty, check the terms before trying repairs.
Calling a professional can save you time, and peace of mind knowing everything is handled correctly.
In conclusion, fixing your Liftmaster safety sensor might seem challenging at first, but with the right approach, it’s often a straightforward process. Remember to take your time and double-check your work. Whether it’s realigning, cleaning, or resetting, these steps can help get your garage door up and running smoothly in no time. And when you finally hear that satisfying click as the door opens, you’ll feel accomplished. Take care of your sensors, and they’ll keep your home safe!
