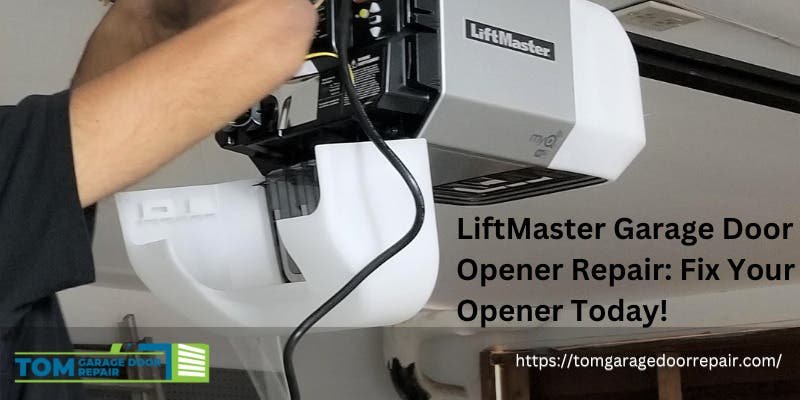
The good news is that fixing a Liftmaster motor unit doesn’t have to be complicated. Whether you’re just getting started with troubleshooting your garage door or looking to dive deeper into some DIY repairs, you’re in the right place. Let’s break this down step by step, so you can get your garage door working smoothly again.
Understanding the Liftmaster Motor Unit
Before we dive into fixes, it’s essential to understand what the Liftmaster motor unit actually does. Think of it as the heart of your garage door opener. When the system gets triggered (usually via the remote), the motor unit tells the door to open or close. If it fails, the entire operation comes to a grinding halt.
Factors like wear and tear, electrical issues, or even simple dust accumulation can affect your motor’s performance. It’s essential to have a basic grasp of this unit’s components, which often include gears, a capacitor, and the motor itself. Not to worry; we’ll dig deeper into each part and its significance as we go.
Common Symptoms of a Malfunctioning Liftmaster Motor Unit
Recognizing the signs of a faulty motor unit is crucial. You might notice:
- The door doesn’t respond – Pressing the remote yields no results.
- It makes unusual sounds – Grinding or whining could indicate mechanical issues.
- The door moves slowly – A sluggish response can suggest electrical problems.
- It stops halfway – This could be a sign of misaligned sensors or motor difficulties.
By understanding these symptoms, you can start troubleshooting effectively.
Safety First: Preparing to Fix Your Liftmaster Motor Unit
Before you turn any tools, let’s talk about safety. Remember, your garage door is a heavy piece of equipment, and working on it can pose risks. Here’s what you need to do:
1. Disconnect Power: Unplug your Liftmaster motor unit to prevent any accidental activations while you’re working.
2. Wear Protective Gear: Safety glasses and gloves can protect you from dust and small debris.
3. Have Your Tools Ready: You usually need a screwdriver, a multimeter, and some basic cleaning supplies to get started.
Doing these simple steps can make a world of difference and keep you safe while you troubleshoot.
How to Troubleshoot Your Liftmaster Motor Unit
If you’re facing issues with your Liftmaster motor unit, a little troubleshooting can often pinpoint the problem. Here’s a straightforward guide:
Step 1: Check the Power Supply
First things first, is the motor unit even getting power? Start by checking:
– If the outlet is working by plugging in a lamp or other device.
– The power cord for any visible damage.
– Circuit breakers to ensure nothing has tripped.
If everything checks out, we can move to the next step.
Step 2: Inspect the Remote Control
Sometimes, it’s not the motor unit at all. It could be your remote. Here’s what to do:
– Replace the battery – If it’s been a while, you’d be surprised how often dead batteries ruin a good day.
– Check if the remote connects properly to the unit. You might have to pair or reset it by following the instructions in your user manual.
If the remote seems fine, let’s dive back into the motor unit itself.
Step 3: Look for Mechanical Issues
With power and the remote out of the way, it’s time to inspect the motor for any mechanical issues. Open up the motor unit and check for:
– Wear and tear on the gears. If they’re damaged, they may need replacing.
– Obstructions in the door’s path—anything from leaves to small toys can throw things off.
– Listening for any unusual sounds as you operate it manually. This can hint at deeper problems inside.
When you’ve got everything cleaned and checked, you might be well on your way to fixing the issue.
How to Replace Parts in Your Liftmaster Motor Unit
If you’ve narrowed it down to a faulty part, don’t fret! Most Liftmaster motor units are designed for straightforward replacements:
Identifying Parts to Replace
Common components that often need replacing include:
– Capacitor: This little guy helps the motor get started. If it’s blown, the door may not respond at all.
– Chain or Belt: Over time, the mechanism can wear down. If you notice odd noises, it could mean these components need replacement.
– Switches: If the control panel isn’t responding, you might have a faulty switch that needs replacing.
Consulting your manual can help you identify the right replacements to purchase.
How to Install New Parts
1. Disconnect Power: Always start by unplugging the motor unit.
2. Remove the Faulty Part: This generally involves unscrewing a few screws. Keep track of your screws and parts!
3. Install the New Part: Attach the new component, ensuring it’s secured for safe operation.
4. Reconnect Power and Test: Plug the unit back in and try the remote again. Fingers crossed!
Taking the time to replace worn parts can bring your motor back to life.
Final Thoughts: Keeping Your Liftmaster Motor Unit Healthy
Once you’ve tackled the immediate issues with your Liftmaster motor unit, consider implementing a regular maintenance routine. Cleaning the unit, checking for electrical issues, and ensuring the door tracks are clear can prolong the life of your opener.
So, whether it’s troubleshooting, replacing parts, or just maintaining your gear, tackling a garage door opener can be less daunting than it seems. Just remember—it’s all about taking it step by step. The next time you hit that button and hear your garage door smoothly lift, you’ll know you can handle the challenges it brings.
Enduring a malfunctioning Liftmaster motor unit doesn’t have to be the end of the world. With some basic understanding and a few DIY techniques, you can get your garage door working again in no time!