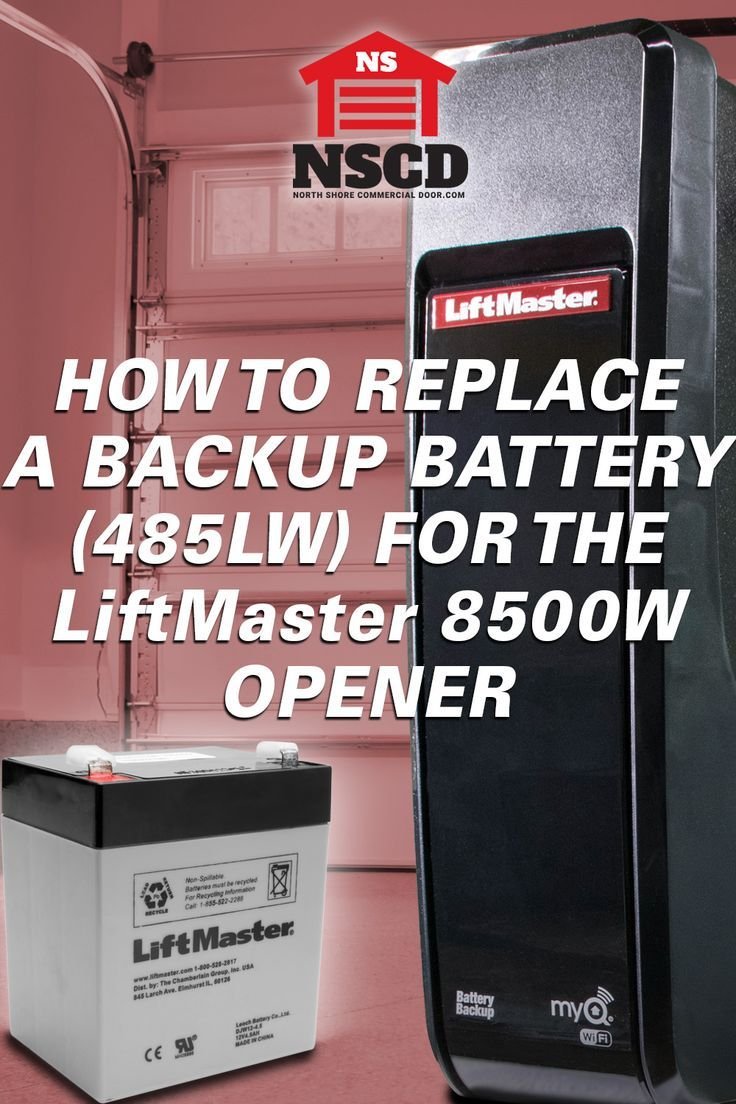
Understanding the Liftmaster Battery Backup System
A Liftmaster battery backup system is designed to keep your garage door functioning when the power is out. Think of it as your garage door opener’s personal superhero, swooping in to save the day. The battery kicks in automatically, allowing you to operate the garage door without interruption. When it works, it’s fantastic. But over time or due to certain triggers, the battery can lose its effectiveness.
Here are some components that make up the battery backup system:
- Battery Unit: This is the heart of the system. Without a functioning battery, your backup system is just a fancy paperweight.
- Control Module: It manages signals from the remote and wall control. It’s crucial for proper communication between the battery and the opener.
- Charging Mechanism: When the power is on, this keeps the battery charged and ready to go.
Understanding these components helps in identifying and fixing issues. If something doesn’t feel right, one of these may be the culprit.
Common Symptoms of a Faulty Battery Backup
So, how do you know if your Liftmaster battery backup is in trouble? There are a few key symptoms to watch out for:
1. Garage Door Fails to Operate: If your garage door refuses to open or close while the power is out, your battery backup may not be functioning correctly.
2. Flashing LED Light: Many Liftmaster models feature lights that indicate battery status. A flashing light can signal a problem, similar to how your car’s dashboard lights up when something’s off.
3. Beeping Noises: If you hear beeping coming from your garage door opener unit, it can be an alert that something needs your attention—like a low battery.
Identifying these issues quickly can save you from a frustrating situation down the line, especially when you need that garage door to work urgently.
Step-by-Step Battery Backup Troubleshooting
When your Liftmaster battery backup isn’t performing, you can troubleshoot the problem effectively. Here’s a simple step-by-step guide:
1. Check the Battery: Start by inspecting the battery. Look for signs of wear, corrosion, or damage. If it’s old and not functioning well, replacing it may be your best bet.
2. Reconnect the Battery: Sometimes, simply disconnecting and reconnecting the battery can reset the system. It’s like your opener is waking up from a nap and needs a little jolt.
3. Inspect Wiring Connections: Loose or corroded connections can cause errors. Check where the battery connects to the opener for stability, and tighten any loose connections gently.
4. Test with a Remote or Wall Control: After making adjustments, try using your remote or wall control to operate the door. If it works, congratulations—you’ve resolved the problem!
Remember, slow and steady wins the race. If one step doesn’t do the trick, don’t rush to the next one. Take your time to ensure everything is checked carefully.
Replacing the Battery Backup
If your battery backup is still giving you trouble, it may be time for a replacement. Here’s how you can do it:
1. Purchase the Right Battery: Make sure to get a replacement that is compatible with your Liftmaster model. Check the user manual or the specs on the Liftmaster website.
2. Disconnect the Old Battery: Unplug the old battery using the proper tools. Follow safety procedures to avoid any accidents.
3. Connect the New Battery: Attach the new battery by reversing the disconnection steps. Make sure the connections are secure—like fastening a seatbelt.
4. Charge the New Battery: Allow it to charge for the recommended time before testing the system. This way, you’re ensuring it’s ready when needed.
Replacing the battery can feel daunting, but it’s a straightforward fix that ensures your garage door remains operational during outages.
Testing Your Liftmaster Battery Backup
Once you’ve done the work to fix or replace your battery backup, testing it is crucial to ensure it’s functioning correctly:
1. Simulate a Power Outage: You can do this by unplugging the garage door opener. This will force the system to rely on the battery.
2. Use the Remote Control: Try opening and closing the door using the remote. If it responds smoothly, your backup is working.
3. Observe the Battery Indicator: The indicator light should glow steadily, demonstrating that the battery is charged and operational.
Conducting this test occasionally can help you catch potential issues before they become emergencies. Wouldn’t you rather know ahead of time if there’s a problem?
Tips for Maintaining Your Liftmaster Battery Backup
Like any tech, proper maintenance can prolong the life of your Liftmaster battery backup. Here are some simple tips to keep your setup running smoothly:
– Regularly Inspect the Battery: Make it a habit to check the battery and its connections every few months. Look out for any signs of wear or corrosion.
– Keep it Clean: Dust and dirt can accumulate around the battery and connections. A simple wipe-down can prevent minor issues from escalating.
– Charge During Normal Operation: Ensure your battery is kept charged. If you experience frequent outages, consider a dedicated generator to keep your opener running consistently.
– Consult the Manual: Your Liftmaster user manual is a goldmine. Stay familiar with it and regularly review recommendations for maintaining your specific model.
Taking these simple steps can save you time and prevent headaches down the road.
Wrapping Up Your Garage Door Opener Troubleshooting
Fixing a Liftmaster battery backup may feel like a big task, but following clear steps can make it manageable. Whether you’re replacing the battery or simply troubleshooting a minor issue, you now have the tools to tackle it. Maintaining your battery backup will not only extend its life but also keep your garage accessible when you need it, rain or shine, day or night.
Remember, a little care goes a long way. By understanding how your Liftmaster setup works, you’ll be better prepared to handle whatever challenges arise. Now, with the knowledge you’ve gained, keep that garage door operating smoothly and let your backup system keep you covered!
