When your Craftsman keypad seems temperamental, you might find yourself scratching your head. Don’t worry, you’re not alone. Many people encounter similar issues. Whether it’s the keypad not responding or some digits not working, there’s often a simple solution hiding in plain sight. So let me guide you through the steps needed to troubleshoot and fix your Craftsman keypad like a pro.
Before we dive deep into fixing your Craftsman keypad, let’s first zero in on the problem. Sometimes, the culprits behind a malfunctioning keypad can be pretty straightforward, like dead batteries or even misalignment. To start, you should assess whether the keypad itself is completely unresponsive or if specific digits are misbehaving.
Common symptoms include:
- The keypad lights up but doesn’t respond to entries.
- Only certain numbers fail to work.
- Random beeping or blinking lights happen when you enter the code.
To simplify things, think of it like diagnosing a phone that suddenly stops charging. You check the cord first, right? Similarly, you’ll want to inspect your keypad for obvious issues before moving on to more complicated fixes.
Here’s the thing: just like your remote controls, your Craftsman keypad relies on batteries to function. If the lights on your keypad flicker when you press keys but the door doesn’t open, dead batteries could be the reason.
To check the batteries:
1. Locate the battery compartment on your keypad.
2. Remove the cover carefully.
3. Take out the old batteries and inspect them. If they’re corroded or low on power, it’s time for a change.
Replacing the batteries might feel like a small thing, but it often does wonders. Install fresh batteries, snap the cover back on, and see if your keypad springs back to life!
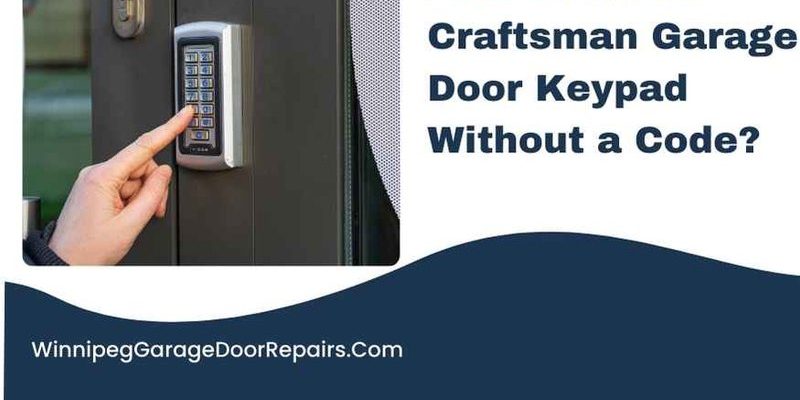
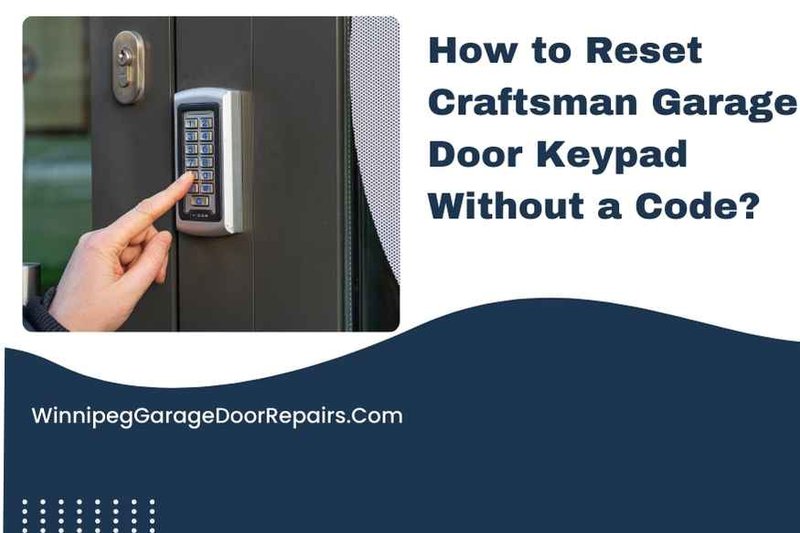
Resetting Your Craftsman Keypad
If swapping out the batteries didn’t do the trick, it’s time to consider resetting your keypad. Think of this step like hitting the reset button on a computer—it clears out any glitchy behavior. Most Craftsman keypads have a reset option, and doing this can refresh its memory of the code.
Here’s how to reset it:
1. Find the “Learn” button on your garage door opener (usually located on the motor unit).
2. Press and hold the “Learn” button until the light blinks.
3. Release the button.
4. On your keypad, enter a new 4-digit PIN within 30 seconds of pressing the “Learn” button.
It’s like giving your keypad a brand-new perspective on life! If everything goes smoothly, your keypad should now work with the new code.
Reprogramming the Keypad
Sometimes, a keypad might just need a little reprogramming to perform optimally. This process is relatively straightforward. If you’ve previously reset your keypad but it still doesn’t respond, you might need to reprogram it to communicate effectively with your garage opener.
To reprogram your Craftsman keypad:
1. Press and hold the ”
2. Enter your new 4-digit code (make it easy to remember).
3. Press “Enter.”
4. The lights should flash once to confirm that the code is accepted.
This step is essential because even if your previous code was working fine, something might have interrupted it. By reprogramming, you’re essentially giving your keypad a clean slate!
Troubleshooting Signal Issues
What if your keypad is powered up and reprogrammed, yet it still doesn’t send a signal to the garage door opener? This can happen due to distance, interference, or alignment issues. Think of it like trying to talk to someone across a busy street—you need a good connection to be heard!
1. Check the range: Ensure your keypad is within a reasonable distance from the garage door opener. If it’s too far, it might not send a signal effectively.
2. Remove obstacles: Double-check that there aren’t any objects blocking the signal. Even something as simple as a stack of garden tools can interfere.
3. Check alignment: If possible, ensure the keypad is mounted straight and replace it if it’s loose. A crooked installation can hinder communication with the opener.
Taking these steps can help you identify if the issue is related to communication distance rather than a malfunctioning keypad.
Inspecting Wiring and Connections
Sometimes, the issue isn’t with the keypad or remote itself but with the wiring connected to the garage door opener. If you’re feeling handy, a quick inspection could reveal damaged or loose wires.
What to look for:
1. Wiring connections: Check to see if any wires leading to the garage door opener are loose or disconnected.
2. Visual inspection: Look for frayed wires or any signs of wear and tear. If you spot any, that might be the culprit.
3. Secure connections: If you notice any loose wires, carefully reconnect them to restore functionality.
If you’re not comfortable with this step, don’t hesitate to contact a professional. Remember, safety first!
When to Call for Professional Help
If you’ve followed these steps but still find your Craftsman keypad doesn’t want to cooperate, it could be time to call in the experts. Sometimes, professional help is necessary, especially if there’s a hardware malfunction or if your opener has specific programming that’s beyond basic troubleshooting.
You might be wondering what to expect when professionals get involved. Generally, they will:
– Conduct a thorough diagnostic test.
– Check for compatibility with your keypad.
– Offer personalized recommendations and repairs.
A professional can save you time and effort, ensuring you get back to the convenience of your garage door opener working smoothly.
Final Thoughts
Dealing with a malfunctioning Craftsman keypad doesn’t have to leave you feeling overwhelmed. By systematically checking batteries, resetting or reprogramming the unit, and ensuring proper alignment, you can often solve the problem yourself. It’s kind of like working through a puzzle—sometimes all you need is to take a step back and look at pieces one-by-one.
When in doubt, remember that professionals are there to help, but many issues can be resolved with a bit of handy troubleshooting. Enjoy the seamless access your garage door brings, and you’ll be back to making life easier, one click at a time!