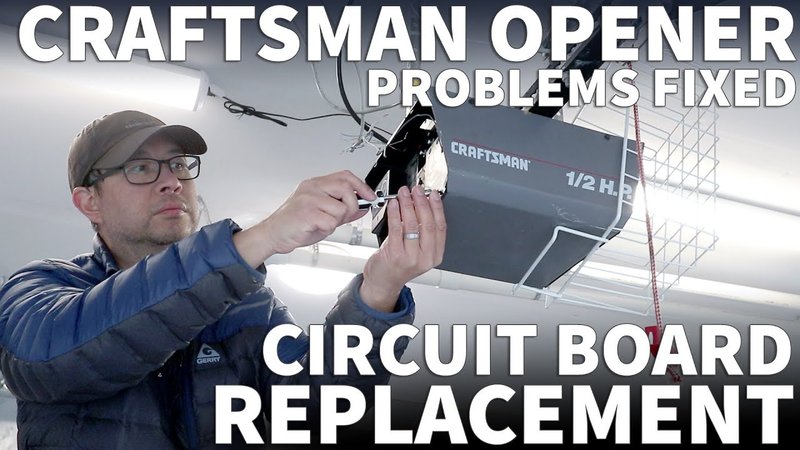
In this guide, I’ll walk you through how to fix a Craftsman circuit board, step by step. You’ll learn about troubleshooting, common issues, and how to get your garage door opener back in working order. Grab a cup of coffee, and let’s dive in!
Understanding Your Craftsman Garage Door Opener Circuit Board
The circuit board is a small, printed circuit that connects everything together in your garage door opener. It communicates with both the remote control and the motor unit. If this connection is disrupted, you might notice your garage door not responding as you expect.
Imagine trying to make a phone call, but the call gets dropped because of a poor connection. That’s how the circuit board operates; if there’s an issue, the result is your garage door isn’t functioning. Understanding how your Craftsman opener works—particularly its wiring and components—can help you troubleshoot effectively.
Most Craftsman models include a few common features, such as a safety sensor, a motor unit, and, of course, the circuit board. Knowing what these components do and how they interact can often guide you in identifying where the problem lies.
Common Signs of Circuit Board Problems
You might be wondering how to tell if your circuit board is indeed the issue. Here are some common symptoms indicating that something might be off:
- Your garage door isn’t responding to remote commands.
- The light on the opener blinks, indicating it could be a signal issue.
- The garage door opens or closes intermittently.
- You hear strange noises, like clicking or buzzing, during operation.
If you notice one or more of these signs, there’s a good chance your Craftsman circuit board needs attention. Ignoring these symptoms could lead to further issues, so it’s best to address them sooner rather than later.
Gathering Necessary Tools and Supplies
Before you begin your DIY fix, it’s important to make sure you have all the right tools at hand. Here’s a handy checklist:
- Screwdriver (usually Phillips or flathead, depending on your opener)
- Multimeter (for testing electrical connections)
- Replacement circuit board (if needed)
- Connector cleaner (for dirty contacts)
- Safety goggles (to protect your eyes during repairs)
Having everything ready will save you time. You don’t want to get halfway through only to find you’re missing a single piece. Let’s be honest, that can be super frustrating!
Step-by-Step Troubleshooting Your Craftsman Circuit Board
Now, let’s dive into fixing your Craftsman circuit board. It’s important to go step-by-step to ensure nothing is overlooked:
1. Power Source Check
Start by verifying that your garage door opener is receiving power. Unplug it from the wall, wait a moment, then plug it back in. If the unit is plugged in and the light doesn’t come on, your issue might not be with the circuit board at all but with the power source itself.
2. Inspect Connections
Next, you’ll want to inspect all visible connections on the circuit board. Look for loose wires or burnt components. If you notice any disconnections, reattach them securely. Check for corrosion or grime because a clean electrical connection is essential for proper functioning.
3. Test with a Multimeter
Using a multimeter, you can perform a more thorough check. Set it to test continuity and touch the probes to the different points on the circuit board. If you’re getting no readings where you should, it could indicate a fault on that circuit track.
4. Reset and Re-sync
Sometimes, the issue can be resolved with a simple reset. Unplug the unit for about 30 seconds. Plug it back in, and try to sync your remote again. If the remote isn’t pairing, consider replacing its batteries or testing the remote with another Craftsman unit, if available.
When to Replace the Circuit Board
If you’ve followed the troubleshooting steps and your garage door opener still isn’t working, it may be time for a replacement. Here are a few signs that a new circuit board might be necessary:
- Multiple components on the board have failed.
- The board shows visible signs of damage, like burnt areas.
- Your troubleshooting has not resolved any issues.
Replacing the circuit board can often breathe new life into your Craftsman garage door opener. While it might involve some upfront costs, it’s still cheaper than purchasing a whole new opener.
Installing a New Circuit Board
If you’ve decided to replace your circuit board, here’s how to do it effectively:
1. Disconnect the Power: Always start by unplugging the garage door opener to ensure safety.
2. Remove the Cover: Use your screwdriver to remove the screws on the cover, taking care not to strip them.
3. Disconnect Wires: Carefully note how the wires are connected to the old circuit board. A photo can be helpful here for reassembly. Gently pull off the wires from the old board.
4. Install the New Board: Attach the new circuit board in the same manner as the old one. Ensure all connections are secure and clean.
5. Reassemble Everything: Put the cover back on, reinsert the screws, and plug the opener back in.
Installing a new board may seem daunting, but taking it step-by-step makes it much easier.
Final Thoughts
Fixing a Craftsman circuit board doesn’t have to be an overwhelming task. With a little patience and the steps outlined in this guide, you can troubleshoot and even replace the circuit board yourself. Often, it’s just a matter of addressing a small issue before it turns into a larger problem. Plus, think of the satisfaction you’ll feel knowing you solved the problem on your own!
If you find that repairing isn’t an option, it might be a good time to consider investing in a new opener altogether. There are plenty of reliable options out there that can make your garage door experience smooth and hassle-free. Happy fixing!
