Overall, if you want more control over your garage door, knowing how to handle that wall button is key. It’s particularly useful when you’re facing issues with the button getting accidentally pressed, or maybe you want to stop someone else from using it. Let me walk you through the steps, so you can manage that wall button like a pro—no complicated jargon, just straightforward actions to get the job done.
Understanding Your Sears Garage Door Opener
Before diving into disabling the wall button, it’s important to understand what you’re dealing with. Sears garage door openers come in various models, and while they share many similarities, specific features may vary. If you can locate your model number—which is usually found on the back of the unit or in the manual—you’ll be better equipped to follow the right steps.
Usually, these openers have a remote control and a wall button, both of which trigger the same mechanism. Think of it as having two different remotes for the same TV; each button gets the same thing done, but you might use one more than the other. Disabling the wall button doesn’t affect the remote; it just stops the button from accidentally opening your garage door.
Why might you want to disable this feature? You could be worried about little ones running around and accessing the wall button or maybe you want to have more control over who enters your garage. Here’s where we get into the “how-to” of it all.
Gathering Your Tools
You won’t need much to disable the wall button, which is the good news. Let’s keep it simple. Here’s a quick list of what you might require:
- Flathead screwdriver
- Phillips screwdriver
- Wire cutters (optional, based on your method)
- A step stool (if necessary for reaching high buttons)
Before you get started, make sure your garage door opener is unplugged for safety. It’s like making sure the stove is off before you clean it—always safety first! Once you have everything ready, you can begin taking steps to disable that wall button.
Locating the Wall Button
Finding the wall button may feel like searching for Waldo, but it’s usually mounted near your garage door—just a few feet up for easy access. If you’re struggling to locate it, look for a button labeled “Open,” “Close,” or something similar. It might also have a light indicator.
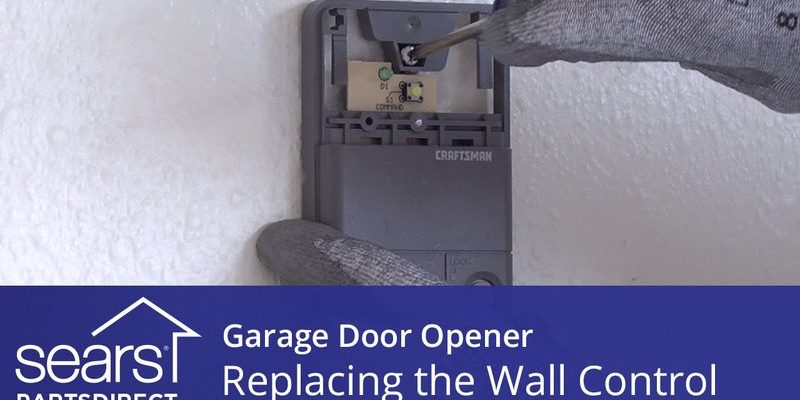
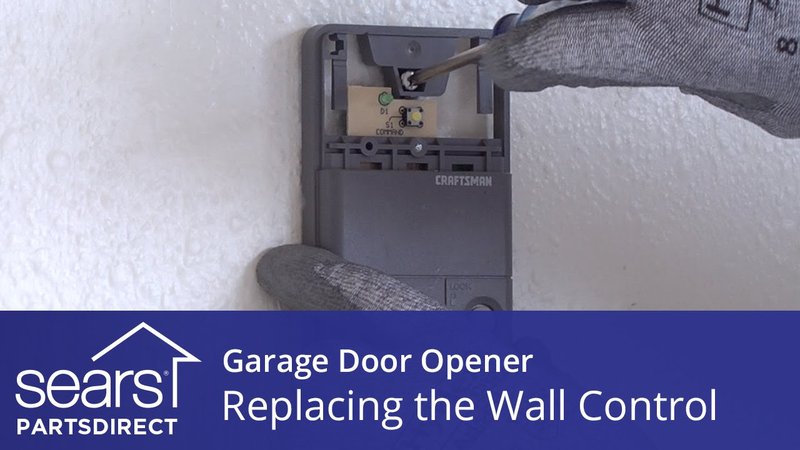
Once you spot it, take a closer look at how it’s fixed to the wall. Most wall buttons are attached with screws, so you will need your screwdriver at hand. If you have any removable covers, you may need to lift them off first, kind of like taking off the lid before diving into a box of chocolates.
Removing the Wall Button
Now that you’ve found that pesky wall button, let’s dive into how to remove it. This part is quite straightforward. Here’s what you need to do:
1. Using a Phillips screwdriver, gently remove the screws securing the wall button to the wall. Keep these screws in a safe spot in case you need them later.
2. Once the screws are out, you might find a wire harness connecting the button to your opener’s system. Carefully disconnect this. If you see any wiring, be sure to unplug it gently—think of it as unwinding a tightly-knotted necklace.
3. If you’re not planning to use the button again, you can cut the wires with wire cutters. If you think you might want to reattach it later, just leave the wires disconnected but accessible.
By this point, you’ve successfully removed the wall button! If you want to avoid the need for troublesome installation again, consider storing the button away in a drawer.
Bypassing the Wall Button Instead
If you’re concerned about permanently removing the button, stop for a moment and consider bypassing it instead. Bypassing is like putting a “Do Not Disturb” sign on a hotel door instead of locking it. Here’s how to do that:
1. After removing the wall button, locate the two wires that went into the button. Take note of how they’re connected; you’ll want to replicate this setup in the bypass.
2. Using a small piece of wire, connect the two wires together, making a direct link that mimics the button being always pressed.
3. Ensure that the connection is secure. You can wrap it in electrical tape to prevent any accidental shorts.
By bypassing the wall button, you’ve effectively disabled it without the need for a permanent setup. If you ever decide to reconnect the wall button, just unhook the wire and reattach it.
Testing Your Garage Door Opener
It’s crunch time! Now that you’ve disabled or bypassed the wall button, it’s essential to test your garage door opener to confirm that everything is functioning correctly.
1. Plug your garage door opener back into the power outlet.
2. Using your remote, try opening and closing the door. It should operate without any issues.
3. Check to see if the wall button no longer functions, either by pressing it directly or observing any triggering from it.
If you followed the steps accurately, your garage door opener should work flawlessly while keeping that wall button from causing any hiccups!
Common Troubleshooting Tips
Sometimes, things don’t go as planned, and that’s perfectly okay. If you run into any issues while disabling the wall button, here are a few troubleshooting tips:
– Check Connections: Make sure all connections are tight. Loose connections could cause malfunctioning.
– Reset Your Opener: If things are really wonky, try resetting your garage door opener. Unplug it, wait about 30 seconds, and then plug it back in.
– Battery Check: If your remote isn’t working, make sure the battery is good. When it comes to remotes, low batteries can cause a lot of confusion!
Remember, it’s all about trial and error. If you take your time and follow these tips, you’ll figure it out!
Restoring Functionality Later
Let’s be real—you never know when you might want to enable that wall button again. If you ever wish to restore its functionality, it’s as simple as reversing the steps we went through.
Reconnect the wires, screw the button back in, and you’re good to go! No need to call in a professional. You’ve already made this DIY journey, and it’s a great way to impress friends with your handy skills.
You might even add, “Oh, that? I disabled it myself!”
In conclusion, disabling the wall button on your Sears garage door opener is not just a matter of saving hassle—it’s about gaining control in your space. Just remember to take it step-by-step and give yourself grace if it doesn’t go perfectly the first time. Before you know it, you’ll be an expert in managing your garage door like a pro!