
Disabling a circuit board might sound daunting, especially if you’re not particularly tech-savvy. But trust me, it’s often simpler than it seems. Picture it as taking a tire off your bicycle. Once you know how to do it, you can easily change a flat tire anytime. Let’s break down the process step by step so that you can confidently handle this task like a pro.
Understanding Your Sears Garage Door Opener System
Before diving into how to disable the circuit board, it’s essential to understand your Sears garage door opener system. This system generally includes several components: the motor, the remote, the sensors, and yes, the circuit board. The circuit board connects everything and manages the signals between the remote and the opener.
If you’re familiar with electronics, think of the circuit board as the command center. It processes your remote’s commands and sends instructions to the motor to open or close the door. When issues arise, understanding what this tiny but mighty board does can help you troubleshoot problems effectively.
You might be wondering why you would want to disable the circuit board. Common reasons include trying to reset the system or avoiding interference during repairs. Sometimes, a simple reset can clear up glitches that prevent your garage door from functioning properly. Knowing when and why to disable the circuit board is key.
Gathering Your Tools and Preparing for the Process
Before you get started, it’s essential to gather the right tools and prepare yourself for the task ahead. Here’s a quick cheat sheet for what you’ll need:
- Screwdriver (typically Phillips or flathead)
- Safety goggles
- Work gloves (to protect your hands)
- Flashlight (if you’re working in a dim area)
Having the right tools will make your job easier and ensure you stay safe throughout the process. Trust me; you don’t want to be halfway through and realize you’re missing your screwdriver!
Once you have your tools ready, make sure to turn off power to the opener at the circuit breaker. Just like you wouldn’t try to fix a light bulb while it’s still plugged in, you shouldn’t mess with the circuit board with the power on. Turn it off and ensure that it’s safe to proceed.
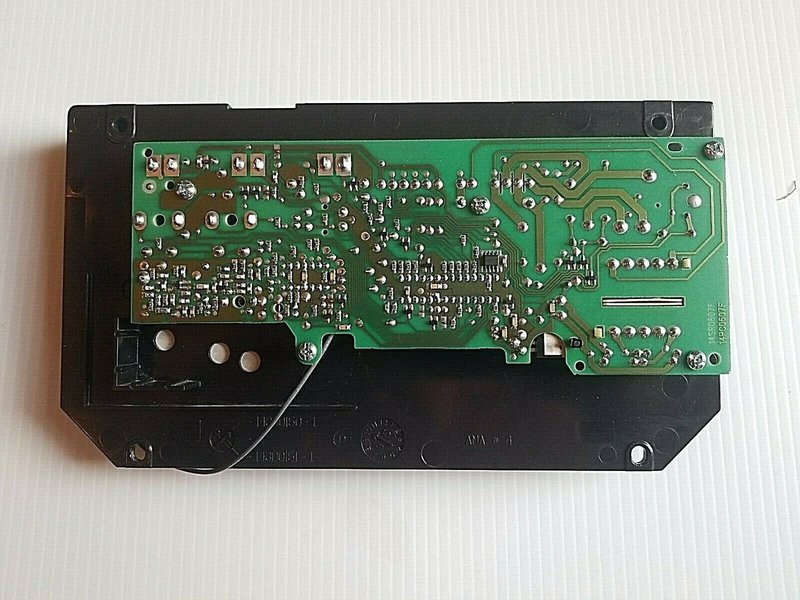
Locating the Circuit Board in Your Opener
Every Sears garage door opener is slightly different, but most models have the circuit board tucked inside the motor housing. Generally, you’ll need to remove a cover to access it. This is usually where the flashlight comes in handy, as those corners can be pretty dark.
Most often, you’ll find two or three screws holding the cover in place. Use your screwdriver to remove these screws carefully. Once you’ve taken off the cover, take a moment to admire the intricate layout of wires and components. This is where the real magic happens!
If you’re not sure where to look, consult the owner’s manual. It often contains valuable diagrams that can guide you through the process. If you don’t have a manual, a quick internet search with your model number can lead you to helpful resources.
Steps to Disable the Circuit Board
Now that you’ve located the circuit board, let’s walk through the steps to disable it. Follow these carefully, and don’t rush—patience is your best friend here.
1. Disconnect the power supply: This step is crucial. Find the power cord leading from your garage door opener to the outlet and unplug it. If your opener is hardwired, switch off the circuit breaker.
2. Remove the connections: Look for any wires connected to the circuit board. You’ll typically see a few terminals where the wires connect. Use your screwdriver to gently loosen these connections. Take note of where each wire goes—you might want to take a photo for reference later.
3. Take out the circuit board: Now, you can carefully unscrew the circuit board from the opener’s housing. Again, be gentle; you don’t want to damage any components.
4. Store it safely: If you plan to use the board again, find a safe, dry place to store it until you’re ready to reassemble everything.
By following these steps, you’ve successfully disabled the circuit board of your Sears garage door opener. It may sound simple, but this knowledge empowers you to tackle future issues with confidence.
What to Do After Disabling the Circuit Board
Once the circuit board is disabled, you have a few options. It’s important to evaluate the reasons you’re disabling it. Are you troubleshooting a problem, or do you plan to replace the board altogether? Here’s what to consider:
– If you’re testing other components, like the remote or sensors, now’s the time to do it. Try syncing a new remote or checking to see if the sensors function correctly. Without the circuit board, you can gather valuable information on the health of your opener.
– In the event that you plan to replace the circuit board, order a compatible one based on your garage door opener model. It’s wise to stick with Sears-branded replacements to ensure compatibility.
– Lastly, if you’re just resetting the system or trying to fix a glitch, leave the circuit board disabled for a short while before plugging everything back in. This can sometimes resolve issues that seemed tricky at first.
Reassembling Your Garage Door Opener
After you’ve completed your tests or installed a new circuit board, it’s time to reassemble everything. Follow these steps carefully:
1. Reconnect the circuit board: If you are using the original board, reinsert it the same way you removed it. Ensure all connections and screws are tight.
2. Reattach the wires: Follow your photo or memory to reconnect the wires to their appropriate terminals.
3. Put the cover back on: Carefully place the housing cover back on the motor unit. Fasten it securely with the screws you removed earlier.
4. Restore power: Finally, plug the opener back into the outlet or switch the circuit breaker back on.
Give the system a moment to power up, and then test it out with your remote. Did it work? If yes, you’ve successfully navigated disabling the circuit board. If not, you might need to dig deeper into troubleshooting.
Disabling your Sears circuit board can feel intimidating, but it doesn’t have to be! Remember, knowledge is power. Understanding how your garage door opener works opens the door (pun intended) to being able to troubleshoot and fix problems when they arise.
In a world where tricky technology often leaves us scratching our heads, you’ve just equipped yourself with the skills to take charge. Problems like a non-working remote or a stubborn door can now be addressed with ease. So, the next time you find yourself in a garage door jam, don’t despair—just remember this guide. Happy fixing!