Many garage door openers, particularly brands like Chamberlain or LiftMaster, come with wall buttons that control the door’s operation. While the convenience is great, there are times when you might want a little more control, or simply wish to prevent accidental openings. So, let’s chat about the steps you can take to disable that overhead door wall button safely and effectively.
Understand Your Garage Door System
Before diving into the nuts and bolts of disabling your overhead door wall button, it’s essential to understand how your garage door system works. At its core, a garage door opener consists of several components: the motor, the door, and the control interface—where the wall button resides.
When you press the wall button, it sends a signal to the motor, opening or closing the door. It’s that simple! Imagine this button as the door’s direct line to the command center. By disabling it, you’re essentially cutting that line temporarily.
What if you have a smart opener? These connect to your Wi-Fi and offer even more functionality. The great news is that most smart systems also allow you to disable the wall button. Let’s find out how to do that.
Gather Your Tools
You don’t need a toolbox filled with gadgets to disable your garage door wall button. In fact, most of the time, all you need is a simple screwdriver and possibly a ladder if your button is mounted high.
Here’s a quick list to get you started:
- Flathead screwdriver
- Phillips screwdriver
- Ladder (if needed)
- Optional: Electrical tape (for extra safety)
If you’re feeling particularly handy, you might also grab some wire connectors—these can help if you’re making any permanent changes. But for now, let’s focus on temporary solutions; they’re usually easier and quicker.
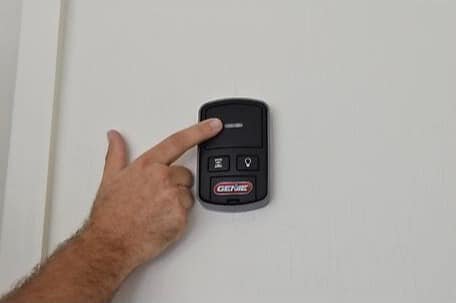
Locate Your Wall Button
Once you have your tools ready, it’s time to find the wall button. Depending on the design of your garage, the button could be located near the garage door itself or somewhere along the wall inside. If it’s out of reach, don’t worry! Just grab that ladder and take a look.
Most wall buttons are mounted about five feet off the ground. It’s a height designed to keep them out of children’s reach while still being accessible for adults. Look for any signs like a light or a brand label—these can help you identify it quickly.
Once you find it, you’re ready for the fun part: disabling it.
Disconnect the Button from the Power Source
Here’s the thing: the safest way to disable the wall button is to disconnect it from the power source. It’s like taking the batteries out of a toy that keeps going off at random moments.
1. Turn Off the Power: Before you do anything, ensure that the garage door opener is powered down. You don’t want any surprises!
2. Remove the Cover: Most wall buttons have a cover that can be taken off with a screwdriver. Carefully unscrew or pop off the cover to access the wires inside.
3. Disconnect the Wires: Inside, you’ll typically see two wires connected to the back of the button. Just unscrew them gently or pull them out.
If you want to be extra cautious, use electrical tape to cover the wire ends after disconnecting. This can help prevent any accidental connections later.
Using the Garage Door Remote Instead
Now that you’ve successfully disabled the wall button, you might be wondering how you’ll operate your garage door now, right? That’s where your remote control comes in handy! Most garage door openers come with a remote that allows you to open or close the door from a distance.
If your remote isn’t working, make sure to check its battery. Sometimes a quick battery change is all it takes to get back to business. Remember, you can also sync your remote with your overhead door opener if it’s not connected. It’s usually a straightforward process that involves pressing a button on the remote and a button on the opener itself.
Consider Long-Term Solutions
If you’re looking for a solution that has a bit more permanence than just disabling the button temporarily, there are a few options.
1. Reposition the Wall Button: If the button is easily accessible by little hands but still critical for your use, consider moving it higher or further away from where you would normally stand when operating the garage door.
2. Install a Lockable Cover: Some manufacturers sell lockable wall button covers that can add a layer of security. This way, you or any authorized users can still access the button when necessary, but children and pets will have a harder time messing with it.
3. Smart Garage Solutions: If you’re into tech, consider upgrading to a smart garage door opener. These let you control your door via a smartphone app, eliminating the need for a wall button altogether.
Troubleshooting Common Issues
Even though you now know how to disable the wall button, you might run into some hiccups along the way. No worries; troubleshooting is part of the process!
– Button Still Responding: If you find that your wall button still operates after attempting to disconnect it, double-check your work. Make sure the wires are completely disconnected and that the power is off before reassembling.
– Remote Issues: If your garage door remote isn’t working, it might need a fresh battery or might require you to resync it with your opener.
– Frequent Opening: If the door keeps opening unexpectedly when you’re using the remote, check for interference. A nearby device could be accidentally triggering the garage door’s signal.
Disabling your overhead door wall button can seem like a hassle, but once you’ve done it, the peace of mind is worth it. Remember, whether it’s for safety or control, you’ve taken the steps to secure your space.
In closing, whether you choose temporary or long-term solutions, the goal is the same: manage your garage door with ease and safety. With the right know-how, you’re more than equipped to tackle this project like a pro.