
For this guide, I’ll walk you through the process using a standard overhead door system, whether you’re working with a LiftMaster, Chamberlain, or another popular brand. Remember, every brand might have its own quirks, but the basic principles are usually the same.
What Are Overhead Door Safety Sensors?
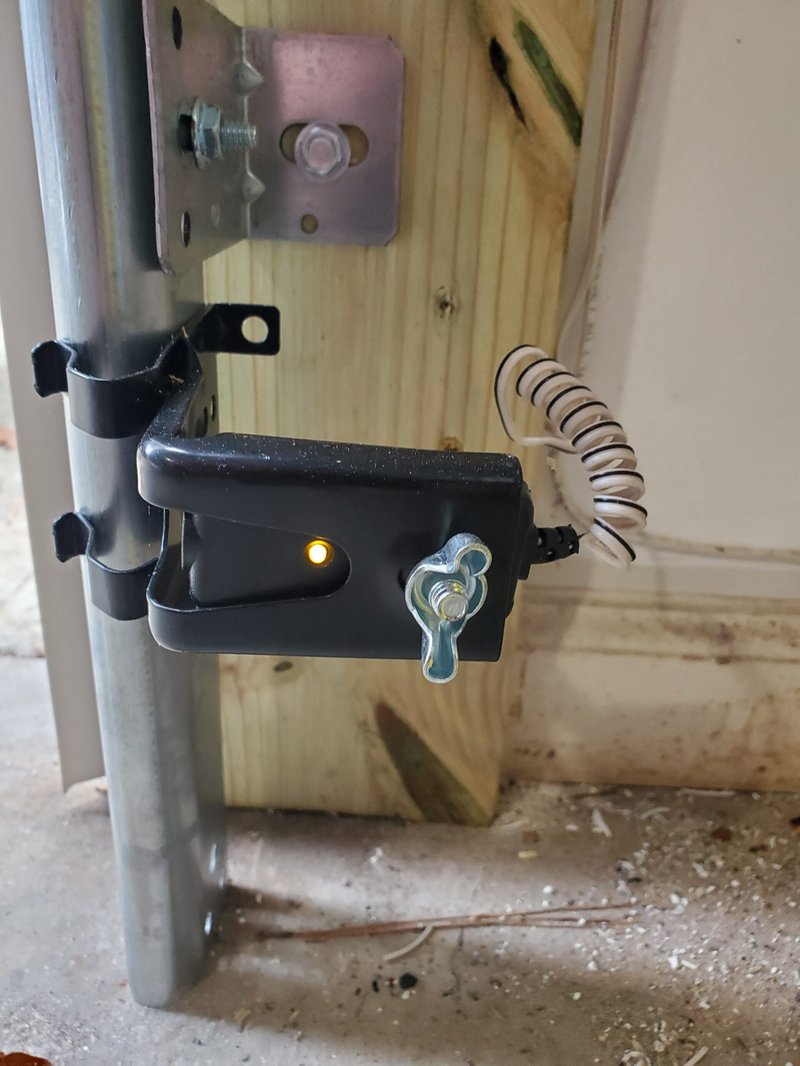
Before we jump into disabling the sensors, let’s take a moment to understand what these little guys do. Overhead door safety sensors use infrared beams to detect any obstruction in the door’s path. When you press your remote, the sensors send a signal to the motor; if there’s something in the way, they tell it to stop. Think of them as your garage door’s personal bodyguards!
Each sensor usually sits a few inches above the ground, working together to create an invisible safety net. If anything breaks that beam, the garage door will halt its descent, and that’s a good thing! However, sometimes these sensors can be overly sensitive or misaligned, causing the door to act erratically. Disabling them might be necessary for troubleshooting or temporary fixes.
When Should You Disable Your Safety Sensors?
As a beginner, it’s important to know when it makes sense to turn off your safety sensors. Here’s when to consider it:
- Miscalibration: If your sensors are misaligned, they’ll cause the door to stop unexpectedly. Sometimes, all you need to do is fix the alignment rather than disable them.
- Maintenance: If you’re just wanting to give your garage door a thorough cleaning or have repairs done, temporarily disabling the sensor can make things easier.
- Testing Issues: If you suspect a faulty sensor, disabling it can help determine if it’s the problem. Testing without them can provide clarity.
You might be wondering why you wouldn’t just let the sensors do their job. That’s fair! But in some cases, allowing the garage door to operate without them temporarily may be necessary for troubleshooting or repairs.
Steps to Disable Overhead Door Safety Sensors
Ready to dive in? Here’s a step-by-step guide to disabling those safety sensors. Make sure you have your garage door remote handy.
Step 1: Power Off Your Garage Door Opener
First things first, let’s keep things safe. Disconnect the power to your garage door opener. You can either unplug it or turn off the circuit breaker. Safety is key here, even if you think you can manage it without powering off.
Step 2: Remove the Sensor Wires
Next, locate the safety sensors at the bottom of the garage door tracks. You’ll see two sensors, typically one on each side. Using a screwdriver, carefully remove the screws that hold the sensors in place.
Now, gently disconnect the wire that connects the sensor to the overhead door opener. Make sure to take note of how it was connected so you can put it back later if needed.
Step 3: Test Your Garage Door
Now that the sensors are disabled, reconnect the power to your garage door opener. It’s time to test! Using your remote, press the open or close button to see how the door behaves without the sensors.
Here’s the thing: while it may function without the sensors, remember that these features exist for your safety. So, this is just for troubleshooting or maintenance, not a permanent fix.
Step 4: Reconnect the Sensors
When you’ve completed your maintenance or testing, you’ll want to reconnect the safety sensors. Simply reverse your earlier steps: connect the wires back to the sensors and attach them to their positions with the screws. Lastly, don’t forget to power back on your garage door opener.
Common Problems and Troubleshooting Tips
Even after disabling the sensors, certain issues can crop up. Here are some common problems and tips to tackle them:
- Intermittent Closing: If your garage door still acts erratically, make sure nothing else is obstructing the tracks. Sometimes, a simple visual check can reveal the culprit.
- Faulty Remote: If your remote doesn’t work after reconnecting the sensors, it could be a dead battery. Check the remote and replace the battery as needed.
- Misalignment: If the sensors are misaligned, recheck their positioning. Sometimes a simple nudge can fix the issue.
Remember, when troubleshooting, patience is key. Sometimes it takes a couple of tries to nab the exact problem.
Alternatives to Disabling Your Safety Sensors
If the idea of disabling your safety sensors doesn’t sit right with you, there are alternatives. For instance, you could:
- Realign the Sensors: Often, sensors become misaligned due to minor bumps. Adjusting their positions can restore functionality.
- Check for Obstructions: Inspect the mounting brackets or clean the lenses. Dirt can hinder their effectiveness, so a simple cleaning may solve your issues without disabling them.
- Reset the System: Sometimes, performing a simple reset on your garage door opener can resolve problems caused by miscommunication or electrical glitches.
These alternatives can often be just as effective as temporarily disabling the sensors—without skipping the safety they provide.
When to Consult a Professional
If you find yourself feeling overwhelmed or unsure about any of these steps, it might just be time to call in a professional. Some other indicators might include:
- The door doesn’t open or close even after troubleshooting.
- You notice any persistent odd noises or movements from the motor.
- The sensors seem damaged or won’t realign no matter how hard you try.
Getting help from a pro can save you time and ensure everything is put back together safely and correctly.
In conclusion, disabling your overhead door safety sensors can be a straightforward process, but it’s essential to keep safety top of mind. While it can help you troubleshoot or maintain your system, remember that these sensors play a crucial role in your overall safety. With a bit of patience and following these steps, you’ll be well on your way to resolving any issues. Stay safe, and happy garage door fixing!