Think of the Smart Hub as a central nervous system for your garage door mechanisms and connected devices. When everything’s connected and syncing seamlessly, it feels like magic. However, just like any tech, it can sometimes run into hiccups. Knowing how to disable it can help you regain control and simplify your setup. Let’s dive into the steps to do this clearly and simply.
Understanding the Liftmaster Smart Hub
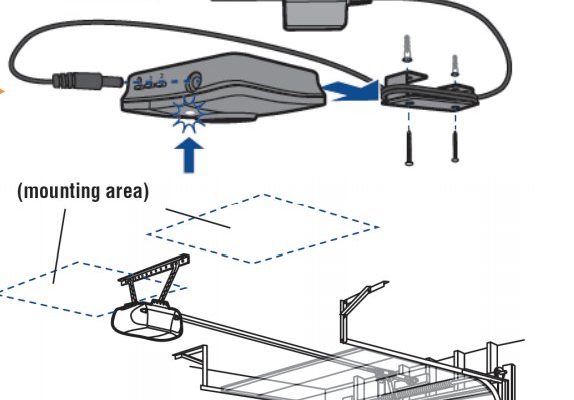
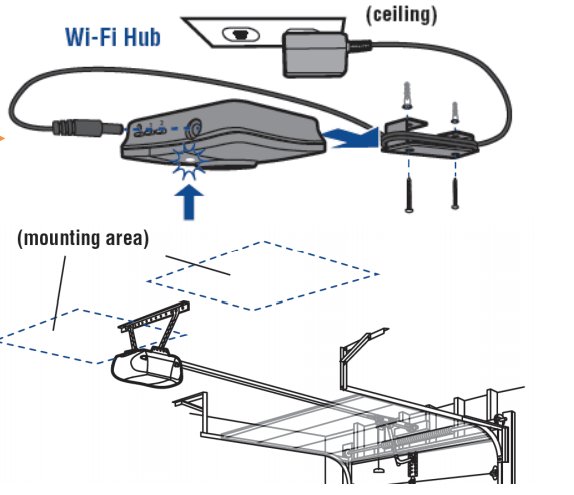
Before we jump into the disabling process, let’s clarify what the Liftmaster Smart Hub is. This device allows you to control your garage door opener remotely via a smartphone app, providing features like real-time monitoring and alerts. Essentially, it connects your garage door to your home Wi-Fi network.
Imagine having the ability to open or close your garage door right from your couch or while you’re on your way home from the store. The Smart Hub communicates securely, giving you peace of mind, but sometimes you may want a break from its constant connectivity.
Disabling the Smart Hub doesn’t mean you can’t operate your garage door. You can still use your remote control or the wall switch. So, whether you’re facing glitches or simply looking for a more straightforward mechanism for a while, you’re in the right place.
Why You Might Want to Disable the Smart Hub
There are several reasons someone might want to disable the Liftmaster Smart Hub. Here are a few common scenarios:
- Troubleshooting Connectivity Issues: If your Smart Hub is acting up—maybe it won’t connect to your Wi-Fi or keeps sending random alerts—disabling it might help reset everything.
- Security Concerns: Some people feel uneasy about having devices connected to the internet, especially if they don’t regularly update their settings or firmware.
- Upgrading Technology: Maybe you’ve decided to switch to a newer system. Disabling the Smart Hub can prepare your garage for its next upgrade.
Whatever your reason, knowing how to disable it can empower you over your home technology and give you back control when things feel off.
Step-by-Step Guide to Disable the Smart Hub
Disabling your Liftmaster Smart Hub isn’t overly complicated. However, it’s essential to go through the right steps to avoid confusion. Here’s how to do it:
Step 1: Access the Smart Hub Interface
First things first, you need to get into the Smart Hub’s interface. You can do this directly from the mobile app you used to set up the Smart Hub.
1. Open the Liftmaster app on your smartphone.
2. Log in with your credentials if you haven’t done so already.
3. Once logged in, navigate to the Smart Hub section or the settings tab.
Having trouble finding it? Sometimes, the interface changes with updates, so ensure your app is the latest version.
Step 2: Disconnect from Wi-Fi
Now that you’ve accessed the Smart Hub interface, it’s time to cut off its connection to your Wi-Fi. This action effectively disables the hub’s functions.
1. Look for the Wi-Fi or Network Settings option within the Smart Hub menu.
2. Select the option to “Disconnect” or “Forget Network.”
3. Follow any on-screen prompts to confirm your choice.
When you disconnect from Wi-Fi, the Smart Hub loses its communication with your connected devices.
Step 3: Disable in App Settings
To ensure everything is properly turned off within your app, you’ll want to double-check a few settings:
1. While still in the Smart Hub section, look for a settings option, often represented by a gear icon.
2. From here, navigate to “Device Management” or something similar.
3. You should see an option to disable or turn off the Smart Hub. Select this option and confirm.
Once you’ve completed these steps, your Smart Hub will be disabled. But remember, you can always re-enable it later if you change your mind or solve the issue.
Common Troubleshooting Tips
Sometimes, even the most straightforward processes can hit a snag. Here are some common problems and how to troubleshoot them when disabling the Smart Hub:
1. App Not Responding: If the app freezes or fails to load, try closing and restarting it. If that doesn’t work, you may need to reinstall the app.
2. Unable to Disconnect from Wi-Fi: If there’s a connection issue during the disconnection process, check your home internet. You might need to restart your router to resolve any temporary problems.
3. Forgotten Passwords: If you can’t remember your login information, follow the prompts in the app to reset your password.
Keep these tips handy in case you encounter any bumps in the road. Simple problems can usually be fixed quickly.
What Happens Next?
After you’ve successfully disabled the Smart Hub, it’s good to evaluate how it affects your garage operation. You can still use your remote and wall controls without any issues. However, the key features linked to the Smart Hub, like remote access and notifications, will no longer be available.
If you’re troubleshooting, make sure to test the garage door’s functionality using those controls. If everything runs smoothly, you’ve successfully isolated the issue. And if you plan to upgrade your tech soon, you’ll have a clean slate to work with.
Re-Enabling the Smart Hub
If you decide you want to use the Smart Hub again, re-enabling it is usually as simple as following the steps in reverse:
1. Open the Liftmaster app and log in.
2. Navigate to the Smart Hub section.
3. Reconnect to your Wi-Fi by entering your network credentials.
4. Re-enable any features you like.
It’s as easy as that! Just remember to monitor the Smart Hub after reactivating it to ensure everything functions smoothly.
Final Thoughts
Disabling the Liftmaster Smart Hub can feel like a daunting task at first, but it doesn’t have to be. Think of it as pressing the reset button on a game you’re stuck on. Sometimes, taking a step back gives you a clearer path forward.
Whether you’re troubleshooting issues or simply switching things up, understanding how to disable this feature reinforces your control over your garage system. And who knows? You might find that a little break from the Smart Hub is just what you needed to enhance your home experience.
Feel free to return to this guide whenever you need a refresher, and don’t hesitate to reach out for help if you encounter any roadblocks. Your garage should always work for you—not the other way around!