Liftmaster remotes, well-known for their reliability and ease of use, can bring a world of convenience to your daily life. But they can also throw you for a loop if you need to disable them temporarily or for troubleshooting purposes. Let’s break down the steps and considerations involved in disabling your Liftmaster remote, step by step.
Understanding Your Liftmaster Remote
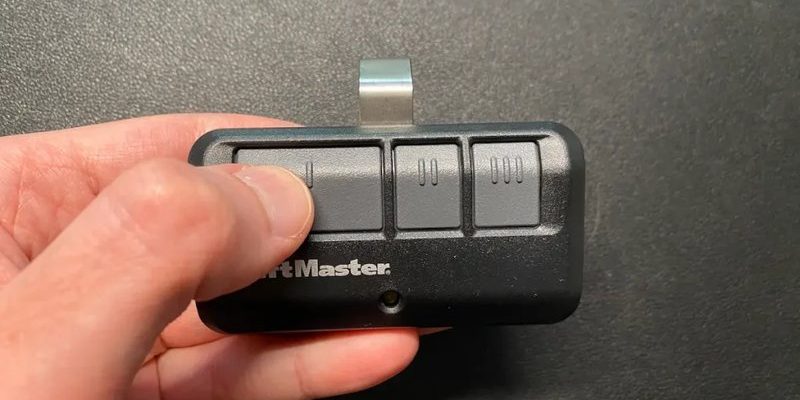
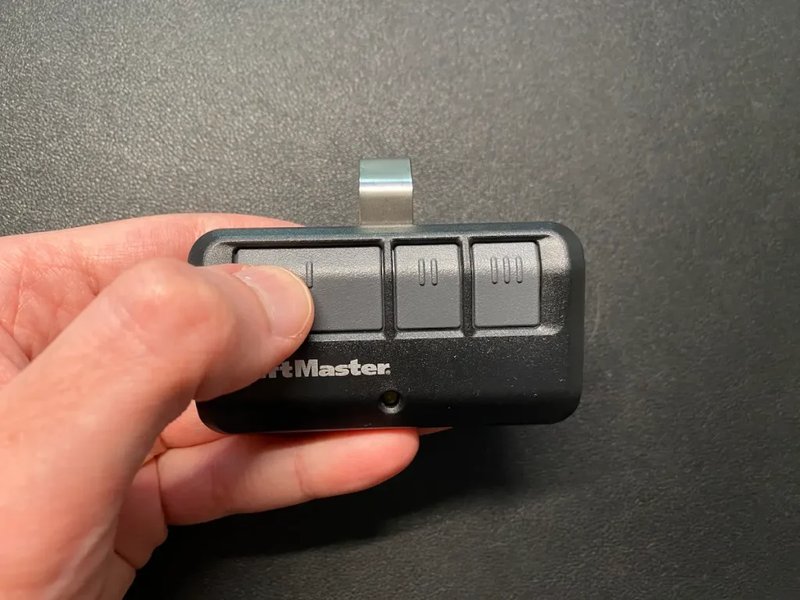
Before diving into the disabling process, it’s important to know a bit about your Liftmaster remote. Typically, it’s a small, handheld device designed to communicate with your garage door opener. These remotes function using radio signals; they connect to the opener unit in your garage to open or close the door at the press of a button.
But sometimes, interference can occur. Maybe a nearby electronic device is messing things up, or perhaps you didn’t mean to trigger the opener when you were just trying to adjust a flower pot. Understanding the basic operation of your remote can help you troubleshoot more effectively. If you’re unfamiliar with the back of your remote, you’ll usually find a few buttons and a battery compartment. The programming code it uses often plays a key role when it comes to syncing and resetting.
Why do you need to disable the remote, though? Common reasons include avoiding accidental openings or having other family members interfered with your access. Whatever the reason, knowing how to switch off your Liftmaster remote is a skilled move worth mastering.
Methods to Disable Your Liftmaster Remote
Now that you’re familiar with your remote, let’s look into how to disable it. Disabling a Liftmaster remote isn’t an over-complicated task; in fact, there are a few methods you might try, depending on your situation.
Method 1: Disable via the Learn Button
One effective way to disable your Liftmaster remote is by using the “Learn” button found on the garage door opener unit. Here’s how to do it:
1. Locate the Learn Button: This button is usually found on the back or side of the garage door opener. It may be yellow, red, or purple, depending on the model.
2. Press and Hold: Once you find it, press and hold the “Learn” button for about 6 seconds. You should see the indicator light turn off.
3. Test Your Remote: Now, after releasing the button, try pressing your remote. If it doesn’t operate the door anymore, congratulations—you’ve disabled it!
This method effectively removes the remote from the system, so you don’t have to worry about accidental openings. It’s like putting your phone on “Do Not Disturb” mode.
Method 2: Remove the Battery
If you’re looking for a quick and straightforward way to temporarily disable your remote, simply removing the battery can do the trick. Here’s a safe approach to get that done:
1. Locate the Battery Compartment: Flip over your Liftmaster remote and look for a small panel on the back—this is usually where the battery is housed.
2. Open It Up: Carefully slide or pop off the battery compartment cover. This can usually be done with your fingers.
3. Remove the Battery: Take out the battery, ensuring you don’t damage the terminals. This step will stop your remote from sending any signals.
4. Test the Remote: Pressing the buttons after removing the battery should yield no response. When you’re ready to use it again, simply replace the battery.
This method is perfect if you’re not looking to permanently disable the remote but need a quick fix.
Re-enabling Your Liftmaster Remote
So, what if you’ve disabled your remote and now you want it back in action? Re-enabling it is just as simple as disabling it. Here’s how to do it:
1. For the Learn Button Method: Just press the Learn button on the garage door opener unit again, and then press the button on your remote. This should sync it back up, and you’ll be good to go!
2. Reinsert the Battery: If you removed the battery, simply pop it back into the compartment and secure the cover.
3. Test Functionality: Try out the buttons and see if they work. You should hear the satisfying sound of your garage door moving.
It’s really that straightforward. Disabling and re-enabling your Liftmaster remote offers you control when you need it most.
Troubleshooting Common Issues
Even with the simplest of tasks like disabling a remote, problems can pop up. Here are some frequent issues you might encounter along the way and how to address them.
- Unresponsive Remote: If your remote isn’t responding, check to ensure the battery is fresh and properly inserted.
- Inconsistent Functionality: Sometimes distant objects can interfere with signals. Bring the remote closer to the garage door opener and see if it makes a difference.
- Remote Not Syncing: If your remote won’t pair back after disabling, reset the garage door opener according to the manufacturer’s instructions, then try syncing again.
Feeling stuck is never fun, but troubleshooting often reveals simple fixes.
Additional Safety Tips
When dealing with any electronic device, safety should always be a priority. Here are a few extra tips to keep in mind when working with your Liftmaster remote:
1. Mind Your Surroundings: Ensure you’re not too close to metal objects or other electronics that could confuse the signal.
2. Regular Maintenance: Periodically check the battery and clean the battery contact area to keep everything functioning smoothly.
3. Keep It Stored Safely: When you’re not using your remote, consider storing it in a safe, dry place to prevent it from getting damaged.
Safety is crucial, and these tips will help keep your remote in top condition.
Disabling your Liftmaster remote doesn’t have to be a daunting task, and it can provide peace of mind when dealing with unexpected garage door activations. Whether you choose to use the Learn button or just remove the battery, you’ve now got the tools to manage your device effectively. Remember, it’s all about taking control and making sure that your home security remains a top priority. So, the next time that remote begins to feel more like a hassle than a help, you’ll know exactly what to do!