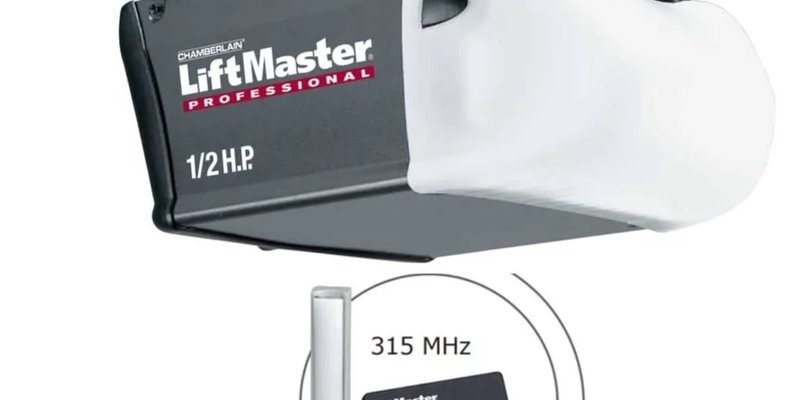
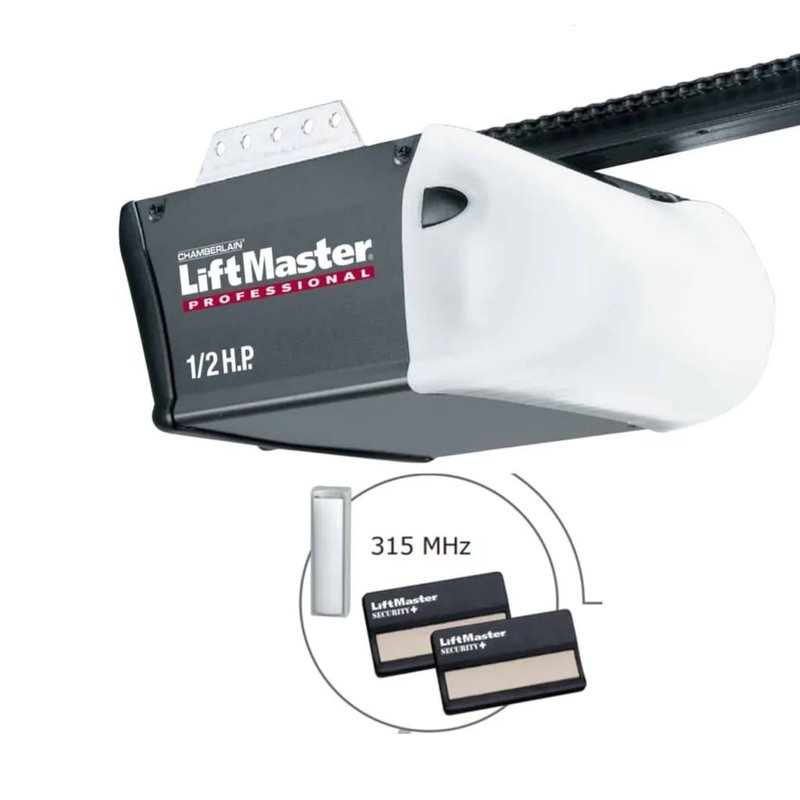
Liftmaster offers various models, so whether you have a belt-driven or chain-driven garage door opener, this guide will walk you through the process, step-by-step. Imagine we’re sitting down together, and I’m showing you how to get this done without any fuss.
Why You Might Want to Disable the Motor Unit
There are a few reasons you might need to disable the Liftmaster motor unit. Maybe you’re conducting maintenance, addressing a remote control issue, or performing an installation. Sometimes you just want the peace of mind that comes from making sure everything’s safe while you work around the door.
Safety is paramount. Disabling the motor ensures the door won’t accidentally lower while you’re working on it, preventing injuries or damaging your vehicle. Imagine trying to fix something underneath your car and it suddenly moves; not fun, right? Disabling the motor makes that danger a thing of the past.
Another reason could be troubleshooting. If your garage door isn’t responding correctly, disabling the opener helps you rule out any motor-related issues. It allows you to focus on the remote or the sensors without worrying about the door moving unexpectedly.
Locating the Disconnect Switch
Most Liftmaster units come equipped with a manual disconnect switch. This is your go-to feature for disabling the motor. It’s usually a red cord hanging from the motor unit itself, often positioned away from the usual buttons—like a secret you need to uncover.
To find it, look up at the motor unit’s ceiling-mounted location in your garage. Follow the track of the garage door until you spot the switch. Most models will have this switch clearly labeled. Once you locate it, ensure there’s adequate lighting to avoid any mistakes while you’re working.
When you pull down on the red cord, it disconnects the door from the motor. But here’s the important part: while you’ve disabled the motor, your door can still be operated manually. It’s like unlocking a car to drive it manually rather than using the starter.
Using the Wall Control to Disable the Motor
If you rather use the wall control unit, that’s also an option. This is particularly useful if you’re looking to temporarily disable the motor but haven’t yet managed to get to that disconnect cord. Here’s how to do it:
1. Locate the Wall Control: This is usually installed inside your garage, near the door leading to your house.
2. Access the Settings: Look for a small button or setting labeled “Learn” or “Settings.” Press this.
3. Hold the Button: Hold down the “Close” button for about 10 seconds. This action signals the motor unit to temporarily disable itself.
Doing this through the wall control is simple and effective for short-term disconnection.
Disabling the Remote Control
In some situations, you might want to disable the remote control instead of the entire motor unit. If you’ve got kids playing around and you don’t want them to open the garage door unintentionally, here’s what you can do:
– Locate the remote battery cover and remove the batteries. This action effectively disables the remote until the batteries are reinserted.
– Another option is to reset your remote entirely. To do this, hold down the button you typically press to open the garage door for about 15 seconds. This will erase its programming.
Disabling the remote keeps your door securely closed without needing to mess with the motor unit itself. How easy is that?
Disabling Power to the Motor Unit
If you’re working on repairs or installation and want to ensure complete safety, you can disable power to the motor unit:
1. Locate the Power Outlet: Every Liftmaster motor unit plugs into a standard outlet. Find this outlet—usually in the garage ceiling or wall.
2. Unplug: Simply unplug the unit from the outlet. This disconnects all power going to the motor, ensuring it’s completely off.
3. Reset: If you need to reset the motor after your work is done, you can plug the unit back in and follow the manufacturer’s instructions.
By cutting off power, you can safely work on any parts connected to the motor.
Reconnecting the Motor Unit
Once you’ve finished whatever it was that required you to disable the motor, it’s time to get everything back up and running. This step is just as important as disabling the motor, so let’s go through how to do this properly.
– Reconnect the Red Cord: If you used the manual disconnect cord, pull it back down to re-engage the door with the motor.
– Check Wall Controls: If you disabled the motor via the wall control, you might need to reprogram or ensure the settings are back to normal.
– Plug it Back In: If you disabled power at the outlet, just plug it back in and ensure everything is connected correctly.
Getting everything reconnected can be just as straightforward as disabling it. Always remember to test your door by using both the remote and the wall control after you’ve made changes.
Troubleshooting Common Issues
Sometimes, disabling the Liftmaster motor unit doesn’t go quite as smoothly as planned. Here are a few common hiccups and how to address them:
1. Remote Not Working: If your remote is still unresponsive after re-enabling, check the batteries. Sometimes, they might need replacing without you realizing it.
2. Door Won’t Open/Close: If your door doesn’t cooperate after re-initiating, there might be an issue with the sensors or the tracks. Check to see if anything is blocking their path.
3. Unresponsive Wall Control: If the wall control doesn’t seem to work, try resetting it according to your model’s manual. Sometimes a simple reset solves the problem.
Whether you’re dealing with a stubborn remote or a runaway garage door, a little troubleshooting can go a long way.
In conclusion, disabling your Liftmaster motor unit can seem daunting, but it’s really just a series of easy steps. Remember, whether you’re doing it for safety, maintenance, or troubleshooting, understanding the process makes everything smoother. Trust me, a bit of knowledge can save you time and hassle down the road. Now, get out there and tackle that project with confidence!