In this guide, I’ll walk you through the process of disabling the battery backup feature, along with some useful tips. Whether you’re using a wireless remote or a traditional one, you’ll find the instructions simple and straight-forward. Don’t worry if you’re a complete beginner; I’ll explain everything clearly!
Understanding Your Craftsman Battery Backup
Before we dive into the technical steps, it’s important to understand what the battery backup actually does. This feature allows your garage door opener to function during a power outage, which can be invaluable. Think of the backup battery as a safety net, allowing you to operate your garage door even when the lights go out.
Most Craftsman models come equipped with a 12-volt battery, which can typically last for several years with normal use. However, if you find this feature unnecessary and would rather not deal with the battery maintenance, then disabling it is a wise choice. You might be wondering why you should even bother with this process. Well, disabling it can help prevent the battery from draining unexpectedly, which can lead to other issues.
Gathering Your Tools
Before you start, make sure you have all the necessary tools and items at hand. Here’s a quick list to help you prepare:
- Craftsman garage door opener manual
- Flathead screwdriver
- Torpedo level (optional)
Having your manual can be incredibly useful for specific model instructions. It’s like having a map on an unfamiliar road trip. The flathead screwdriver will help you open the battery compartment without damaging anything. And while a torpedo level isn’t mandatory, it can be handy if you ever need to adjust or level your garage door in the future.
Locating the Battery Backup
Next, you’ll need to find where the battery backup is located on your Craftsman garage door opener. Most homeowners will find it either on the side or the back of the unit, typically housed in a compartment that you can easily access.
Typically, this compartment is secured with a cover or a small latch. To access the battery, just push or slide the cover off. If you’re new to this, it might be similar to opening the hood of a car for the first time—once you see inside, it’s all about what to do next.
While you’re at it, take a quick look around the opener. Ensuring that everything is connected properly can save you some heartache later.
Disabling the Battery Backup
Now let’s get to the heart of the matter: disabling the battery backup itself.
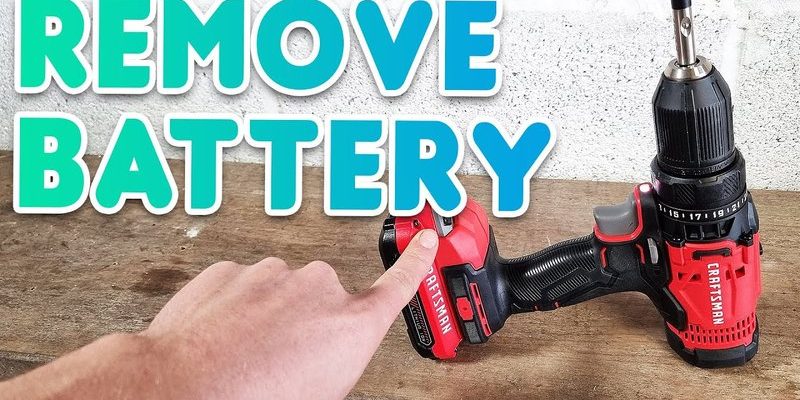
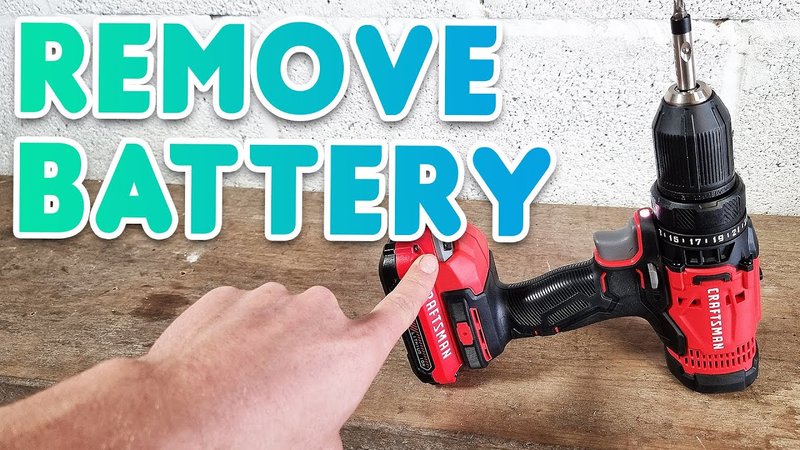
1. Open the battery compartment: Use your flathead screwdriver if necessary to remove any screws.
2. Disconnect the battery: You will see two wires—usually a red and a black one—connected to the battery terminals.
3. Carefully detach them: Gently pull the battery wires off the terminals. It’s like unplugging a lamp—easy and straightforward.
At this point, the battery backup should be disabled. Make sure that the battery is safely stored away or disposed of if you’re not planning to use it again. It’s often a good idea to refer back to your manual during this step to ensure you’re following the specific recommendations for your model.
Resetting Your Garage Door Opener
After disabling the battery backup, it’s a good idea to reset your garage door opener. This step ensures that the system recognizes the change. Here’s how to do it:
1. Unplug the unit from power: For safety, unplug your garage door opener for a few minutes.
2. Plug it back in: After a few minutes, plug it back in to give the system a fresh start.
3. Test the opener: Use your remote to open the door. It should work as normal.
Resetting is like giving your system a little refresher, clearing out any glitches that might occur post-disabling.
Monitoring the Changes
After you’ve disabled the Craftsman battery backup and reset the system, keep an eye on how everything is functioning. You might want to test your garage door opener multiple times in the upcoming days to ensure everything is working smoothly.
Monitor any changes in operation, such as louder noises or slower movements, which might indicate other underlying issues. If anything feels off, it could be a sign you need to check the garage door alignment, which can happen if the opener isn’t set up right.
At this point, consider your next steps. If everything is working flawlessly, congratulations! You’ve successfully disabled the battery backup.
If you’re having issues, don’t hesitate to consult your user manual or reach out to customer service for further troubleshooting. Remember, maintaining your garage door system is key to keeping your home secure.
Final Thoughts
Disabling the Craftsman battery backup doesn’t have to be a complicated task. By preparing yourself, knowing the layout of your garage door opener, and following the simple steps outlined here, you can easily navigate this process. Whether you wish to save on battery costs or just prefer a more straightforward operation, you now have the knowledge to make that change.
Remember, the goal is to ensure your garage door opener works the way you want it to. And now that you’ve taken this step, you have a better grasp of how your system operates—giving you more confidence in handling it. If you need more assistance, don’t hesitate to reach out to a professional or explore online resources for further guidance. Happy DIY-ing!