Think of it like adjusting a light switch. Sometimes, you just want to turn it off, and other times, you might be looking for a bit more control. In this article, we’ll explore why you might want to disable your Chamberlain keypad, how to go about it, and what to consider afterward.
Why You Might Want to Disable Your Keypad
There are several reasons you might want to disable your Chamberlain keypad. The most common scenario is changing your security codes. If you’ve recently moved into a new house or had work done on the garage door system, you may want to disable the old code and set a new one. After all, you wouldn’t want someone who knows the previous code to access your garage, right?
Additionally, there can be technical hiccups. If your keypad has been acting up—like activating the door when it shouldn’t—disabling it might be your best first step in troubleshooting the problem. There’s also a peace-of-mind factor; if you’re going away for an extended time, turning off access can feel like a little safeguard.
Lastly, if you’re thinking about updating or replacing your garage system, disabling the keypad can help streamline that process. Keeping things simple reduces confusion and maintains security during transitions.
Gathering Your Tools
Before diving into disabling the Chamberlain keypad, let’s make sure you have what you need. Fortunately, it’s all pretty straightforward!
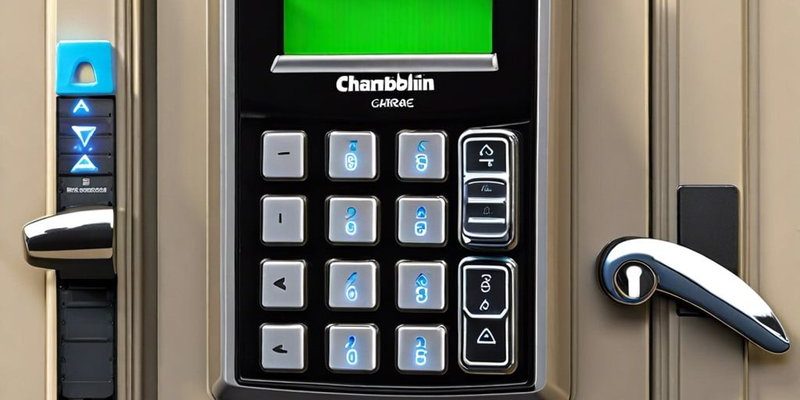
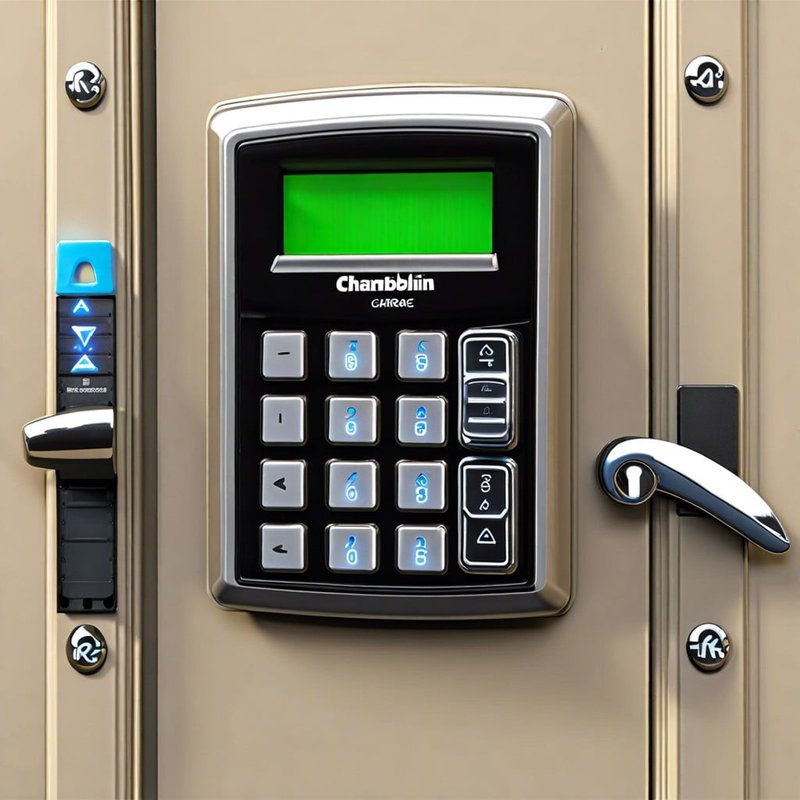
- Chamberlain Keypad: This is the star of the show—make sure you know the model you own.
- Owner’s Manual: If you’ve got it handy, that’s a goldmine for specifics.
- Small Phillips-head screwdriver: Some models might require unscrewing.
- Notebook or phone: It helps to jot down any new codes or changes made.
Having these tools at your disposal will make the whole process smoother. It’s like having the right ingredients before cooking; everything just turns out better!
Step-by-Step Guide to Disable Your Chamberlain Keypad
Alright, let’s get into the nitty-gritty. Here’s a straightforward guide to disabling your Chamberlain keypad.
Step 1: Locate the Learn Button
First things first, you need to find the Learn button on your garage door opener. It’s usually located on the back or side of the motor unit. When you press it, the light will blink, indicating it’s ready to sync or unsync devices.
Step 2: Disable the Keypad
Here’s where the magic happens! Press and hold the Learn button until the indicator light turns off. This action effectively removes the keypad’s programmed access. No more code will open the door, so make sure you’re ready for that!
Step 3: Test the Changes
Now that you’ve disabled the keypad, it’s time for a quick test. Exit your garage and try entering your previous code. If all went smoothly, the door shouldn’t budge. Congrats! You’ve just taken a crucial step towards securing your garage.
Step 4: Reprogram if Necessary
If you plan to use your keypad again, now might be a good time to program a new code. Follow the instructions in your user manual. Enter the new code, press the Learn button, and watch the light blink—it’s all about syncing!
Troubleshooting Common Issues
Sometimes, disabling the keypad can lead to unexpected challenges. Here’s how to handle a couple of common problems.
Keypad Still Responds
If your keypad seems to be working even after you disabled it, double-check that you held the Learn button until the light went out. Sometimes, a simple oversight can throw everything off. If issues persist, it might be worth resetting the entire garage door opener.
No Access to the Door
On occasion, you might run into a situation where your remote or wall switch no longer works. If this happens, it’s typically unrelated to disabling the keypad. Look into troubleshooting the remote itself—consider checking the batteries and syncing it again.
What to Do After Disabling
So, your keypad is now disabled—what’s next? If you’re thinking about getting a new keypad or upgrading your garage door system, do your research. There are universal remotes available, but Chamberlain products usually provide the best compatibility.
If you’re not replacing it, consider regularly changing the code if you decide to turn it back on later. Security evolves, and staying one step ahead can give you that extra peace of mind.
Disabling your Chamberlain keypad doesn’t have to be a daunting task. With a few easy steps and the right tools, you can enhance the security of your garage or troubleshoot any pesky issues. Whether you’re changing codes, moving, or just giving yourself a little breathing room, knowing how to disable your keypad is a handy skill to have.
Remember, like adjusting that light switch—we’re just taking back control of our space, ensuring it feels comfortable and secure. When you’re ready to bring back your keypad, just reverse the process! Happy managing, and may your garage doors always open with ease!