Think of the Skylink circuit board as the brain of your garage door opener; without it, your remote control is just a fancy button pusher. So, whether you’re replacing a faulty circuit board or trying to sync a new remote, let’s walk through the details step-by-step. By the end, you’ll not only know how to connect it but also get a better understanding of how everything fits together.
Gather Your Tools and Materials
Before diving into the connection process, it’s smart to gather everything you need. This part is kind of like prepping your ingredients before cooking. You wouldn’t want to start a recipe only to find out you’re missing key ingredients, right? Here’s what you should collect:
- Skylink circuit board: Make sure it’s the right model for your garage door opener.
- Screwdriver: Usually a Phillips or flathead depending on the casing.
- Wiring connectors: You may need these to secure connections.
- Remote Control: The one you want to connect.
- Basic multimeter: Optional but useful for checking connections.
Having everything laid out in front of you will streamline the process and minimize any hiccups along the way.
Identify Your Garage Door Opener Setup
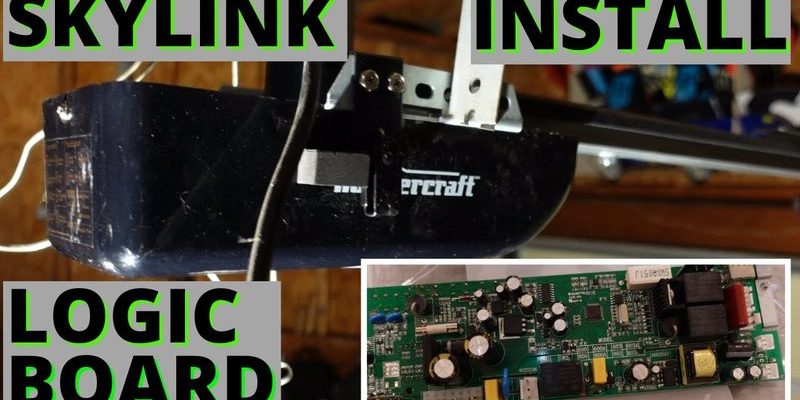
Before we jump in, you need to understand where everything is in your garage door opener setup. Each model may have its quirks, so it helps to familiarize yourself with yours. Take a moment to locate the power unit for your garage door; typically, this is mounted on the ceiling.
Most Skylink garage door openers will have labels and diagrams on the unit itself, which are lifesavers at this stage. You’ll want to identify the connectors for the circuit board and the section where your remote signals are processed. This is important because it lets you know where changes need to happen.
Once you’ve got a good visual of the layout, make sure you have a comfortable workspace to avoid any frustration. You don’t want to be fumbling around in a cramped corner.
Disconnect the Power
This step is crucial for your safety and the functionality of your equipment. Always disconnect the power before you start working on electrical components. Think of it as turning off the stove before you start cooking.
To disconnect the power, locate the power cord on your garage door opener and unplug it. If your model has a wall switch, simply switch that off for extra safety. Wait a moment for any residual power to dissipate; this ensures no unwanted surprises while you work.
Feel free to double-check that the power is off by attempting to operate the garage door remotely. If it doesn’t respond, you’re good to go!
Connecting the Circuit Board
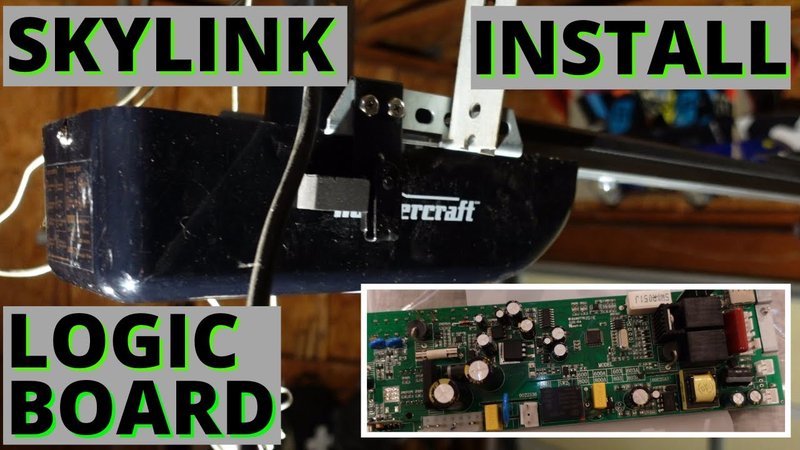
Now we’re at the heart of the operation: connecting the Skylink circuit board. First, carefully open the casing of your garage door opener using the screwdriver. You’ll typically find a few screws holding the cover in place on the sides or bottom.
Once the casing is off, locate the connection points for the circuit board. These are usually color-coded or labeled, so you will want to take a good look at the board itself.
1. Align the circuit board with the connectors.
2. Insert the wires into the correct terminals based on the labels.
3. Secure everything tightly using the wiring connectors for a solid connection.
You might be asking yourself if you can mix wires up, and the answer is definitely no—always match the colors or labels. This is like making sure your puzzle pieces connect correctly; if they don’t match, they just won’t work.
Pairing Your Remote Control
Once your circuit board is connected, it’s time to pair your remote. This part is usually straightforward, but it can differ slightly among models. With the remote in hand, look for a programming button on the circuit board. This is your key to pairing.
1. Press and hold the programming button. You’ll often see a light indicator that will start to blink.
2. While holding the button, press a button on your remote that you want to use for the garage door.
3. Release both buttons when you see the indicator light either flash or stop blinking.
What you’re doing here is teaching the circuit board to recognize the remote, kind of like introducing two friends for the first time. If it doesn’t connect, you may need to reset the remote by following a similar procedure.
Testing the Setup
Once your connections are made, and the remote is paired, it’s time for a test run! Plug the power cord back in and switch the device back on. If you had disconnected the power from the wall, remember to turn it back on as well.
Now for the fun part—give that new remote a test! Press the button, and watch your garage door open or close. If it doesn’t work, double-check your connections and ensure everything is tight and as it should be. You might need to repeat the pairing process if it didn’t take initially.
If you encounter any issues, don’t panic. Sometimes, just resetting the circuit board or the remote can solve minor glitches.
Finalizing and Closing the Casing
Once everything is working smoothly, it’s time to finalize your project. Carefully reattach the casing to protect the parts inside. It’s important to ensure all wires are tucked away neatly to prevent any mechanical interference.
Use your screwdriver to secure the screws gently. Remember, you don’t need to over-tighten; just a snug fit will do!
Lastly, take a moment to admire your handiwork. Connecting the Skylink circuit board isn’t rocket science; it just requires a bit of patience and attention.
Closing thoughts: If everything works well, you’ve just become a bit more knowledgeable about your garage door system. And the best part? You did it all yourself! Whether it’s troubleshooting down the line or helping a neighbor, you now have valuable skills in your toolbox.