Just like learning a new dance move can seem tricky at first, connecting your Raynor wall button can be straightforward with the right guidance. In this article, we’ll walk through the steps to connect your wall button effectively, troubleshoot any issues, and explore why keeping your garage door opener functioning smoothly is essential. So, grab a cup of coffee, and let’s dive right in.
Understanding Your Raynor Wall Button
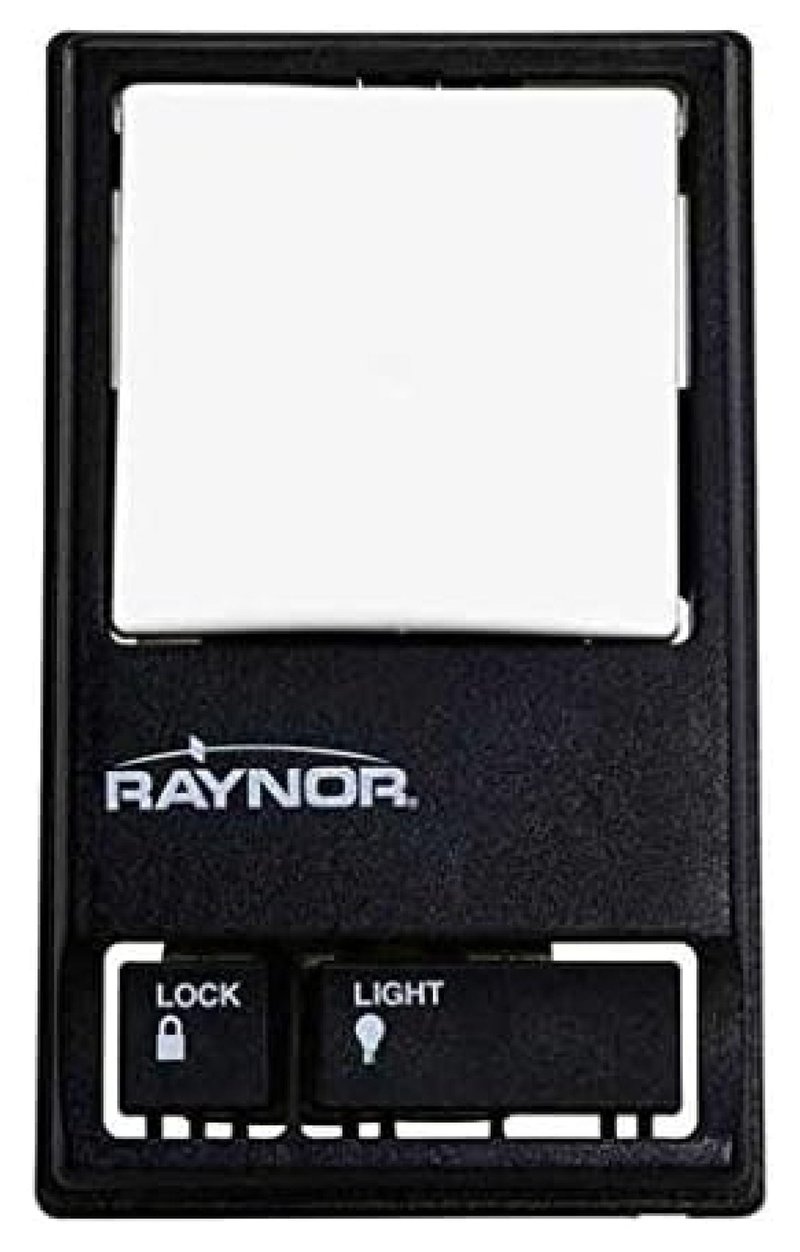
Before we jump into the connection process, let’s talk about what exactly your Raynor wall button does. This little piece of hardware is crucial for your garage door system. It communicates with your garage door opener, sending a signal to open or close the door. Knowing how it works makes it easier to troubleshoot later on.
Most Raynor wall buttons come with a sleek design and intuitive functions. They’re often equipped with a light that indicates when the button is actively in use. If you’ve ever noticed a flickering light, that’s a sign your button is on and ready to roll. In most cases, you can connect your Raynor wall button with just a few simple tools—no fancy tech skills required!
Gathering the Right Tools
Before you start the connection process, it’s essential to have all the right tools handy. Think of this like preparing your canvas before painting—you want everything set up nicely. Here’s a quick list of what you’ll need:
- Screwdriver: A Phillips or flathead, depending on your wall button’s screws.
- Wire Strippers: Useful for prepping the wire ends for connection.
- Voltage Tester: Optional, but it helps to ensure connections are live before working on them.
- New Batteries: If your button uses batteries, make sure you have fresh ones.
Once you’ve gathered these tools, you’re ready to tackle the installation. Ensuring you have everything beforehand can save you from running back and forth—trust me; it’s much easier this way!
Connecting the Raynor Wall Button
Now comes the fun part—connecting your wall button. Before you start, ensure the power to the garage door opener is turned off; safety first! You wouldn’t want any surprises while you’re working.
1. Remove the Cover: Start by unscrewing the wall button cover carefully. Depending on the model, there may be one or two screws holding it in place.
2. Wiring: You’ll find two or more wires inside. These usually connect to terminals labeled “1” and “2.” Loosen these terminal screws.
3. Strip the Wires: Use your wire strippers to expose about half an inch of copper wire. This makes for a better connection.
4. Connect Wires: Attach each stripped wire to the terminal screws—typically, it doesn’t matter which wire goes where, but check your manual if you’re unsure. Tighten the screws securely to ensure a good connection.
5. Replace the Cover: After everything is snug, replace the cover and screw it back into place.
Once you’ve finished this step, it’s time to turn the power back on. Ready for the moment of truth?
Testing Your Connection
So, you’ve connected your Raynor wall button—great job! Now let’s make sure it works as intended.
1. Press the Button: Give it a quick press. If everything is connected correctly, you should see your garage door respond.
2. Watch for Indications: Some buttons may have lights that flash when activated; this is a good sign that communication is successful.
3. Listen Carefully: If you don’t hear the motor running or see the door moving, check to ensure the connection is secure and that power is indeed flowing.
If your garage door still isn’t operating, don’t panic. Sometimes, all it takes is a simple reset or double-checking the wiring.
Troubleshooting Common Issues
If your Raynor wall button isn’t working, it’s essential to troubleshoot before giving up.
* Check the Power Source: Make sure the garage door opener is plugged in and that the circuit breaker hasn’t tripped. It might seem obvious, but it’s an easy fix.
* Test the Button’s Response: If your button has a battery, try replacing it. Dead batteries can lead to unresponsive buttons.
* Inspect the Wires: Ensure the wires you connected are intact and not frayed. If you see any damage, you’ll need to replace those wires.
In many cases, following these simple troubleshooting steps will save time and give you peace of mind. Remember, even the slightest oversight can cause a hiccup in a generally straightforward process!
Why Proper Connection Matters
Connecting your Raynor wall button correctly isn’t just about making your garage door work—it’s about convenience and safety. A malfunctioning garage door can be a hassle, not to mention a potential hazard if it doesn’t close fully.
Think of it like locking your front door—if it’s not secured, your home isn’t as safe. Similarly, an unreliable garage door can make your car or storage space vulnerable. By making sure your wall button is connected correctly and working smoothly, you keep your home safe and protect your belongings.
Additionally, a well-functioning wall button reduces wear on the garage door motor. It helps in extending its lifespan, which can save you money on repairs in the long run. Win-win!
Connecting your Raynor wall button might seem daunting at first, but with these straightforward steps, you can have it working in no time. Whether you’re troubleshooting or connecting it for the first time, knowing how to deal with your garage door system gives you a level of confidence and control.
Just remember to gather your tools, follow the connection steps carefully, and test your work. Taking these small but necessary precautions keeps your home secure and your garage door functioning smoothly. Happy connecting!