Now, if you’ve ever swapped batteries in a remote or hooked up a simple electronic device, you’ve got the basic skills needed. Each step you take is like piecing together a puzzle—you just need to know where each piece fits. This article will guide you through the process, so let’s get those cables connected!
Understanding the Raynor Circuit Board
Before diving into the actual connection process, it’s crucial to understand what the Raynor circuit board does. This component is similar to a control center. It manages all the inputs and outputs for your garage door opener. For instance, when you press your remote, the command travels through the circuit board to engage or disengage the motor. Pretty neat, right?
The circuit board also includes several connectors for various components like the motor, the safety sensors, and your remote control receiver. Each connection works together like a well-orchestrated team, ensuring your garage door operates smoothly. Understanding the layout can really make things clearer. Check your user manual for a diagram—often, it’s the roadmap you need.
Gathering Your Tools and Parts
Getting ready to work on the circuit board? Let’s gather what you need first. It’s like preparing for a small camping trip: having the right gear makes everything easier.
1. Screwdriver Set: You’ll likely need a Phillips or flathead screwdriver, depending on your circuit board’s screws.
2. Multimeter: This handy tool helps you check voltages and ensure everything is working properly.
3. Wire Strippers: If you’re dealing with new wire connections, these will help prepare your wires for connecting.
4. Safety Gear: Don’t forget gloves and safety glasses—better safe than sorry, right?
Once you have everything ready, you’re just inches away from making the connection successfully. It’s like having all your camping supplies laid out, so you’re not scrambling in the middle of the night!
Steps to Connect Your Raynor Circuit Board
Now that you have your tools and understand the circuit board’s role, let’s go through the connection process step-by-step. Start by ensuring the power is off. Picture it as unplugging your phone before handling it—safety first!
1. Remove the Cover: Using your screwdriver, carefully remove the screws holding the circuit board cover. Make sure to keep these screws in a safe place so you can put them back later.
2. Identify the Terminals: Look at the terminals on the board. You’ll typically see markings for the motor, sensors, and power supply. You can reference the manual if unsure; it’s like having a map while hiking, guiding you through each step.
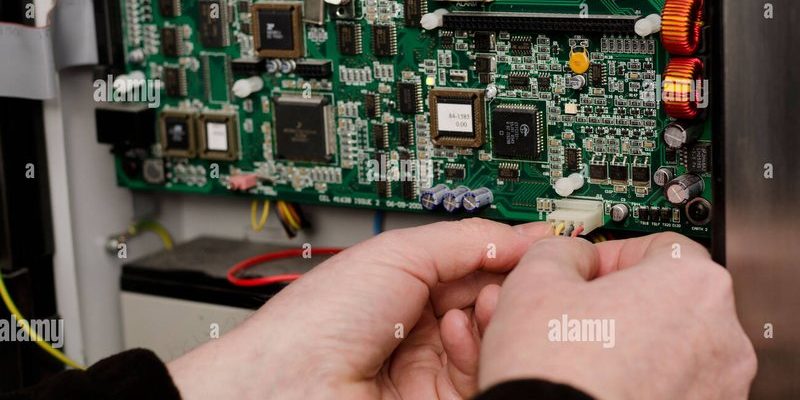
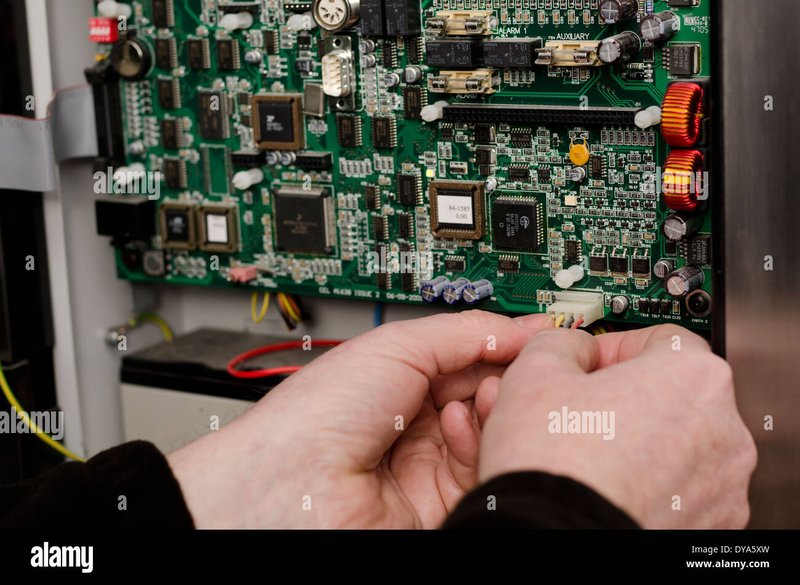
3. Connect the Wires: Strip the ends of your wires (if necessary) and connect them to the terminals. Make sure to push the wire in securely and tighten the screws if applicable. You don’t want any loose connections—like a wobbly tent at night, it can lead to problems!
4. Recheck Your Connections: Before sealing everything up, double-check that your wires are correctly connected to the right terminals. It’s always good to confirm. If you have a multimeter, test the connections at this point to ensure everything is functioning properly.
5. Replace the Cover: Once the connections are confirmed, carefully place the cover back on the circuit board and screw it in place. You’ve done the heavy lifting, so let’s seal the deal!
Troubleshooting Common Issues
Even with a well-calibrated plan, sometimes things just don’t work out. If your garage door isn’t responding after connecting your Raynor circuit board, don’t panic!
– Check Connections: Go back and ensure all your wires are snug in their terminals. A loose connection can cause all kinds of headaches.
– Power Supply: Ensure your circuit board is receiving power. Is the outlet working or the fuse intact? Sometimes it’s the simplest things that trip us up.
– Remote Batteries: Make sure the batteries in your remote are fresh. If they’re dead, no signal can reach the circuit board.
If you’ve checked all the basics and still face issues, you might reconsider the troubleshooting guide in your manual. It’s like your backup navigator, helping guide you home.
When to Consider Professional Help
Sometimes, despite your best efforts, you might find that connecting the Raynor circuit board is beyond your comfort level. And that’s okay! Knowing when to call for help is a sign of strength.
– Complex Issues: If your garage door only operates intermittently or is unresponsive even after rechecking everything, there could be a deeper electrical issue. It’s kind of like when your car makes strange noises—you don’t want to ignore them.
– Safety Concerns: If you’re not comfortable working with electricity, it’s better to leave it to the pros. There’s no shame in admitting that this part of DIY isn’t for you.
– Warranty Protection: If your opener is still under warranty, involving a professional might maintain that coverage. Play it safe rather than risking voiding a helpful perk!
Connecting a Raynor circuit board doesn’t have to be a daunting task. With the right tools, a solid understanding of the controls, and a bit of patience, you can tackle it like a pro. Remember, the goal is to ensure your garage door operates safely and smoothly, making your life just a tad easier.
Embrace the learning curve, and don’t hesitate to seek help if needed. Each small step you take, whether in connecting wires or troubleshooting an issue, builds your confidence. Before you know it, you’ll be a whiz at garage door openers! So go ahead, give it a try, and enjoy the satisfaction of a job well done. That’s what DIY is all about!