In this guide, we’ll be focusing on connecting Overhead Door’s battery backup models. Whether you’re a DIY enthusiast or a brand-new homeowner, I’ll walk you through the steps like we’re sitting down over a cup of coffee. You might even feel like a pro by the time we finish!
What is an Overhead Door Battery Backup?
Before you dive into connecting your battery backup, it’s good to get a clear picture of what it actually does. An Overhead Door battery backup is designed to keep your garage door operational when your primary power source fails. Think of it as the essential safety net for your garage. During unexpected outages or power failures, it kicks in to ensure you can still open and close your door with ease.
Why does this matter? If you rely on your garage for parking or storage, losing power can lead to some frustrating inconveniences. A battery backup makes sure you don’t end up trapped inside your garage—or worse, outside without a way to get back in!
Tools You’ll Need for Connection
Having the right tools at hand can make the connection process smooth and straightforward. Here’s what you’ll need for the job:
- A screwdriver (typically Phillips head)
- Your Overhead Door remote
- The battery backup unit itself
- A flashlight (in case you’re working in low light)
- Safety gloves (optional, but recommended)
Why these tools? The screwdriver will help you access the battery backup compartment, while the flashlight may come in handy if you need to work in dim lighting. Safety gloves can protect your hands from any sharp edges, especially if you’ve got an older garage door opener.
Step-by-Step Guide to Connect the Battery Backup
Installing the battery backup is actually quite simple. Here’s a step-by-step guide to help you through the process:
1. Turn Off Power to Your Garage Door Opener
Safety first! Before you start connecting anything, it’s crucial to turn off the power to your garage door opener. This usually involves unplugging it from the outlet. Doing this ensures that no accidental movements occur while you’re working, which can save you from potential accidents.
2. Locate the Battery Backup Compartment
Next, find where the battery backup is supposed to go. Typically, this is located at the back or side of the garage door opener. Look for a compartment that might have a small door or cover. If you can’t find it, consult your user manual for specific instructions related to your model.
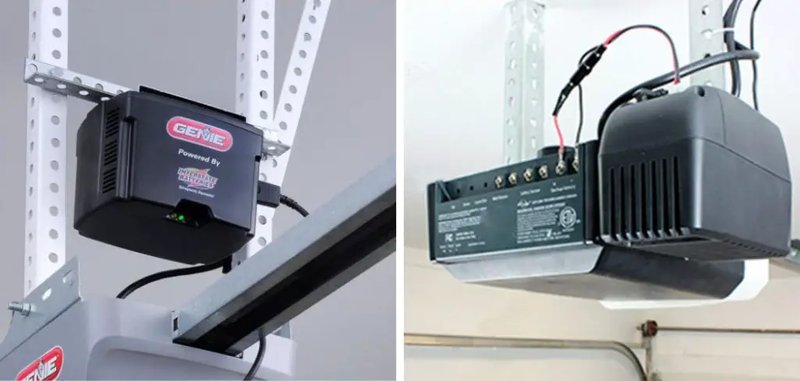
3. Connect the Battery to the Unit
Once you’ve located the battery compartment, carefully place the battery inside. Make sure you line up the positive and negative terminals correctly. You’ll want to connect the red cable to the positive terminal and the black cable to the negative terminal—just like installing a car battery!
4. Close the Compartment and Reconnect Power
After the battery is securely in place, it’s time to close the compartment neatly. Make sure that everything is snug and that no cables are pinched. Once you’ve closed it up, you can plug your garage door opener back into the outlet.
Syncing Your Remote with the Battery Backup
Now you need to ensure that your remote control is synced with the battery backup. Here’s how you can do it:
1. Prepare Your Remote
Grab your Overhead Door remote and get ready to sync it with the new setup. Usually, this can be done with just a button push.
2. Locate the “Learn” Button
Most garage door openers will have a “learn” button. This is often found on the motor unit of the opener. Press and hold it for a few seconds until you see an indicator light flash. This shows your unit is ready to learn a remote.
3. Press the Desired Button on Your Remote
After pressing the “learn” button, press the button on your remote that you want to use to control the garage door. After a moment, you should hear a click from the opener, indicating that the remote is successfully paired.
Troubleshooting Common Connection Issues
If things don’t seem to work right away, don’t sweat it—troubleshooting is part of the process. Here are a few common issues and how to address them:
- If the door won’t open, double-check to ensure that the battery is seated properly—sometimes, it may not be making a good connection.
- Check the remote’s batteries; maybe they just need a little refreshing.
- Ensure that the power is indeed restored; maybe you need to flip a circuit breaker back on.
Here’s the thing: it can feel overwhelming, but usually, one or two quick adjustments will get everything running smoothly again!
Why a Battery Backup is Essential
Having a battery backup for your garage door isn’t just a nice-to-have; it’s essential for several reasons:
– Convenience: Let’s face it — nobody likes juggling groceries in the dark while fiddling with a dead garage door opener.
– Safety: In emergencies, like a storm or unexpected outage, you’ll want to ensure you can still access your home.
– Reliability: Garage doors are used almost daily; not having backup power can lead to frustration and delays.
All in all, connecting your overhead door battery backup is a small investment of time for a significant gain in convenience and safety.
Final Thoughts
Connecting your overhead door battery backup may sound daunting at first, but as you can see, it’s a straightforward process. By following the steps above, you’ve managed to install an important piece of equipment that can make a real difference in your daily life. Think of it as giving your garage a safety net!
So, go ahead—enjoy the peace of mind that comes with knowing your garage door will work whenever you need it to, no matter what! From power outages to everyday use, your battery backup will keep you covered. Now, isn’t that a nice feeling?