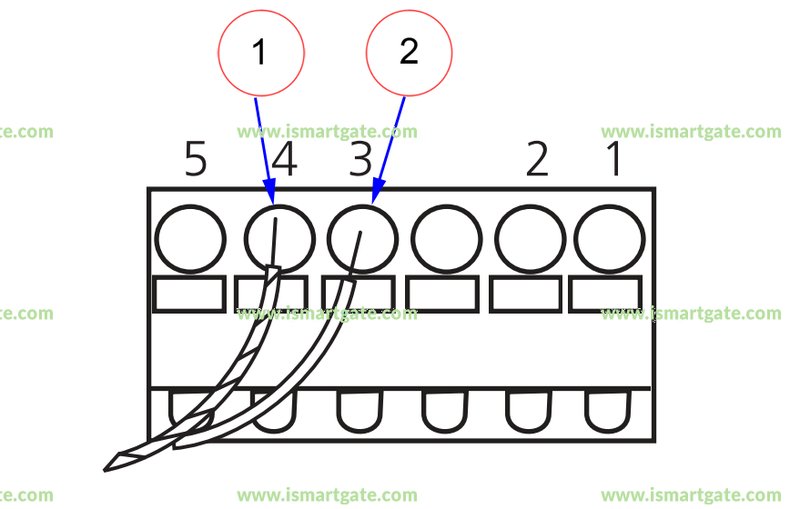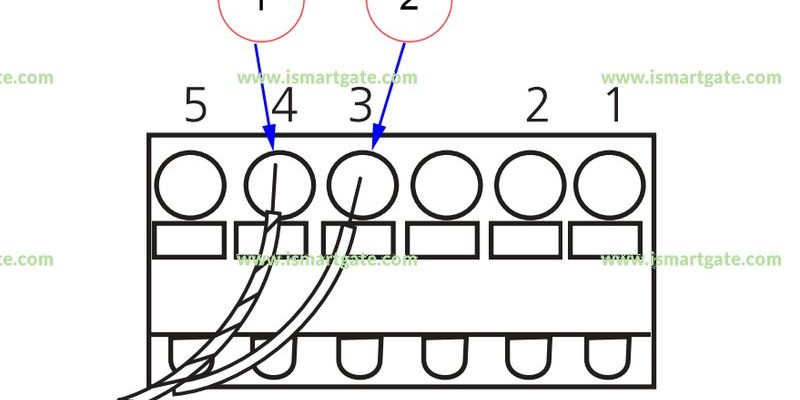
In this guide, we’ll walk through the step-by-step process of connecting your Marantec motor unit. We’ll highlight the specific remote types Marantec uses, like the Compact and Standard remotes. With just a little time and patience, you’ll have your garage door opener up and running seamlessly.
Understanding Your Marantec Motor Unit
Before we dive into the connecting process, let’s take a moment to understand what you’re working with. A Marantec motor unit is the brain of your garage door opener system—it’s what powers the door up and down. It’s equipped with advanced safety features and comes ready to sync with your Marantec remote control.
Marantec offers several different models, but they all share a few common characteristics. Typically, these units are known for their quiet operation and efficient power consumption, making them ideal for residential use. Familiarizing yourself with the specific model you have is crucial, as the connecting process can vary slightly between models.
You might also notice a small panel on the motor unit. This is where the magic happens. It’s usually home to programming buttons that let you pair your remote control, among other functions. Understanding the components of your motor unit will make the setup process much smoother.
Gathering the Necessary Tools
Now that you’ve got a grasp on what the motor unit does, let’s consider what you’ll need to connect it. Honestly, this step is often overlooked but is essential for a smooth experience. Here’s a simple list:
- Screwdriver: Depending on your model, you might need either a Phillips or flathead screwdriver.
- Step Ladder: If your motor unit is mounted high up, a sturdy ladder will help you access it safely.
- Remote Control: Your Marantec remote, whether it’s a Compact or Standard model.
- Wrench: For securing any bolts or brackets, if necessary.
- Owner’s Manual: A physical or digital copy can be a lifesaver for specific guidance on your model.
Gathering these tools ahead of time will help you avoid running back and forth during the setup. It’s like prepping all your ingredients before cooking—having everything in one spot makes the process smoother.
Connecting the Marantec Motor Unit
With your tools in hand, let’s connect the Marantec motor unit. The connection process can generally be broken down into a few easy steps.
1. Power Off the Unit: The first thing you need to do is disconnect any power supply to ensure safety. Look for the power cord or circuit breaker that controls it. This is like putting your phone on airplane mode while you make changes—it keeps everything safe.
2. Mount the Motor Unit: If you’re starting from scratch, position the motor unit according to the instructions in your manual. Typically, this will be mounted on the ceiling or a high wall above the garage door. Use your screwdriver and wrench as needed here.
3. Connect the Door Arm: Attach the door arm to the motor unit and the garage door itself. It acts like the link between the motor unit and the door, allowing them to work together.
4. Power Up: Once everything is securely connected, restore power to the unit. You’ll usually see a light blink on the motor; this means it’s ready.
At this point, you’ve successfully connected the motor unit. Feeling relieved yet? Just wait; we’ll get the remote ready shortly!
Syncing Your Remote Control
Now that the motor unit is connected, let’s sync your Marantec remote. This is where the real fun begins!
1. Locate the Programming Button: On the motor unit, find the small programming button. It’s often labeled but look for a button that’s easy to press.
2. Press the Button: Once you’ve found it, press and hold the button. You’ll probably see a small LED light on the unit blink. This blinking usually indicates it’s in programming mode.
3. Prepare Your Remote: Now grab your remote control. For most Marantec models, you’ll need to press and hold the button you want to program until the light on the motor unit blinks again.
4. Test the Remote: After programming, press the button on the remote to test. If all goes well, the garage door should respond!
Syncing can sometimes feel tricky, but if you follow these steps closely, it should work without a hitch. Honestly, it’s one of the most satisfying moments—you push a button, and something happens!
Troubleshooting Common Issues
Let’s face it: technology doesn’t always cooperate. If you hit a snag while connecting your Marantec motor unit or syncing your remote control, don’t stress too much. Here are a few common issues and how to handle them.
– Remote Doesn’t Work: If your remote doesn’t trigger the door, double-check the battery. A weak battery is often the culprit. If that’s not the case, try re-syncing it to the motor unit.
– LED Light Doesn’t Blink: If the LED light on the motor doesn’t respond when you press the programming button, you might need to disconnect and reconnect power. Check all connections to ensure they’re tight.
– Motor Makes Noise but Doesn’t Move the Door: This could mean there’s a mechanical issue or the door is stuck. Examine the door tracks for anything obstructing movement.
If you can’t resolve the issue, consult the owner’s manual for specific troubleshooting sections. They often have solutions tailored to various problems you might face.
Maintaining Your Marantec System
Now that you’ve successfully set up your Marantec motor unit and remote, let’s talk about keeping everything in good condition. Regular maintenance can prolong the life of your system and ensure it runs smoothly.
– Regular Checks: Inspect the motor unit and door tracks every month for debris or damage. A quick visual scan can save you from a bigger problem down the line.
– Lubrication: Apply a silicone-based lubricant to the door’s moving parts. This helps prevent rust and keeps everything gliding smoothly.
– Battery Changes: Make it a habit to replace the remote batteries every 6-12 months, or whenever you notice a decrease in performance.
Staying on top of maintenance is much like regular oil changes for your car—just a little effort can save you a lot of time and hassle.
Connecting your Marantec motor unit can be an accessible DIY project. By keeping your approach systematic and taking your time, you can set up your garage door opener like a pro. Remember, whether you’re mounting the motor, syncing your remote, or troubleshooting issues, it all comes down to patience and the right techniques.
With this guide, you’re now equipped to tackle the entire process with confidence. Now go ahead, make that garage door dance up and down at your command! You deserve the convenience of a properly set up Marantec motor unit, and it’s close at hand. Happy DIYing!
