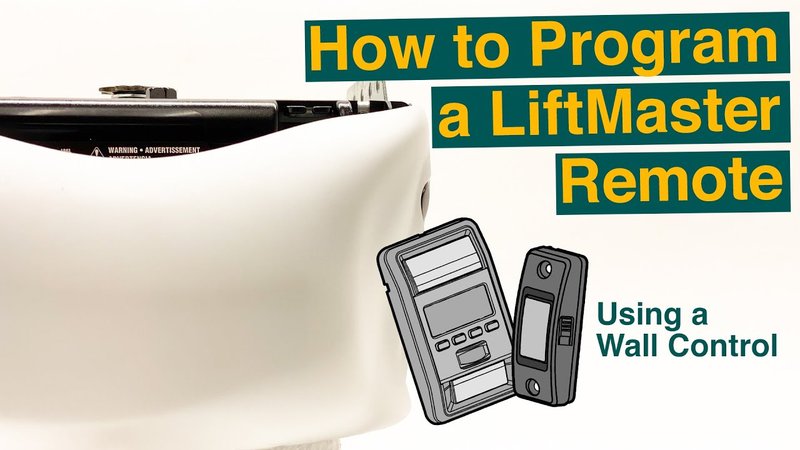
Picture this: you’re returning home after a long day, arms full of groceries, and all you want is for that door to magically glide open. Having your wall button connected correctly means no fumbling for your remote in your pocket. So, let’s break down how to connect that Liftmaster wall button without any headaches. By the end of this process, you’ll feel like a garage-door-savvy wizard.
What You’ll Need to Get Started
Before you dive into the connection process, let’s gather what you need. Think of it as setting up for a little DIY home project. Having everything on hand will save you from running back and forth later. Here are the main items you’ll need:
- Liftmaster Wall Button: This is your main tool, so make sure it’s complete and in good shape.
- Liftmaster Garage Door Opener: Naturally, you’ll need the opener handy to connect your wall button.
- Screwdriver: Most wall buttons come with screws. Having a screwdriver ready saves time.
- Basic Tools: Depending on your installation site, you might also need wall anchors or a drill.
Having everything lined up makes the process so much smoother. Think about how you wouldn’t want to bake a cake without the right ingredients.
Choosing the Right Location for Your Wall Button
Finding the perfect spot for your wall button is crucial. This isn’t just about looks; it’s about convenience and safety too. Ideally, you want to install it near your garage door but high enough that little ones can’t reach it. Here’s what to keep in mind when choosing the location:
1. Accessibility: Make sure the button is easy to reach from your car. You don’t want to struggle or get out just to press a button. Think about how you want to feel when you pull into the driveway—no hassle, just home.
2. Safety: If you have kids, placing the button out of reach protects them from accidents. You wouldn’t want them to accidentally activate the door while a toy car is in the way!
3. Visibility: The button should be easily visible once you’re in the garage. This way, you can locate it quickly, even if you’re half-asleep or distracted.
All set with a good spot? Great! Let’s tackle the actual connection next.
Wiring the Liftmaster Wall Button
Wiring sounds technical, but it’s simpler than it seems, like connecting pieces of a puzzle. Most wall buttons have two wires that need to connect to terminal screws on the garage door opener. Here’s how you can do it step-by-step:
- Remove the Cover: Using your screwdriver, take off the cover of the wall button. You might find two screws holding it in place.
- Identify the Terminals: On your garage door opener, look for two or more terminals labeled 1 and 2 (sometimes they’ll say “push” or “common”).
- Connect the Wires: Attach one wire to terminal 1 and the other to terminal 2. Make sure it’s secure, as loose connections can lead to issues.
- Reattach the Cover: Once connected, put the wall button back together. It’s like putting the lid back on a jar—make sure it’s snug.
Just like tightening a lid on a container keeps everything fresh, a good connection ensures your wall button functions well.
Syncing Your Wall Button with the Garage Door Opener
Now that everything is wired up let’s get your wall button to talk to the garage door opener. Think of this step like pairing your phone with Bluetooth—it’s about making a connection so they can communicate. Here’s how you do it:
1. Locate the Learn Button: On your Liftmaster garage door opener, you’ll find a “Learn” button, usually near the antenna wire.
2. Activate the Learn Mode: Press this button once. A light on the motor unit will blink, indicating that it’s ready to learn.
3. Press the Wall Button: After you activate the learn mode, go to your wall button and press it. The opener should respond by moving the door or clicking.
4. Test the Setup: Give it a minute, then try pressing the wall button again. If all goes well, your door should open or close smoothly.
Success! Just like that, your wall button is now connected, and it should function flawlessly with your garage door opener.
Troubleshooting Common Connection Issues
Sometimes, things don’t go as planned, and that’s perfectly okay. Just like assembling furniture from scratch can be frustrating, connecting a wall button can have hiccups. Here are some common issues and how to troubleshoot them:
1. The Wall Button Isn’t Working: Double-check if the wires are securely connected. Sometimes, they might look good but aren’t tight enough.
2. The Garage Door Doesn’t Respond: Ensure the learn mode was activated. If you don’t see the light blink, it may not be in pairing mode.
3. Intermittent Issues: A wall button that works sometimes might be due to weak connections. Check the solder joints and confirm the button is unobstructed.
Remember, with troubleshooting, patience is key. Keep calm and take it step by step. You’ll find what’s holding things back.
Maintaining Your Wall Button for Longevity
Once everything is up and running, you want to make sure your Liftmaster wall button stays in good shape. You know how a little maintenance can keep your favorite kitchen gadget working for years? The same goes for your wall button. Here are some quick tips:
– Keep it Clean: Dirt and dust can build up over time. A simple wipe with a damp cloth can keep it looking fresh and functioning well.
– Check Connections Regularly: Inspect the wiring every few months. This way, you can catch any potential issues before they get worse.
– Be Mindful of Weather: If your wall button is installed outside, consider protecting it with a cover. Harsh weather can affect its performance, so keeping it shielded is wise.
Maintaining it ensures your garage door system continues to work without a hitch, just like keeping a car tuned up for smooth rides.
When to Consider Professional Help
Sometimes, even the best DIY efforts call for an expert touch. If you find yourself stuck and confused about the process, don’t hesitate to reach out for help. Here’s when to consider calling a professional:
– Complex Wiring Needs: If you feel uncomfortable with wiring, it’s best to consult with a garage door technician. It’s better to be safe than risking a household accident.
– Receiver Issues: If you’re having persistent trouble after trying all possible fixes, a technician can check if the opener or receiver is faulty.
– Special Installations: If your wall button needs extra features, such as integrating into a smart home setup, a pro can ensure it’s done right.
Remember, seeking help is a sign of wisdom, not weakness. Knowing when things are beyond your expertise is a skill in itself.
Closing a garage door is more than just a convenience; it’s about making life a bit easier. Connecting a Liftmaster wall button might feel like a daunting task at first, but it’s quite manageable when you take it step by step. Remember to gather your tools, pay attention to details, and don’t hesitate to call for help if you need it. Now, when you pull up after a long day, you can effortlessly tap that wall button and watch the garage door slide open, welcoming you home. Happy connecting!
