
Liftmaster remotes come in various models and styles, each offering unique features. Today, we’re focusing on how to connect Liftmaster remotes to ensure you get all the convenience these devices provide. So, grab your remote, and let’s dive into the steps!
Understanding Your Liftmaster Remote
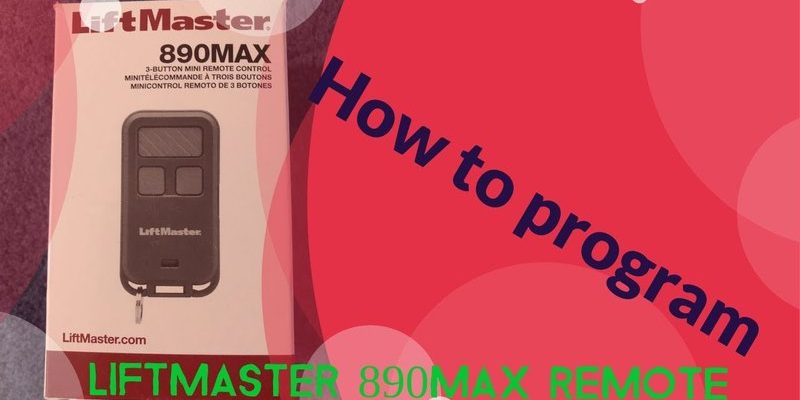
Before we get into the nitty-gritty of connecting your remote, it’s essential to know what you’re working with. Liftmaster offers a range of remotes, from simple button clickers to advanced models with features like rolling codes for enhanced security. Each remote has specific instructions for pairing, so make sure you know the model you have.
Most Liftmaster remotes will include a battery compartment, an LED indicator, and a programming button. These basic features are what we’ll be using to link the remote with your garage door opener. If you’ve lost the manual, don’t fret! Most Liftmaster user guides are available online.
Gathering Necessary Tools
Before you start the connection process, you’ll want to make sure you have everything you need. It’s all about being prepared—think of it like going grocery shopping with a list. So, what do you need?
- Your Liftmaster remote – of course!
- Batteries – ensure your remote is powered up.
- A ladder – only if your garage door opener is mounted high.
- Access to the garage door opener – you’ll need to reach it!
- A friend or family member – helpful for testing the connection.
Having these items handy will make the process smoother and keep your stress levels low.
Locating the Learn Button
The next step in connecting your Liftmaster remote is to find the Learn button on your garage door opener. This button is usually located on the back or side of the motor unit, near the antenna.
The Learn button is critical because pressing it allows the opener to enter programming mode. It enables your remote to “speak” to the opener, creating that essential connection. Depending on your model, the button might be colored (often yellow, orange, or purple) for easy identification. If you’re not sure, a quick search using your model number should give you all the visual guides and help you pinpoint it.
Connecting the Remote: Step-by-Step
Now comes the fun part: connecting your remote! Here’s a simple, step-by-step guide to help you through the process:
1. Open the Garage Door: Make sure your garage door is closed before you start.
2. Press the Learn Button: Go up to your garage door opener and press the Learn button. You should see an LED light blink, indicating it’s in programming mode.
3. Press the Remote Button: Within 30 seconds of pressing the Learn button, press and hold the button on your remote that you want to use for opening the garage door. The LED on the opener will either glow solid or blink, indicating that the remote is successfully connected.
4. Test the Connection: Release the button and try your new setup out! Approach your garage door and press the button on your remote. If it opens or closes the door, congratulations! You’ve done it!
It’s important to note that some models may require you to press the remote button several times. If you’re encountering issues, you might need to reset the garage door opener and try again.
Resetting Your Liftmaster Remote
Sometimes, things just don’t go as planned, and that’s okay! If you’re having trouble connecting your Liftmaster remote, a reset might do the trick. Here’s how to do it:
1. Locate the Learn Button again on your garage door opener.
2. Press and Hold the Learn Button: Keep it pressed until the LED light turns off (usually around 6 seconds). This action effectively erases all paired devices from the opener.
3. Reconnect Your Remote: Follow the previous steps to reconnect your remote.
This reset process can solve many common issues, like when your remote suddenly stops working due to interference or battery issues.
Common Troubleshooting Tips
If you’re still facing issues, don’t worry! Common troubleshooting can help. Here are some quick fixes:
– Check the Batteries: Make sure your remote’s batteries are fresh and properly installed. A simple battery change often works wonders.
– Clear Obstructions: Ensure nothing is blocking the garage door or the opener’s antenna. Sometimes, physical barriers can disrupt the signal.
– Interference Check: Check for interference from other electronic devices, which can confuse your remote’s signal.
If you’ve exhausted these avenues and your remote still isn’t cooperating, it may be time to consult the manual for your specific model or reach out to customer support for further assistance.
Considering Alternatives
If you find that your Liftmaster remote just isn’t meeting your needs, there are plenty of alternatives. Some options to consider include:
– Universal Remotes: These remotes can work with different brands. They are a flexible option if you have multiple garage doors or different brands of openers to manage.
– Smartphone Apps: Many modern Liftmaster models can also connect to your phone via Wi-Fi, allowing you to operate your garage door from anywhere. Just think of it as carrying an extra remote in your pocket!
Each of these alternatives has pros and cons, so it’s worth considering what suits your lifestyle best.
Final Thoughts
Connecting your Liftmaster remote doesn’t have to be a daunting task. With a few straightforward steps, you can have your garage door opener synced up with your remote in no time. Understanding the process, coupled with being prepared and knowing troubleshooting techniques, puts you in control.
Remember, you’re not alone in facing little technical hiccups. With patience and practice, you’ll be navigating your garage door opener like a pro. Now, go ahead and enjoy the convenience of your connected Liftmaster remote!