Liftmaster keypads are designed to make life simpler. Whether you’ve just purchased a new unit or need to reprogram an existing one after changing the batteries, the connection process is straightforward. Let’s dive into how to connect your Liftmaster keypad so you can enjoy quick, keyless access to your garage.
Understanding Your Liftmaster Keypad
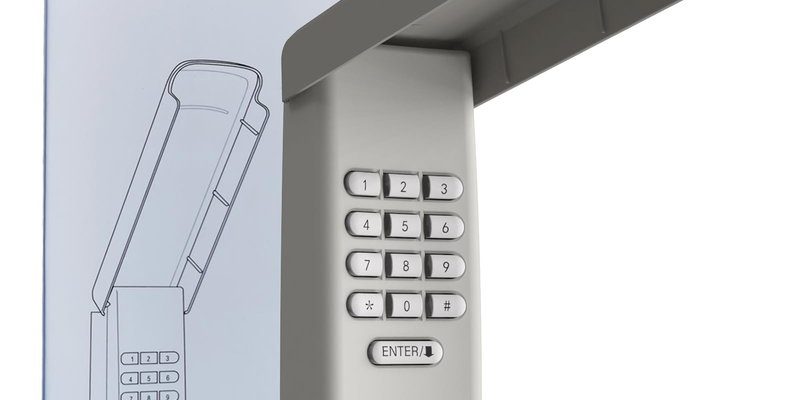
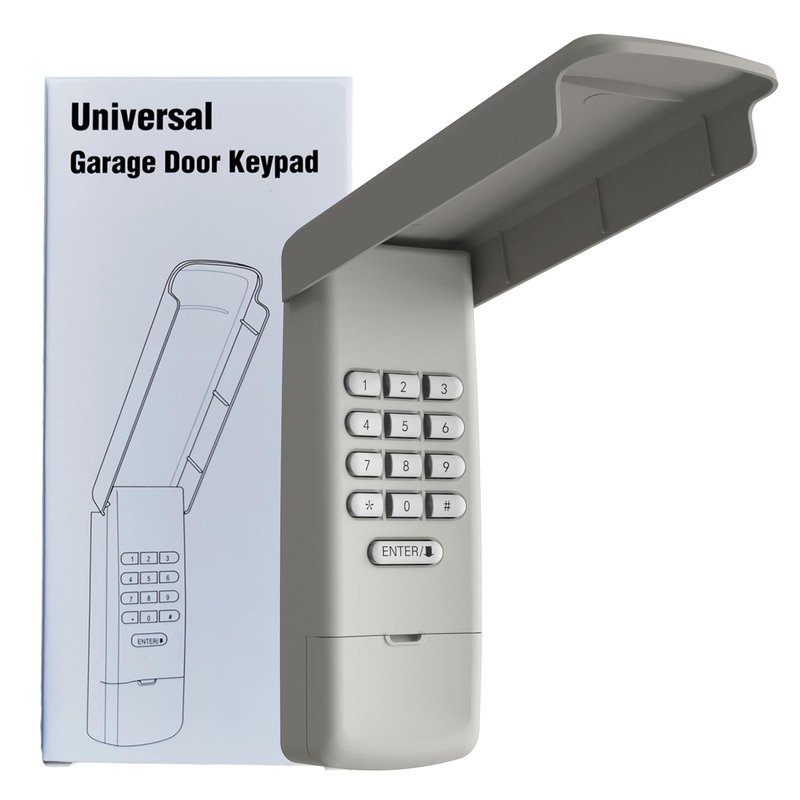
Before you can connect your keypad, it’s important to understand what you’re working with. Liftmaster offers a variety of keypads, but they generally share similar features. Most have a numeric keypad layout and a few additional buttons for functions like programming and locking. These keypads work wirelessly, communicating through radio signals with your garage door opener. This means you’re not tethered to wires or complicated setups.
When dealing with your Liftmaster keypad, you’ll likely encounter two main types: the standalone keypad and the wall-mounted keypad. The standalone keypad is usually battery-operated and is placed outside your garage. The wall-mounted keypad is installed on an interior wall and is typically plugged into an outlet. Both types require a similar connection process, but the standalone keypad is most commonly used for quick access.
The Items You’ll Need
Before you start connecting, gather a few essential items to make the process smoother. Here’s what you’ll need:
- Your Liftmaster Keypad: Ensure it is compatible with your garage door opener.
- Access to the Garage Door Opener: This is where the connection will happen.
- Two AA Batteries: Most keypads operate on batteries, so new batteries are a must.
- A Step Ladder (if necessary): If your garage opener is high up, this will help you reach it.
- Your Owner’s Manual: This will come in handy if you run into any specific concerns.
Having these items ready will help streamline the entire process, making it as stress-free as enjoying a warm cup of coffee on a crisp morning.
Installing the Batteries
The first step in connecting your Liftmaster keypad is to make sure it’s powered up. Most keypads run on two AA batteries, but always check the manual for specific instructions related to your model.
To install the batteries:
1. Open the battery compartment, which is usually located on the back.
2. Replace the old batteries with fresh ones, ensuring the positive and negative ends align correctly.
3. Close the compartment securely.
Once you’ve done this, you should see some lights or hear a beep indicating that your keypad is alive. This is like seeing your bike’s wheels spin—you’re ready to get riding.
Finding the Learn Button on Your Garage Door Opener
Now that your keypad is powered up, it’s time to link it to your garage door opener. For this, you need to locate the Learn button on your opener. This button is typically found on the back or side of the motor unit.
1. Use your step ladder to reach if necessary—safety first!
2. Look for a button that’s usually colored yellow, red, or green. This is the key to your connection.
Pressing the Learn button sends a signal to the garage door opener, letting it know you’re about to enter a new code. This part is crucial; without pressing this button, your keypad won’t sync up with your opener.
Programming the Keypad
With the Learn button pressed, it’s time to program your keypad. Here’s how to do it:
1. Go back to your keypad and press the **’*’** button followed by the **’
2. Enter your chosen four-digit PIN (this is your unique code).
3. Press the ‘Enter’ button on the keypad.
You should hear a click from the garage door as it learns the new code. Think of it as teaching a dog a new trick. The more you repeat the process, the more familiar it becomes!
Testing the Connection
Now it’s time to see if everything works. Step outside and give your new setup a test run. Stand in front of your garage door, enter your four-digit PIN on the keypad, and press enter. If everything’s connected correctly, your garage door should lift, inviting you to drive in.
If it doesn’t open, don’t worry. Sometimes it takes a few tries to get the connection just right. Double-check the code and ensure you’re within range of the opener, as distance can affect the signal.
Troubleshooting Common Issues
Sometimes, connections don’t go as planned, and that’s okay—you’re not alone! Here are a few common troubleshooting steps if your keypad isn’t working:
– Check the Batteries: If your keypad isn’t responding, the batteries might be low. A quick change can often fix the issue.
– Reprogram the Keypad: Sometimes, you might need to start from scratch. Follow the programming steps again as if you’re setting it up for the first time.
– Distance Matters: If you’re too far from the garage door opener, the signal may not reach. Stand closer and reattempt the connection.
If you’ve tried all these steps and are still struggling, referring to your owner’s manual or contacting Liftmaster support could be the best course of action.
Benefits of Connecting Your Liftmaster Keypad
You might be wondering, why bother connecting a keypad at all? Well, there are plenty of perks!
1. Convenience: It allows for quick access without searching for or using a remote. Just type in your code, and you’re good to go.
2. Security: You can easily change your code whenever needed for added safety.
3. Multiple Users: You can program codes for family members, making it easier for everyone to access the garage without sharing a single remote.
These benefits make it clear that a Liftmaster keypad isn’t just an accessory; it’s an enhancement to your home security and convenience.
In conclusion, connecting your Liftmaster keypad is a straightforward process that can greatly improve your garage access experience. With just a few easy steps, you’ll be able to enjoy the convenience and security it brings. Remember, if you hit a snag, don’t hesitate to troubleshoot or call for help. Happy connecting!