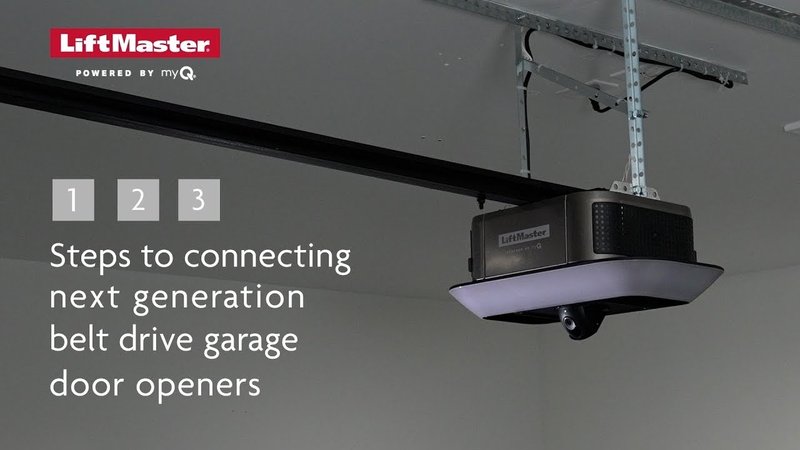
Understanding how to connect a LiftMaster garage door opener is crucial for ensuring smooth operation. This tutorial will walk you through the process and help you troubleshoot common issues along the way. You’ll learn everything you need, from syncing your remote to resetting it if things don’t go as planned. By the end of this guide, you’ll feel confident about handling your garage door opener like a pro.
Gathering Your Tools
Before you begin the process of connecting your LiftMaster garage door opener, you’ll want to make sure you have everything you need. Start by grabbing the remote control that came with your opener, or any compatible universal remote you may have. Having fresh batteries is equally important; nothing’s worse than setting everything up only to find out your remote’s battery is dead.
Here’s a quick checklist of items to have on hand:
- Your LiftMaster garage door opener unit
- The remote control (and a fresh battery, if needed)
- A step ladder (for taller garage doors)
- A soft cloth (for cleaning the opener if needed)
Having these tools at your disposal will make the process much smoother. Trust me, it’s much easier to have everything ready before diving into the nitty-gritty.
Understanding Your Garage Door Opener
LiftMaster garage door openers come equipped with features that enhance safety and convenience. Most models include a myQ technology that allows you to control and monitor your garage door from your smartphone. You might be wondering why that’s important—well, not only does it give you peace of mind, but it also prevents incidents where you forget if you left the garage open.
Knowing the model number of your LiftMaster opener can help you find specific instructions if needed. Common models include the LiftMaster 8500 and 8165. Each model may have slightly different features and buttons. For example, the 8500 offers wall-mounted functionality, while the 8165 operates from a ceiling mount.
Understanding these basic features lays the groundwork for your setup. So, check the model number and familiarize yourself with what to expect.
Steps to Connect Your Remote to the Garage Door Opener
Now let’s get down to business! Connecting your LiftMaster remote is relatively straightforward. Here’s a step-by-step guide that will help you through it.
Step 1: Locate the “Learn” Button
The first thing you need to do is find the “Learn” button on your garage door opener. It’s typically located on the back or the side of the motor unit. Press this button—this signals the opener that it’s ready to pair with your remote.
Step 2: Press the Remote Button
Within 30 seconds of pressing the “Learn” button, press and hold the button on your remote control that you want to use. This signals the opener to accept the remote.
Step 3: Wait for Confirmation
After a few moments, you should see the LED indicator light on the opener blink or turn solid. This means your remote is successfully connected. You might also hear a click sound, which is a good sign!
Step 4: Test It Out
Finally, try out the remote to see if it opens the garage door. If it works, congratulations! If it doesn’t, you may need to repeat the steps or check to ensure the remote has fresh batteries.
These steps allow you to connect your LiftMaster garage door opener efficiently and effectively.
Troubleshooting Common Issues
Sometimes, despite your best efforts, things don’t go as planned. Here are a few common issues you might encounter while trying to connect your LiftMaster garage door opener along with their solutions.
Remote Not Responding
If your remote isn’t responding after following the steps, check those batteries. Old or low batteries are often the problem. Also, ensure you’re within range of the opener—being too far away can lead to connection issues.
Why Won’t the Learn Button Work?
If pressing the “Learn” button doesn’t seem to do anything, double-check to ensure that the opener is plugged in and functional. Sometimes a power surge can reset devices; a simple power cycle (unplugging and plugging back in) can fix this.
Unpairing Remotes
Need to unpair a remote? Press and hold the “Learn” button until the LED light turns off—this will reset the system and clear previous settings.
These troubleshooting tips can help you resolve common issues quickly, keeping your garage functioning as it should.
Additional Features of LiftMaster Garage Door Openers
Besides just opening and closing your garage door, LiftMaster openers come packed with features that enhance usability. As we talked about earlier, many models offer myQ technology, which is a game-changer for those who want more from their garage door opener.
Here are some features worth knowing:
- Auto-Close Timer: Set a timer for your door to close after a certain amount of time. Super convenient!
- Lighting Control: Direct lights in your garage or entryway to turn on when the door opens.
- Battery Backup: Some models offer battery backup systems, which are vital during power outages.
These features can greatly enhance your experience, making your LiftMaster garage door opener more than just a basic tool.
When to Seek Professional Help
While most people can easily connect their LiftMaster garage door opener, there are times when it’s best to call in a professional. If you’ve tried everything and your garage door still won’t connect, or if you notice strange noises when operating the opener, it might be a sign of a more significant issue.
Calling a professional can ensure safety, especially with older garage door models or complex installations. A trained technician can diagnose and fix the problem without putting you or your property at risk.
Maintaining Your Garage Door Opener
Once you’ve connected your LiftMaster garage door opener, it’s essential to keep it well-maintained. Regular cleaning and checks can prevent many issues. Consider the following tips:
1. Regularly Inspect the Mechanism: Check the springs, rollers, and tracks for wear and rust. Making minor repairs before they escalate can save time and money.
2. Keep It Clean: Dust and dirt can accumulate on the motor unit. Use a soft cloth to clean it regularly.
3. Lubricate Moving Parts: A little oil goes a long way. Regularly lubricate the moving parts, including the chain or belt, to keep everything running smoothly.
Taking care of your opener will prolong its lifespan and maintain efficient operation.
Closing a garage door with a LiftMaster opener should feel as easy as a press of a button. By following this guide, you’ll have everything you need to connect your opener, troubleshoot common problems, and even understand its features. With a little patience, you’ll have that garage door opening smoothly in no time. Enjoy the convenience!
