Think of your Genie motor unit as a smartphone; just like you’d pair a Bluetooth device, connecting it involves a few straightforward steps. You’ll need to pair the motor with your remote control, which allows you to open and close your garage door with ease. Let’s walk through the entire process to make sure you feel confident and ready to get your garage door working seamlessly again.
Understanding Your Genie Motor Unit
Before you dive into connecting your Genie motor unit, it’s essential to understand the components you’ll be working with. The heart of the system is the motor unit itself, typically mounted on the ceiling of your garage. You may also have a wall control panel, photo-eye sensors, and a remote control.
Motor Unit: This is what actually opens and closes your garage door. It’s usually connected to a power outlet and operates using a system of gears and a belt or chain.
Remote Control: This is your handy little device you use to trigger the opening or closing of the garage door from your car or even from inside your home. Most Genie units come with a compatible remote.
When setting up, consider that the connection process may vary slightly depending on the specific model you have (for example, whether it’s a screw drive, belt drive, or chain drive). Understanding these elements will help you troubleshoot any issues that come up later.
Gathering the Necessary Tools
Connecting your Genie motor unit will require just a few tools and materials. Honestly, this is not an elaborate project. Here’s what you’ll need:
- Step Ladder: To reach your garage ceiling safely.
- Screwdriver: Usually, a Phillips-head will do the trick.
- Tape Measure: For precise alignment of components.
- Smartphone or Flashlight: Essential for illuminating hard-to-see areas.
These tools will make your life easier as you work through the connection process. Spend a few moments gathering them before you start. Getting organized sets you up for success!
Checking Your Genie Motor Unit Model
Next, it’s important to check the model of your Genie motor unit. This is like picking the right game controller—you need to ensure it’s compatible with your remote. Each Genie motor style may have unique features or connection processes.
You’ll typically find the model number on the side or back of your unit. Once you have that number, you can check the user manual that came with your opener, or look it up online for specific instructions. This is vital as it helps avoid confusion down the line and keeps you from accidentally misconfiguring settings.
Connecting the Remote Control
Now, let’s get into the juicy part—connecting the remote control to your Genie motor unit. Here’s a step-by-step guide you can follow:
1. Prepare the Remote:
– Open the battery compartment of your remote. Make sure it has functional batteries.
– If it’s been a while since you last used it, swapping in fresh batteries is a good idea.
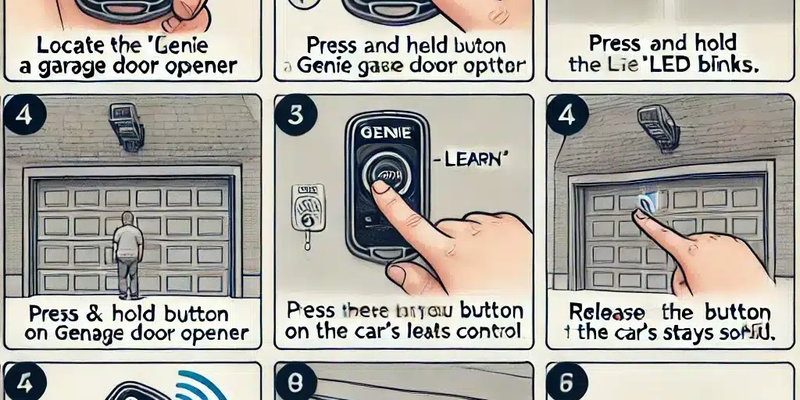
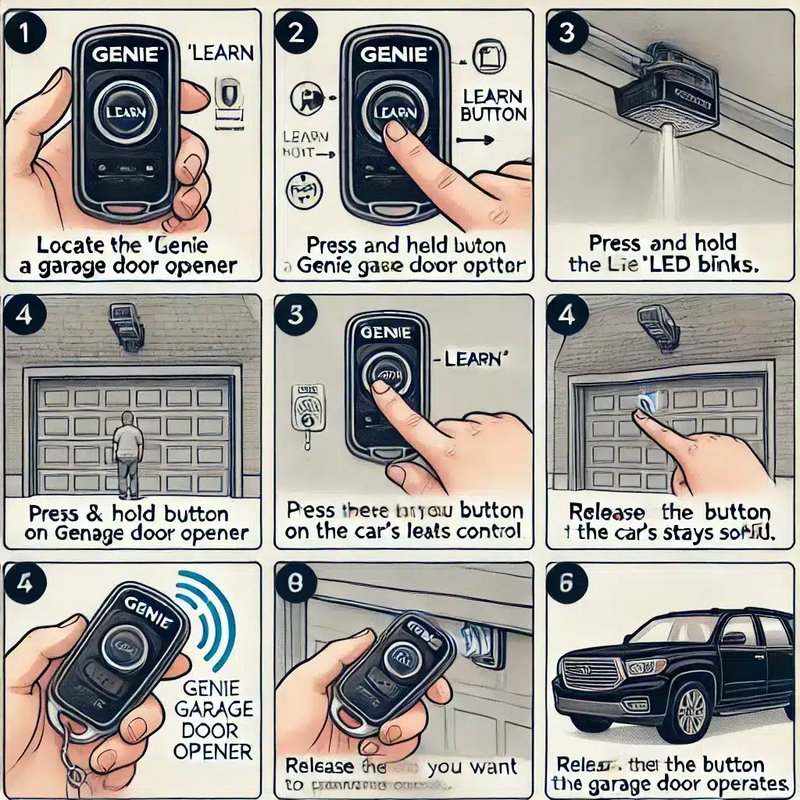
2. Locate the Learn Button:
– Find the “Learn” or “Program” button on your Genie motor unit. It’s usually found on the back or side of the unit, often near where the antenna is located.
3. Press the Learn Button:
– Press the learn button once, and you should see a light on the motor unit blink. This indicates it’s ready to pair with your remote.
4. Press the Remote Button:
– Within 30 seconds of pressing the learn button, press and hold the button on your remote that you’d like to use to open the door. The light on the motor unit will either blink or stay on, indicating it has successfully paired.
5. Test the Connection:
– Finally, test your remote by pressing the button you just programmed. If your garage door opens or closes, you’ve successfully connected your Genie motor unit!
Remember, if it doesn’t work the first time, don’t fret! You might need to repeat the learn process, ensuring you follow the timing closely.
Troubleshooting Common Issues
Even the best-laid plans can hit a snag, so here are a few common issues you might face while connecting your Genie motor unit—and how to fix them:
1. Remote Not Responding:
– Check if the battery is properly installed. A mismatched polarity (positive and negative) can prevent your remote from working.
2. Learn Button Issues:
– If the learn button won’t activate, ensure there’s power to your device. If it’s plugged in but still unresponsive, consider checking the circuit breaker.
3. Operational Glitches:
– If everything seems connected but your garage door won’t budge, check the alignment of the door and sensors. Misaligned sensors can stop the door from functioning, acting as a safety measure.
Let me explain: troubleshooting is just part of the process! Don’t feel discouraged if things don’t click together immediately. Each step is a learning opportunity.
Using Alternative Remotes
Sometimes you might want or need an alternative way to control your garage door—like using a universal remote. This is becoming more common, especially if you’ve got multiple types of devices or family members who want access.
While Genie remotes work seamlessly with Genie motor units, universal remotes can be programmed to function with multiple brands of garage door openers. If you decide to go this route, the programming process is typically similar:
– Locate the learn button on your motor unit.
– Follow similar steps to program the universal remote.
However, do keep in mind that not all universal remotes will work with every Genie unit, so check compatibility first.
Final Thoughts on Connecting Your Genie Motor Unit
Connecting your Genie motor unit doesn’t have to be a daunting task. Rigging up your garage door opener can be as simple as flashing a little light and press of a button. Just remember, every Genie motor unit has a specific process, so confirming your model’s instructions is key.
As you tackle the connection process, consider it like any small DIY project—patience pays off. With a little practice, you’ll find that knowing how to connect a Genie motor unit not only makes life easier but also gives you a sense of accomplishment.
If something goes wrong, don’t hesitate to reach out for help. Resources are available, like customer support and online forums, where you can gather information or seek advice. Happy connecting!