Connecting the wall button for your Craftsman garage door opener is a straightforward task—sort of like plugging in a lamp. It’s essential for smooth operation and can save you the hassle of fumbling with the remote every time you want to park your car. Whether you’re brand new to this or have dabbled in DIY before, I’ll guide you through every step in simple language.
Gather What You Need
Before diving in, you’ll need a few tools and supplies, kind of like prepping your cooking ingredients. Here’s a quick list to gather:
- Your Craftsman wall button
- A flathead screwdriver
- A Phillips head screwdriver
- Wire strippers (if needed)
It’s like making sure you’ve got all your baking supplies ready before you start mixing—this way, you won’t have to stop halfway through because you’re missing something. Trust me, having these handy will make the process smoother.
Understanding Your Wall Button
The Craftsman wall button isn’t just a pretty face; it’s key to controlling your garage door. You might be wondering, how does it actually work? At its core, the wall button sends a signal to the garage door opener, telling it to either open or close. Think of it like flipping a light switch: you press it, and the door responds.
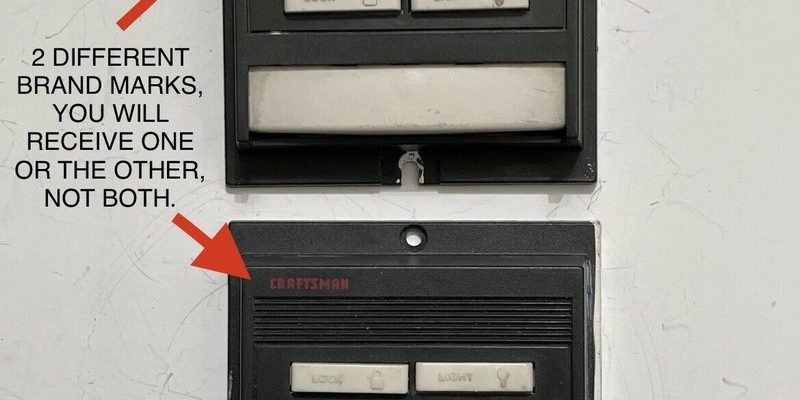
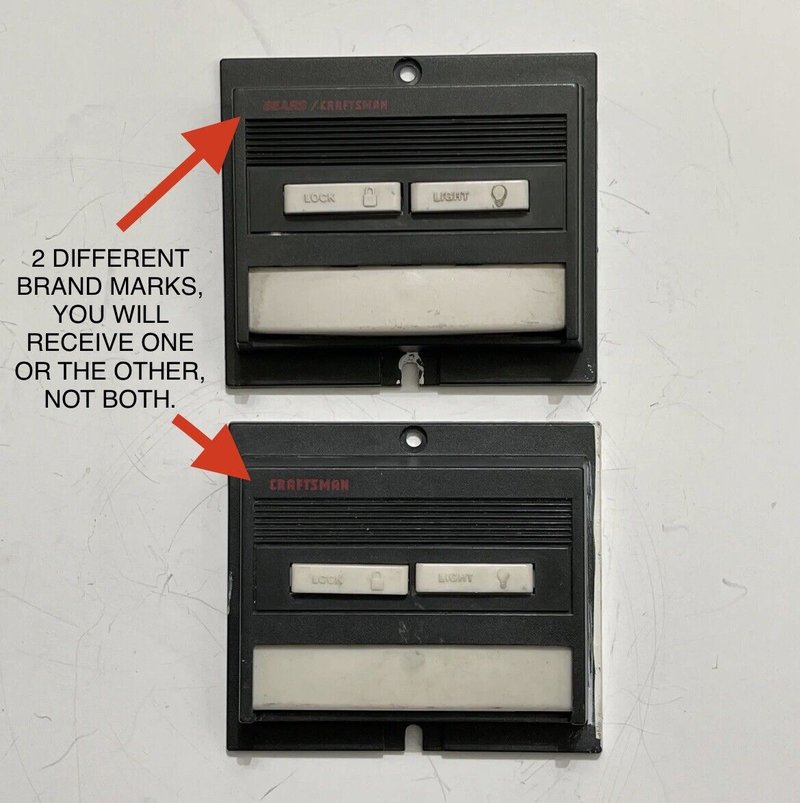
There are two main types of Craftsman wall buttons: one that operates just the garage door and another that also features a light. Knowing which one you have is crucial since the setup might differ slightly. The button typically has two wires—one for power and another for communication with the motor. Understanding this is like knowing the difference between a regular light bulb and a dimmer switch.
Locating the Connection Points
Now that you’ve got your wall button and understand its purpose, it’s time to find where it connects. Look on your garage door opener motor; you should see a panel that houses a set of terminal connections. These will usually be labeled, so it’s like having a map guiding you through your journey.
You might often see markings like “W” and “C.” The “W” stands for the wall button and the “C” for the common connection. Finding these terminals is crucial, as they’re your access point to connect the wall button. Take a second to familiarize yourself with these labels. It’ll help you avoid any mix-ups later on.
Wiring the Wall Button
Once you’ve located your connection points, it’s time to wire the wall button. Start by turning off the power to your garage door opener to avoid any shocks—safety first! Then, using your screwdriver, remove the cover of the wall button to expose the wires.
You’ll usually see two or three wires in the back of the wall button. If your model includes a light feature, it could have an extra wire for that purpose. Once you see the exposed wires:
1. Identify the wire colors. You’ll generally have a red and a black wire.
2. Strip the ends if necessary, a bit under half an inch, to expose the copper for better connectivity.
3. Connect the red wire to the terminal marked “W” and the black wire to “C.”
This part is important: get those connections snug! Think of it as making sure your shoelaces are tied tight enough so that your shoes don’t slip off while running.
Finalizing the Installation
After wiring everything up, it’s time to secure your wall button back into place. You’re almost there—like finishing the last few strokes of a painting. Once you’ve reattached the wall button:
– Replace the cover, making sure everything is screwed tight.
– Now, turn the power back on to your garage door opener.
It’s a good moment for a little excitement! You’re about to test if everything works.
Testing Your Connection
After everything’s back in place, it’s time for the all-important test. Approach your newly wired wall button with a mix of anticipation and excitement, like standing in front of a new gadget! Press the button and see if the garage door opens or closes. If it works, congratulations—you’ve successfully connected your Craftsman wall button!
In some cases, the door might not respond. If that’s the situation, don’t panic. Double-check that your wiring is correct. Ensure the power is on, and that the opener isn’t jammed or blocked, which is just as vital. Troubleshooting can feel a bit like detective work, but it’s often simple fixes that do the trick.
Common Troubleshooting Tips
Even the best of us face hang-ups sometimes. If your wall button isn’t working right off the bat, here are a few troubleshooting steps to consider:
– Check the Battery: If your Craftsman model uses a battery—like a remote does—make sure it’s charged or replace it if necessary.
– Inspect Wires: Look for any loose connections or frayed wires. During installation, a wire might slip out of place; this is a common hiccup.
– Look for Interference: Sometimes, issues arise due to interference from nearby devices or signals. Ensure there’s nothing jamming the communication.
Remember, troubleshooting is like solving a little mystery. Approach it with patience and curiosity, and you’ll often uncover the solution without too much stress.
Connecting your Craftsman wall button doesn’t have to be complicated. With a little patience and the right approach, you’ve now learned how to do it step by step. Once it’s hooked up, you’ll appreciate the convenience of having that button to control your garage door with ease.
So next time you pull your car into the driveway, you can just press that trusty wall button without a second thought—it’ll feel like you’ve truly conquered the garage door world! Remember, even if things go wrong, troubleshooting is part of the journey. You’ve got this!
Keep that DIY spirit alive, and happy connecting!