In this article, I’ll walk you through the steps to connect your Craftsman circuit board with your remote. Whether you’ve just bought a new remote or want to reset your existing one, understanding how to make that connection can save you time and frustration. So, grab a seat, and let’s dive into the world of Craftsman garage door openers together.
Understanding Your Craftsman Garage Door Opener
Before we jump into connections, let’s first understand what’s going on inside your Craftsman garage door opener. At the heart of things is the circuit board—think of it as the brain of your opener. It receives signals from your remote and orchestrates the door’s movements. This is where all the magic happens!
The Craftsman brand is known for its reliability and user-friendly designs. You might have a 315 MHz or a 390 MHz model, which refers to the frequency at which your remote communicates with the opener. Knowing your model helps in troubleshooting and can guide you to the right solutions when connecting components.
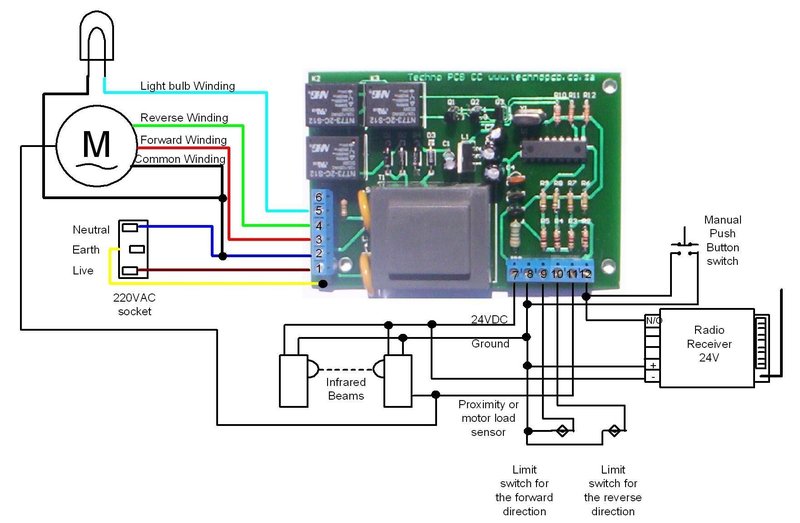
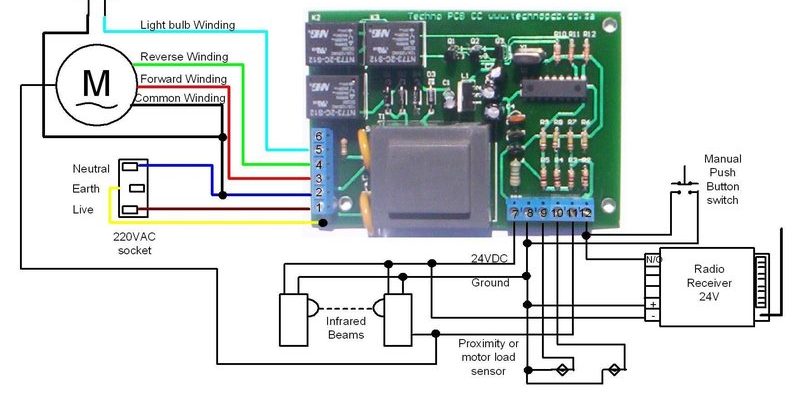
You’ll typically find multiple wires and indicators on the circuit board. These serve different purposes, such as connecting the power source, communicating with the remote, and troubleshooting signals. So, it’s good to familiarize yourself with these sections before you proceed with any connections.
Gathering Necessary Tools
Now that you’re acquainted with the basics of your Craftsman garage door opener, it’s time to gather the needed tools. Having everything ready at your workspace will make the connection process smoother.
Here’s what you might need:
- Screwdriver: A Phillips-head screwdriver is typically required for accessing the circuit board.
- New batteries: If you’re using a new remote, make sure it has fresh batteries to avoid connection issues.
- Wire strippers: These are handy if you need to prepare or repair any wiring during the process.
- Multimeter: Useful for checking the power levels and making sure everything is functioning correctly.
Having these tools handy will make the entire process less stressful, allowing you to focus on creating a seamless connection. You’ll want to ensure that you’re working in a well-lit area, as visibility can make a big difference.
Locating the Circuit Board
Getting to the circuit board may sound intimidating, but it’s straightforward with the right approach. Typically located in the motor housing of your garage door opener, you’ll need to remove the cover to expose the circuit board.
1. Unplug the Opener: Safety comes first. Always disconnect power before diving in.
2. Unscrew the Cover: Use your screwdriver to remove the screws. Keep them somewhere safe so you don’t lose them!
3. Remove the Cover: Gently pull off the cover. You should now see the circuit board, along with various wires and components.
Once exposed, take a good look at the connection points and indicators on the circuit board. This is where your remote will soon make a connection.
Connecting the Circuit Board to the Remote
Alright, it’s time for the main event. Connecting the Craftsman circuit board to your remote is essential for operation. Follow these steps carefully to ensure a successful connection.
1. Put in New Batteries: If you haven’t done so already, insert fresh batteries into your remote. Make sure they are seated correctly—this avoids frustrations later.
2. Find the Learn Button: On the circuit board, you’ll find a “Learn” or “Program” button. This is critical for syncing the remote. It’s often a small, colored button.
3. Press the Learn Button: Press and hold the learn button until the LED indicator turns on and lights up. This usually takes a few seconds.
4. Press the Remote Button: While the LED is on, press and hold the button on your remote that you want to use to open the garage door. Wait for the indicator light to blink or turn off, which means it’s been programmed successfully.
Here’s the thing: if nothing happens, don’t panic! Simply repeat the steps, ensuring you’re working quickly after pressing the learn button.
Troubleshooting Common Connection Issues
Sometimes things don’t go as planned, and that’s okay. Let’s examine some common issues you might face while connecting your Craftsman circuit board to your remote.
– The LED Doesn’t Light Up: Make sure the power is connected, and the circuit board isn’t damaged. If necessary, check the wiring and connections internally.
– Remote Not Responding: If the remote isn’t working, double-check the batteries and ensure they are installed properly. Sometimes, it can be as simple as a loose battery cover.
– Interference: Other devices or metal structures can disrupt the signal. Make sure you’re within a reasonable distance of the opener and not facing large metal objects.
Feel free to consult your user manual for specific troubleshooting steps tailored to your model. It’s like having a friend guide you through the process!
Resetting the Circuit Board
If you encounter persistent problems, resetting the circuit board can solve many issues. Here’s how you can do it:
1. Locate the Reset Button: Similar to the learn button, there’s often a reset button on the circuit board. This could also be a simple dip switch which you’ll need to adjust.
2. Hold the Reset Button: Press and hold the reset button for about 10 seconds until the LED blinks or turns off. This clears previous connections.
3. Reconnect your Remote: After resetting, repeat the earlier steps to pair your remote again.
This reset process can often be a lifesaver, giving it a fresh start without expensive repairs. Honestly, it’s a handy trick to know if things go south.
Connecting a Craftsman circuit board to your remote doesn’t have to feel overwhelming. With the right tools and a step-by-step approach, you can swiftly tackle any connection issues. Remember to be patient, double-check your steps, and keep safety as your priority.
Whether you’re setting up a new remote or troubleshooting an existing one, this knowledge helps ensure your garage door opener runs smoothly. Now that you’ve grasped the essentials, you can confidently make those connections and enjoy the convenience of a fully-functioning garage door. Happy connecting!
