Chamberlain is one of the leading brands in garage door openers, known for its reliability and user-friendly products. Most of their remotes use a straightforward process for connecting. Whether you’re trying to pair a new remote or re-sync an older one, I’ve got you covered. Let me walk you through the steps so you can effortlessly glide in and out of your garage with just a push of a button.
Understanding Your Chamberlain Remote
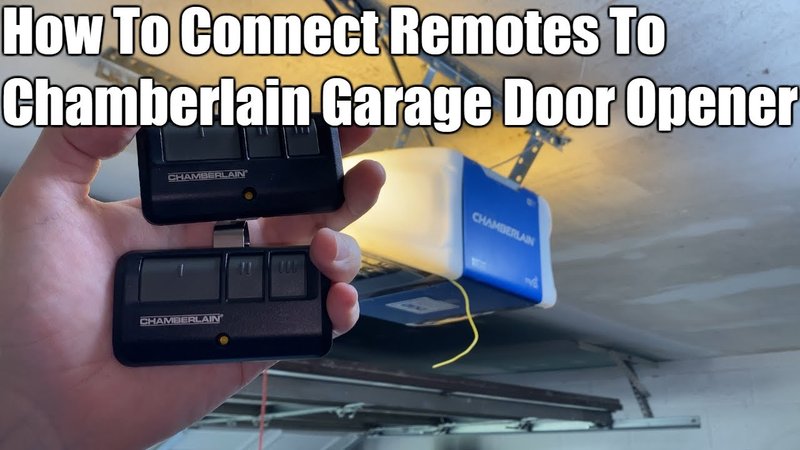
Before diving into the connection process, it helps to familiarize yourself with the type of Chamberlain remote you have. Chamberlain offers a variety of remotes, like the typical handheld versions and the ones built into estate or car’s key fobs. Each of these may have slightly different methods for connecting, but the principles are pretty much the same.
Typically, you will find a few buttons on the remote: a large button for opening or closing the garage, and perhaps an additional button for programming. The size and layout can vary, but the functionality remains user-friendly. Understanding your specific remote model will guide you in the right direction, especially if your manual is lost.
You might be wondering why you need to connect or sync the remote in the first place. Well, this step ensures that your remote communicates effectively with your garage door opener. A good connection means you won’t have the frustration of pressing the button multiple times only to find out your garage door is still stubbornly closed.
Gathering the Necessary Tools
Now, let’s make sure you’re prepared before starting the connection process. You really won’t need much; just a few simple items:
- Your Chamberlain Remote: Obviously, this is the star of the show.
- Your Garage Door Opener: Ensure it’s plugged in and functioning properly.
- A Ladder: If your garage door opener is mounted higher, you might need this.
- Manual or Smartphone: It can be helpful to have the instructions handy, especially if you need model-specific guidance.
Make sure you also have a little bit of time—about 15 to 20 minutes should be enough for most setups. This is a small investment for the ease of using your garage door without a hitch.
Steps to Connect Your Chamberlain Remote
Now onto the good part—connecting your Chamberlain remote! Follow these simple steps, and you should be up and running in no time.
Step 1: Locate the Learn Button
First, find the Learn button on your garage door opener. It’s usually located on the back or bottom of the unit. This button is often colored red, orange, purple, or yellow, depending on your model. Press it once, and you’ll see a little indicator light turn on. This lets you know that the opener is in programming mode.
Step 2: Prepare the Remote
Next, grab your Chamberlain remote and ensure it has fresh batteries. A weak battery can hinder the connection process. Most remotes will have a small compartment at the back for easy access. Slide it open, replace the battery, and close it up securely.
Step 3: Pair the Remote
With the learn button active, press and hold the button on your remote that you want to use for opening the garage door. Hold it until you see the light on the garage door opener blink and fade. This blink indicates that your remote is successfully paired with the opener. Provided everything was done correctly, this step works most of the time without a hitch.
Step 4: Test the Connection
Time to put your new connection to the test! Close your garage door (if it’s open), step outside, and press the button on your remote. You should see the garage door spring to life. If it works, congratulations—you’re all set! If not, don’t panic. Double-check that you followed the steps correctly and that your remote’s battery is fresh.
Troubleshooting Common Issues
Sometimes, despite our best efforts, things can go amiss. Don’t worry! Here are a few common problems and their solutions to help you get back on track.
- Remote Not Responding: Ensure the remote has a fresh battery. If it still doesn’t work, try resetting the remote by removing the battery for a minute and then reinstalling it.
- Indicator Light Doesn’t Blink: If your garage door opener’s light doesn’t blink when you press the learn button, it might not be in programming mode. Make sure you press the learn button properly.
- Remote Pairs but Stops Working: Sometimes, interference from other devices can cause issues. Check if there are electronics nearby that could be affecting the signal.
If you’ve gone through all these troubleshooting steps and still can’t connect your remote, consider reaching out to Chamberlain’s customer service for further guidance. It’s always better to ask for help than to get frustrated on your own.
Alternative Options for Control
If you find yourself having continuous trouble with your remote, there are a few alternatives to consider. For instance, you can control your garage door from your smartphone using Chamberlain’s MyQ app. This means you wouldn’t need a physical remote at all. Imagine being able to check if you remembered to close the door from anywhere!
Moreover, there are universal garage door remotes that can pair with various brands, including Chamberlain. If you decide to go this route, just ensure you check compatibility before making a purchase.
Final Thoughts
Connecting your Chamberlain remote doesn’t have to be a daunting task. With a few simple steps and a little patience, you can be on your way to enjoying the convenience of your garage door opener in no time. Remember to refer to your user manual if something doesn’t seem quite right and keep those batteries fresh.
And just like that, you can slide in and out of your garage without skipping a beat. Enjoy that hassle-free access!