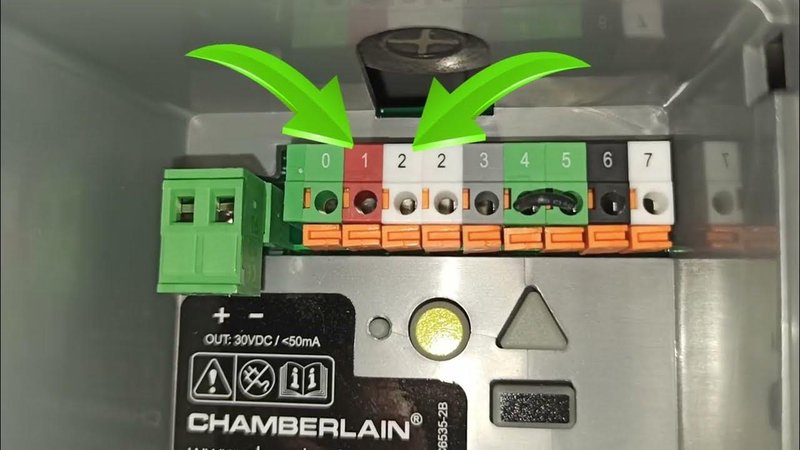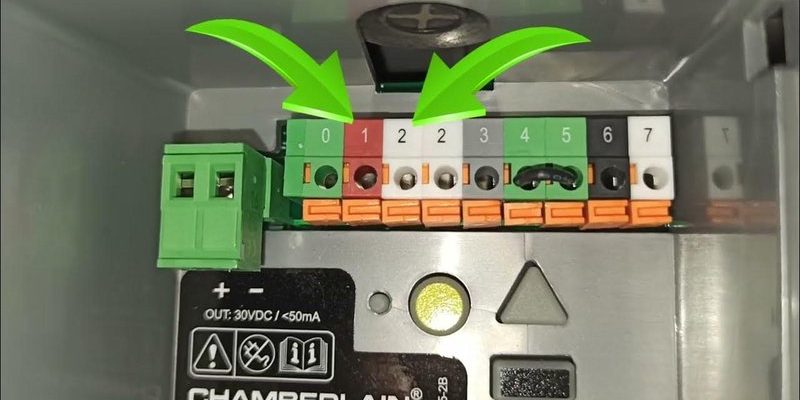
Whether you’re dealing with a brand new motor or simply trying to reconnect an existing one, getting it right is key to ensuring smooth operation. If you have a Chamberlain remote, you’ll want to sync that with the motor unit as part of the process. Let’s dive into the nitty-gritty of how to connect your Chamberlain motor unit.
Understanding Your Chamberlain Motor Unit
Before we get into connecting your Chamberlain motor unit, let’s take a moment to clarify what you’re working with. A Chamberlain garage door opener typically includes the motor unit itself, a remote control, and safety features like sensors. The motor unit does the heavy lifting, physically opening and closing the garage door.
When you buy a Chamberlain unit, you’ll often find it equipped with various features, such as Wi-Fi capability or battery backup. Knowing your model’s specific features can make all the difference when you’re ready to connect everything. For example, if your model is Wi-Fi-enabled, you can access it remotely through a smartphone app, which opens a world of convenience.
Think of the motor unit as the heart of your garage door system. If the heart isn’t functioning correctly, the body—your garage door—won’t be able to move. So, understanding how your motor unit operates is crucial to troubleshooting any issues later on.
Gather Your Tools and Materials
Now that you know what you’re working with, it’s time to gather your tools and materials. Fortunately, the list isn’t long. Here’s what you’ll typically need:
- Your Chamberlain motor unit
- A compatible Chamberlain remote
- A ladder (if needed)
- Basic hand tools (screwdriver, pliers)
- A user manual (one might come with your unit or can often be found online)
Having these tools on hand before you start is like having the right ingredients ready before you start cooking. You don’t want to be scrambling mid-way through the process, right? Here’s the thing—once you’ve gathered everything, the next steps will feel much smoother.
Installing the Chamberlain Motor Unit
Let’s get to the main event: installing your Chamberlain motor unit. Start by selecting the right spot for your motor. It should ideally be mounted on the ceiling of your garage, above the door. When you’re ready, follow these steps:
1. Mount the Motor: Use the brackets provided with the unit to securely fasten the motor to the ceiling. Make sure it’s level, as this can affect the operation.
2. Connect Power: Plug the motor into a nearby outlet. Make sure it’s a grounded outlet for safety.
3. Attach to Garage Door: Use the provided hardware to connect the motor to the garage door itself. This usually involves a range of screws and braces.
Each Chamberlain unit can have slightly different mounting instructions, so it’s a good idea to consult your user manual for specific details.
Syncing Your Chamberlain Remote with the Motor Unit
Now that your motor unit is installed, it’s time to sync your Chamberlain remote to the motor. Syncing is crucial because the remote communicates the open and close commands to the motor unit. Here’s how you can do it:
1. Locate the Learn Button: On your motor unit, you should find a button labeled “Learn.” It’s usually on the back or side of the motor.
2. Press the Learn Button: Press and release the Learn button. You’ll typically see a light blinks or turns on—this indicates the unit is in learn mode.
3. Press the Remote Button: Within 30 seconds, press the button on your remote that you want to use for opening and closing the garage door. If all goes well, the motor unit light will blink or make a sound to confirm it’s paired.
That’s it! It’s much like pairing your phone with Bluetooth—simple, right?
Testing Your Connection
After syncing your remote, it’s essential to test the connection. Imagine getting everything set up only to realize something’s off. To avoid that, simply follow these steps:
1. Press the Remote: Use your newly synced remote to open the garage door.
2. Observe the Mechanism: Watch how the motor unit responds. Does it open smoothly? Does it close without a hitch?
3. Check the Safety Sensors: Ensure the door stops when it detects an obstruction—this is a critical safety feature.
If everything’s working as it should, congratulations! You’ve connected your Chamberlain motor unit successfully.
Troubleshooting Connection Issues
Sometimes, things don’t go as planned, and that’s where troubleshooting comes in. Here are a few common issues and solutions:
– Remote Not Working: If your remote doesn’t operate the motor, check the battery. If it’s dead, just replace it and try again.
– Lights Blink, But No Movement: If you see lights blinking but the door won’t move, the motor might not be mounted properly. Double-check your installation.
– Inconsistent Remote Signal: If you find that your remote works sporadically, there might be interference. Ensure you’re not too far away and remove any potential blockages.
These problems are usually easy fixes. Remember, troubleshooting is a normal part of home maintenance. Don’t let it discourage you!
Final Thoughts and Maintenance Tips
Connecting your Chamberlain motor unit can feel like a big task, but it’s quite manageable when you break it down into steps. Once connected, don’t forget regular maintenance—this can prolong the life of your motor unit and keep your garage operating smoothly.
Here are a few quick tips for keeping everything in check:
1. Regularly Check the Remote Battery: You don’t want it to die on you at a critical moment.
2. Inspect the Motor Unit: Periodically check for any strange noises or issues during operation.
3. Clean the Sensors: Dirt can hinder their performance, so keep them free of debris.
By following these guidelines, you should feel confident about connecting your Chamberlain motor unit and maintaining it for years to come. Whether you’re coming home after a long day or heading out for errands, you’ll appreciate the convenience of a properly functioning system. Happy connecting!
