So, if you’ve recently installed a Chamberlain system or perhaps you’re just trying to get your old one working again, fear not. We’ll take a stroll through the ins and outs of connecting your control panel step by step. Whether you’ve got the latest technology or an older model, we’ll make sure you feel comfortable navigating this task.
Connecting your Chamberlain control panel isn’t as daunting as it sounds. Just like piecing together a puzzle, you just need to know where to start and how pieces fit. With that in mind, let’s dive in!
Understanding Your Chamberlain Control Panel
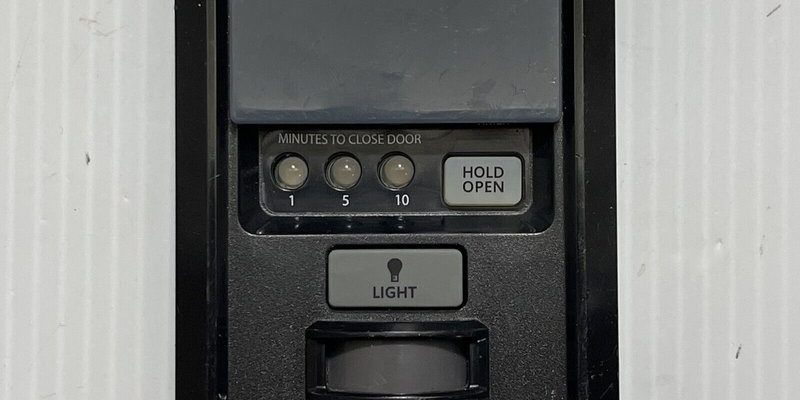
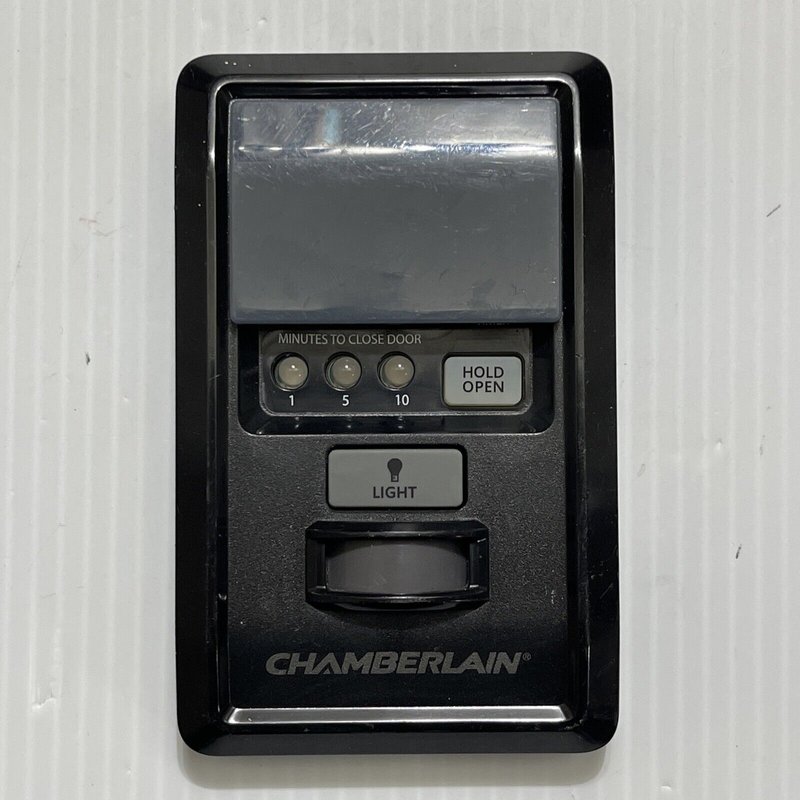
Before we get into the nitty-gritty of connecting, it’s good to know what you’re dealing with. The Chamberlain control panel is essentially the command center for your garage door opener. It’s where you’ll use controls to open, close, or even program lights. You might have a simple wall-mounted control or a more advanced Smart Control Panel with features for connectivity and smart home integration.
Many Chamberlain control panels come with features like a vacation lock and even alerts for system status. This is especially important if you have a busy household or just want a little peace of mind when you’re on vacation. Imagine being able to check if your door is open while you’re halfway across the world—it’s pretty comforting!
If you haven’t seen a reset or pairing button on your control panel yet, don’t panic! Most Chamberlain products have some version of these buttons. They’re usually easy to access, resembling little tiny secrets waiting to be unlocked.
Gathering Your Tools
Before you start the connection process, you’ll want to ensure you have everything at your fingertips. Grab these essential tools:
- Screwdriver: You might need this for securing your control panel.
- Step-ladder: If your panel is mounted high, a ladder helps to reach it safely.
- User Manual: This isn’t just for decoration; you’ll want it handy for specific details.
- New Batteries: If your remote needs them, keep a fresh supply handy to ensure consistent connectivity.
Once you have your tools, you’ll feel more prepared to tackle the connection. Think of it like preparing your workspace before diving into a project. The more organized you are, the smoother everything will go!
Connecting the Control Panel to Your Opener
Now, onto the good stuff! Connecting your Chamberlain control panel is pretty straightforward. Just follow these steps:
1. Power Off the Opener: Safety first! Unplug the garage door opener or disconnect the power to avoid any unfortunate accidents while you’re working.
2. Locate the Connection Points: On your control panel and wall unit, you should see specific wiring points. When in doubt, refer to your user manual for guidance on where these locations are.
3. Wiring: Connect the wires from the control panel to the designated terminals. Typically, you’ll see a few labeled terminals: ‘Common,’ ‘Open,’ and ‘Close.’ Make sure you match these accordingly!
4. Secure It Well: Once connected, check that the wires are firmly secured, and nothing is loose. This will help prevent any future connectivity issues.
At this point, it’s like assembling the last few pieces of a puzzle. If all goes well, your control panel should now be ready to work its magic!
Syncing Your Remote Control
Now that your control panel is set up, it’s time to get your remote connected. Syncing your remote control with the garage door opener is crucial for smooth operations. Here’s how you can do it:
1. Find the Learn Button: On the back of your Chamberlain opener, there’s a small button usually called the ‘Learn’ button. It’s typically colored red or yellow.
2. Press and Hold: Press the Learn button until the indicator light turns on, then release it.
3. Press the Remote Button: Within 30 seconds, press the button on your remote that you want to use for opening or closing the door. If done correctly, the lights on your garage door opener should blink, indicating that the remote is now synced!
Think of this step like teaching your remote a new command. Honestly, it doesn’t take long, and you’ll be back in business in no time!
Troubleshooting Connection Issues
Despite all your hard work, things don’t always go as planned. So what should you do if the connection doesn’t seem to work? Here are a few troubleshooting tips to consider:
– Double-check Wiring: If your control panel isn’t responding, check that the wires are securely connected. If they’ve come loose, you might need to reconnect them.
– Reset the System: Sometimes, a simple reset can work wonders. Unplug the opener for about 10 seconds then plug it back in.
– Battery Check: For remotes, ensure the batteries are fresh. Weak batteries can hinder communication between the remote and the opener.
– Consult the Manual: Your user manual can be a gold mine for specific troubleshooting steps based on your model.
Here’s the thing: rather than getting frustrated, see these as minor hiccups on the path to a fully operational garage door system.
Expert Tips for Smooth Operation
To maintain smooth operation once you’ve successfully connected everything, keep these tips in mind:
– Regular Maintenance: Clean the control panel and opener regularly to avoid dirt buildup. Just like your car needs oil changes, your garage door system benefits from a little TLC.
– Check the Batteries: If you notice intermittent issues with your remote, consider changing batteries at least once a year or sooner if you use it a lot.
– Don’t Overload the Panel: Avoid using too many features at once. Overloading can lead to glitches over time, just like trying to multitask during a busy day.
By keeping these tips in mind, you set yourself up for a smoother experience with your Chamberlain control panel!
Final Thoughts
Connecting your Chamberlain control panel doesn’t have to be overwhelming. With some basic understanding, helpful tools, and a step-by-step approach, you can easily get your garage door opener working like a charm. Remember, patience is key. Take it slow and enjoy the journey.
Now that you’re equipped with the know-how, you can tackle your project with confidence. You’ll soon be enjoying the convenience of a connected garage door, leaving you time to focus on what really matters—whether that’s going for a drive, hosting a barbecue, or tackling your next DIY adventure!