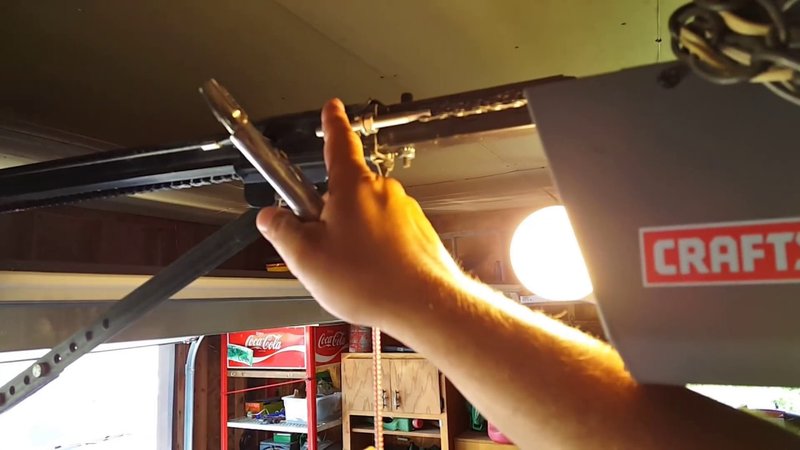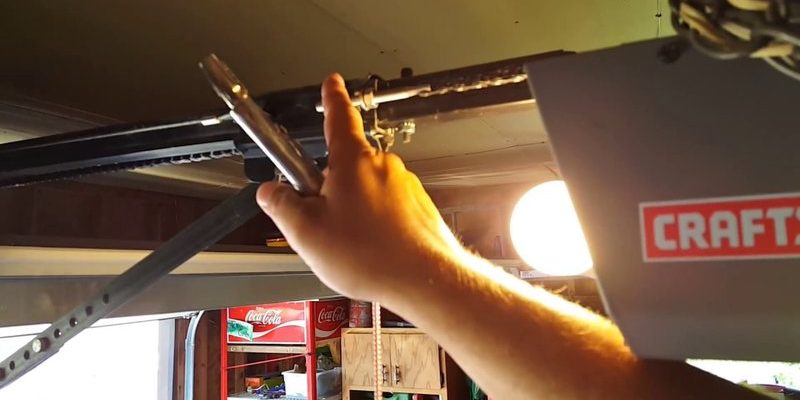
Whether you have a Chamberlain or a LiftMaster model, adjusting the chain tension is a DIY task that can save you time and money. It’s all about ensuring that the opener works safely and efficiently, making your life just a bit easier. Let’s dive into how to adjust the chain tension on your garage door opener, step by step.
Understanding Chain Tension
Before we jump into the adjustment process, let’s clarify what chain tension actually means. The chain tension on your garage door opener refers to how tight or loose the chain is that connects the motor to the door itself. When the chain is too loose, the door might not open or close properly, causing annoying hiccups in its operation. Conversely, a chain that’s too tight can wear out the motor and make your opener prone to breakages.
You might be wondering—why does this even matter? Well, proper chain tension is crucial for a few reasons. It reduces noise during operation, increases the lifespan of your opener, and ensures safety. If the door operates irregularly, it could pose hazards—like slamming down unexpectedly!
Gathering Your Tools
Before you start, you’ll need a few tools to make the adjustment process smooth. Here’s what you’ll want to have on hand:
- A ladder tall enough to reach your opener
- A socket wrench set or adjustable wrench
- A tape measure (for measuring chain slack)
- A safety goggles for protection
Having the right tools can make all the difference. Imagine trying to nail in a picture frame with no hammer! Each tool will help you efficiently and safely adjust the chain tension.
Locating the Chain Tension Adjustment Screw
Now that you’re geared up, it’s time to locate the chain tension adjustment screw. This is usually found on the motor unit of the garage door opener. If you’re standing at the door facing the opener, look toward the back of the motor assembly.
In many models, you’ll find a small screw or a nut that controls the tension. This screw may be labeled as “Tension” or something similar. You might even find a small diagram in your user manual that provides a visual cue. If you can’t find it, don’t hesitate to check the manual or look it up online.
Checking and Adjusting the Tension
You’re almost ready to make the adjustment! But first, let’s check how much tension is needed. With the opener disengaged (make sure it’s unplugged for safety), grab your tape measure and check the chain’s slack. A standard rule of thumb is that you should have about half to one inch of slack in the chain.
Here’s the step-by-step:
1. If the chain feels too loose (more than one inch of slack), you’ll need to tighten it.
2. To tighten the chain, turn the adjustment screw clockwise.
3. If the chain is too tight (less than half an inch of slack), turn the screw counterclockwise to loosen it.
Make gradual adjustments and check the slack regularly! The goal is to find that happy medium where the chain isn’t too tight or too loose.
Testing the Chain Tension
Once you’ve adjusted the chain tension, it’s time to test it out. Reconnect and power on your garage door opener. Now, press the remote to open and close the door. Here are a few things to check:
– Smooth operation: Does the door open and close without any strange noises?
– Speed: Is it moving at a consistent speed?
– Alignment: Does the door sit evenly in its tracks at all times?
If something feels off, especially with strange creaking noises or stops, you might need to tweak the tension again.
Common Issues with Chain Tension
While adjusting the chain tension might seem straightforward, there are some common issues that can arise. Let’s take a brief look at a few:
– Worn or Torn Chain: If you notice any issues with the actual chain, like fraying, replacing it might be necessary before adjusting tension.
– Loud Noises: If your opener still makes odd sounds after adjusting, it might indicate other problems, like an issue with the gear system.
– Inconsistent Movement: If it still moves irregularly, you may want to check the alignment of the garage door tracks themselves.
Keep an eye on these signs. Ignoring them won’t make them disappear!
Safety First
It’s essential to always prioritize safety when working with a garage door opener. Remember, these machines are heavy and can cause serious injuries if not handled properly. Always disconnect your opener from power before beginning your adjustments.
Additionally, if you’re unsure about anything during the process, don’t hesitate to consult a professional. Sometimes, it’s better to get a second opinion than risking injury or further damage.
Regular Maintenance
Once you’ve adjusted the chain tension and everything is running smoothly, it’s wise to establish a regular maintenance routine for your garage door opener. Here’s what you can do:
– Regularly check the chain tension every few months.
– Lubricate the chain for smoother operation.
– Inspect the door tracks and rollers for wear and tear.
This proactive approach can extend the life of your garage door opener and keep it functioning optimally.
Other Adjustments That Might Be Needed
Apart from chain tension, you might need to adjust other components of your garage door opener from time to time. These can include:
– Limit settings: Adjusting how far the door goes up or down.
– Safety sensors: Ensuring they are aligned and functioning correctly.
– Remote syncing: Occasionally, you might need to sync or reset your remote if the connection is lost.
Checking these components will help ensure that your garage door is operating safely and efficiently.
Adjusting the chain tension on your garage door opener is a straightforward task you can tackle yourself. With the right tools and a little bit of patience, you’ll have your door running smoothly again. Remember to take your time, check for issues regularly, and maintain the opener. A well-cared-for garage door opener not only adds convenience but can also keep your garage safe and secure. If you ever feel in over your head, definitely consider reaching out for professional help. Happy adjusting!
