Imagine you’re trying to lift something heavy. If it gets stuck and you aren’t applying the right amount of force, you might end up struggling or damaging the door. That’s where force settings come in. They determine how much power your garage door opener uses to move the door. Let me guide you through this simple yet crucial aspect of your garage door system.
What Are Garage Door Opener Force Settings?
Garage door opener force settings control how much muscle your opener needs to lift or close the door. Think of these settings as a way to tell your opener, “Hey, that’s enough power!” or, “You need to push a little harder!” Essentially, these settings protect your door and opener from damage while ensuring they work efficiently.
Most garage door openers will have both “up” and “down” force settings. The up force is what helps lift your door, while the down force is used to close it down securely. If the settings are too low, your door may not open all the way, or it may reverse suddenly, which can be frustrating. And if they’re too high, the door can slam down, risking damage or injury.
Understanding these settings is crucial, especially if you’ve recently installed a new door or opener. It’s not uncommon for the force needed to operate the door to change due to wear and tear, heat, or even changes in the weather.
Why Adjusting Force Settings Matters
You might be wondering why it’s so important to get these force settings just right. Here’s the thing: a properly adjusted opener keeps your garage door functioning well over time, saving you money on repairs. If it’s too tight or too loose, it can lead to multiple problems.
– Safety: A garage door that closes too forcefully can be a serious hazard. For instance, think about a child or pet accidentally walking underneath when it’s coming down. Adjusting the force settings helps prevent accidents.
– Longevity: Keeping the force just right can extend the life of your garage door opener. It reduces unnecessary strain and wear on the motor, making sure it serves you well for years.
– Convenience: Nobody likes a garage door that sticks or doesn’t open all the way. Proper adjustments mean fewer headaches and a smoother operation every time.
For these reasons, you should regularly check and adjust your garage door opener force settings, especially if you’ve noticed unexpected behaviors like uneven opening or closing.
How to Spot Force Setting Issues
Identifying problems with your garage door opener can be straightforward if you know what to look for. Some signs that it might be time to adjust your force settings include:
– The door doesn’t open or close completely.
– It reverses direction unexpectedly.
– You hear unusual noises when attempting to operate the door.
– The door opens or closes slowly, as if it’s struggling.
Experiencing any of these symptoms often means the force settings are off. For instance, if your door reverses when closing, it could indicate that the down force setting is too low. On the other hand, if it only opens halfway, you may need to increase the up force setting.
Keep a close eye on how your garage door behaves, especially after a change in seasons or after any maintenance work.
Gather the Tools You Need
Before jumping into adjusting your force settings, let’s make sure you have the right tools. You won’t need much, but being prepared can save you time and frustration:
- Screwdriver – This will usually be either a flathead or Phillips, depending on the opener model.
- Owner’s Manual – A handy guide to refer to while you work.
- Level – Optional, but it’s good to have for ensuring your door is balanced.
Having these tools on hand makes the adjustment process smoother. Plus, it helps to check the manual for specifics on your model; every brand has its unique quirks!
Adjusting the Up and Down Force Settings
Now we’re getting to the good part—adjusting those force settings! Here’s a step-by-step guide to make sure it’s done correctly:
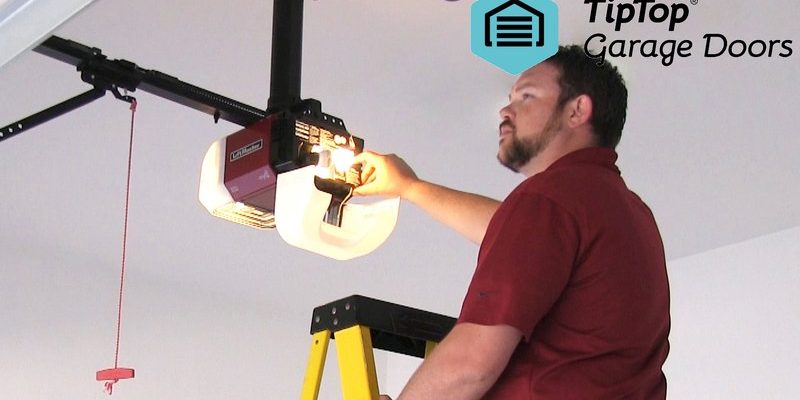
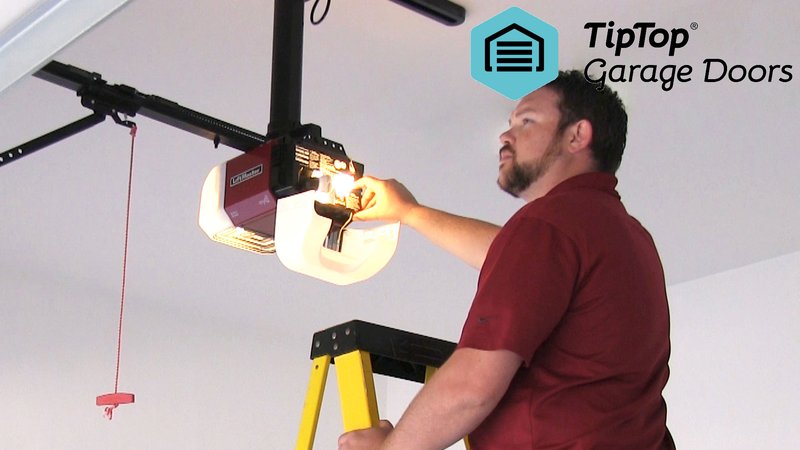
1. Locate the Force Adjustment Screws
Most garage door openers have these screws located on the back or side of the unit. Once you find them, consult your owner’s manual to confirm the specific screws for up and down force.
2. Make Small Adjustments
Using your screwdriver, start with small quarter turns to the right to increase the force, or to the left to reduce it. It’s best to adjust gradually—small changes can make a big difference.
3. Test the Door Operation
After adjusting, test the door multiple times. Open and close it fully, observing how it behaves. Keep an eye out for any issues mentioned earlier. If it still feels off, repeat the adjustment process.
4. Fine-Tuning Your Settings
Once you have it working correctly, double-check the balance of the door using a level. If your door is significantly uneven, you may need to adjust it separately.
So, after a few tweaks and tests, you should be back in business!
Common Problems After Adjustment
Sometimes, even after adjusting the force settings, things still go awry. Here are a few common problems you may encounter and how to troubleshoot them:
– Door Doesn’t Close: If the door opens fine but struggles to close, the down force might still be too low. Give it another slight boost.
– Door Closes and Reverses: This usually signifies that the down force is still off or that something is obstructing the sensor. Make sure to check the area around the door for obstacles.
– Slow Opening: If the door opens too slowly even after adjustments, your motor might be overstraining. Check the up force setting to ensure it’s adequate.
Keeping in mind that sometimes the problem isn’t just the force settings—maintenance on the door itself, like lubricating the tracks and hinges, is key for smooth operation.
Safety Features to Consider
Most modern garage door openers come equipped with safety features that work alongside the force settings. One crucial element is the automatic reverse system, which sends the door back up if it encounters an obstruction while closing.
Here’s a quick rundown of why these features are important:
– Peace of Mind: Knowing your garage door won’t crash down on someone or something is a big relief.
– User-Friendly: Advanced systems automatically adjust the force settings based on the load and weather conditions.
Despite these features, it’s still vital to check and adjust the force settings occasionally. Technology is great, but it’s not foolproof.
Final Thoughts
Adjusting the garage door opener force settings is a straightforward, DIY task that every homeowner should understand. By keeping an eye on how your door operates, knowing when to make adjustments, and understanding how to tweak those force settings, you can ensure you enjoy a safe and functional garage door for years to come.
Remember, even the best garage door openers, like those from LiftMaster or Chamberlain, require a little love and maintenance. So grab your tools, make those adjustments, and enjoy the smooth operation of your garage door—you’ve got this!