A timer wall button allows you to set a delay before your garage door closes automatically. Imagine being able to simply walk away, leave the grocery bags behind, and let technology do the work for you. You might feel like a superhero who can multitask like nobody’s business. So, the question strikes: do you really need one? Let’s delve into the details of why a timer wall button could be a game-changer for your garage setup.
What Is a Timer Wall Button?
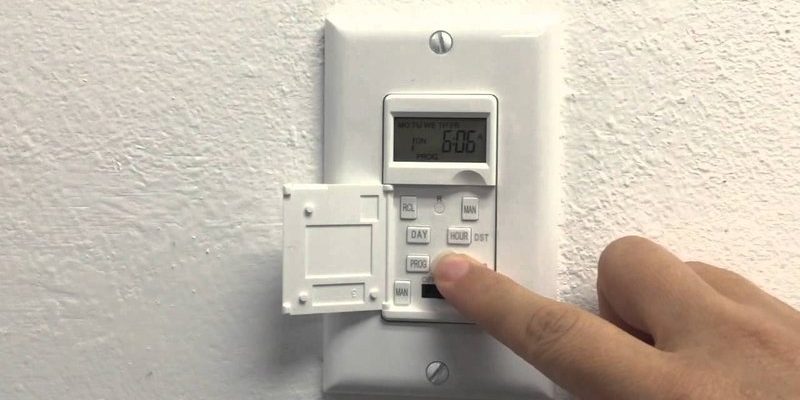
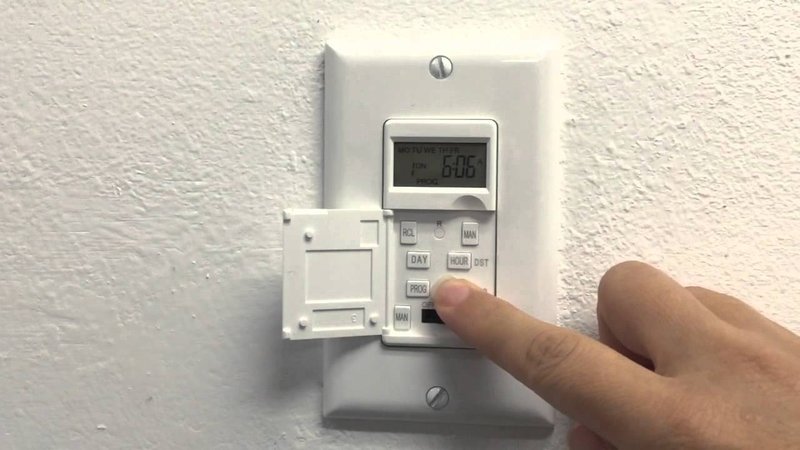
A timer wall button is more than just a fancy gadget. It is a small control panel that you can mount on the wall inside your garage. When you press it, it not only opens or closes your garage door but also allows you to set a timer for the door to remain open for a specified duration.
For example, let’s say you’re unpacking a ton of boxes after a move. Instead of repeatedly hitting your remote, you could hit that timer button, take your time, and let the door close automatically after a few minutes. This little piece of equipment can be a lifesaver, especially during busy days.
Some brands, like LiftMaster and Chamberlain, offer timer buttons that are designed for easy installation and smooth functionality. It’s all about convenience, and a timer wall button brings that convenience right to your garage.
Benefits of a Timer Wall Button
Now that we’ve got the basics down, let’s break down some of the key benefits of having a timer wall button:
- Convenience: Imagine not having to struggle with the remote while carrying your belongings.
- Safety: The door closes automatically, reducing the risk of forgetting to shut it.
- Energy Efficiency: By setting a timer, you can ensure that lights and sensors aren’t draining power unnecessarily.
- Customizable Delay: You can generally set various time delays based on your needs, which adds versatility.
Honestly, convenience is a big reason why more people opt for the timer wall button. You won’t be wrestling with the remote, and won’t have that nagging worry about whether you forgot to close the door.
How to Install a Timer Wall Button
Ready to dive into the installation process? Don’t worry—it’s usually a straightforward affair:
1. Gather Your Tools: You’ll typically need a screwdriver, wire cutter, and electrical tape.
2. Turn Off Power: Before you start, ensure safety! Switch off the power to the garage door opener at your circuit box.
3. Access the Opener: Remove the cover of your garage door opener to get to the wiring. Most units will have specific color-coded terminals.
4. Connect the Wires: Using your tools, connect the wires from the timer wall button to the corresponding terminals on the opener. Make sure to follow the instructions provided with your timer for clarity.
5. Testing: Once everything is connected, power everything back up and test the button.
If you follow these steps, you should be good to go! If you run into trouble, don’t hesitate to consult the user manual or consider a quick troubleshooting call to the manufacturer.
Common Issues and Troubleshooting
Like any device, timer wall buttons can face issues. Here are some common problems and how to tackle them:
- No Response: Check the wiring connections. Loose wires can lead to a lack of functionality.
- Timer Not Working: Ensure that the timer is set correctly. Some models require specific button sequences to operate.
- Remote Conflicts: Often, the remote and the timer button can interfere. Try resetting both and ensuring they’re properly paired.
You might be wondering how to reset. Typically, each model will have a reset button, or you may need to unplug the opener momentarily. Always refer to your user manual for the specifics.
Timer Wall Button vs. Remote Control: Which Is Better?
You may think the traditional remote control is just fine. But let’s break down the pros and cons.
Remote Control:
– Pros: Portable, typically comes standard with your garage door opener, and can work from a distance.
– Cons: Easily misplaced and requires button pressing each time.
Timer Wall Button:
– Pros: Less hassle juggling bags, can set delays, and often tied into home automation systems.
– Cons: Fixed location, so you need to go to the wall to operate it.
Aligning with your lifestyle can help in making this decision. If convenience and multitasking resonate with you, the timer wall button could edge out the remote in your garage door setup.
Alternatives to a Timer Wall Button
If you’re not sold on a timer wall button, consider these alternatives:
- Smart Garage Door Openers: Enjoy remote access via your smartphone, adding extra layers of control.
- Motion Sensors: These sensors can detect your presence and operate the door automatically.
- Universal Remote Controls: A versatile option that syncs with multiple devices.
While a timer wall button has its perks, other technologies are emerging that combine ease of use with modern conveniences. Depending on your needs, one of these might fit your style better.
In summary, a timer wall button can add a level of convenience to your garage door operation that a simple remote might not offer. By allowing you to set delays and freeing your hands for all those groceries or yard supplies, it truly stands out as a helpful addition. Plus, with safety and energy savings in mind, it’s hard to overlook this little gem.
If you often find yourself battling your remote or losing track of whether the door is closed, investing in a timer wall button might be just what you need. So, are you ready to upgrade your garage experience? It could be a small change that makes a big difference!