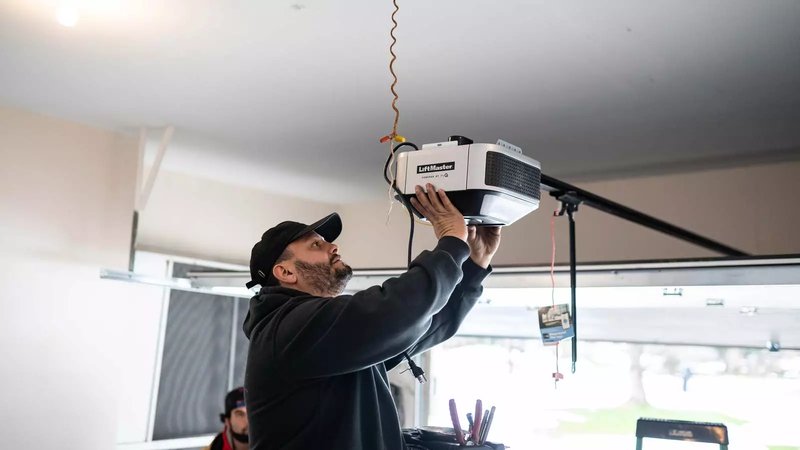
Think of your garage door opener like a beloved gadget. Sometimes, gadgets need a bit of tweaking or a reset, just like your phone. Whether you’re using a brand like Chamberlain or LiftMaster—or one of those universal remotes you’ve been contemplating—there’s a good chance you can get things rolling again without having to call in a pro. Let’s dive in and explore some common garage door opener problems and simple fixes you can do on your own.
1. Check the Basics: Power Supply Issues
Before diving into any troubleshooting techniques, let’s start with the basics. Sometimes, the problem isn’t as complicated as it seems. Is your garage door opener plugged in? Sounds simple, right? But sometimes it’s just that easy. Check the power outlet and ensure there’s no loose connection—this is where the troubleshooting journey starts.
Next, don’t forget about the circuit breaker. Sometimes, a sudden power surge can trip the breaker, making your garage door opener powerless. Flip the breaker switch off and back on if you find it’s tripped. If the remote is still unresponsive, it might be time to check the batteries. Just like a remote for your TV, if the batteries are low, your garage door opener may refuse to budge.
Lastly, inspect the power cord for any signs of damage. Any frays or cuts could be preventing your opener from getting the juice it needs to function. Fixing a frayed cord could solve your problem right then and there!
2. Inspecting Your Remote: Battery and Signal Checks
The remote control is your trusty sidekick for opening that garage door. But just like all great partnerships, it needs some maintenance. One of the simplest and most common fixes is to check the remote’s batteries. Open up the back and see if they need a replacement. Make sure to replace them with the right type—AAA, AA, or whatever your remote requires.
When you put in the new batteries, you might want to perform a quick signal test. Stand a few feet from the garage door while pointing the remote at the opener—if it works from a distance of about 20 feet, you’re good to go! If not, it could be a sign that the remote needs reprogramming or even a replacement.
Sometimes, dirt and grime can impact how well the buttons on your remote operate. Give the remote a light wipe down with a soft cloth. This not only makes it look better but can help improve your connection. After all, you wouldn’t use a dirty phone, right?
3. Reprogramming Your Garage Door Opener
If your remote seems to be functioning but the door still doesn’t respond, reprogramming might be necessary. Each brand might have a slightly different method for this, but it generally involves pressing a specific button on the opener and the remote. To keep you on track, here’s a quick breakdown:
– Locate the “Learn” button on the garage door opener unit.
– Press and release this button.
– Within thirty seconds, press and hold the button on your remote. The light on the opener will blink, indicating a successful sync.
Remember, if you have multiple remotes, you may need to repeat this process for each individual remote. This is a great way to ensure all your gadgets are talking smoothly.
4. Safety Sensors: Are They Blocked?
Garage door openers have built-in safety features, often in the form of photo-eye sensors. These sensors are located on either side of the garage door and ensure that nothing is in the way when the door closes. If something is obstructing these sensors—like dirt, spider webs, or even a misplaced bike—your door won’t budge.
To troubleshoot, check the sensor alignment. Make sure they’re directly facing one another. If they aren’t, adjust them until they are. Also, give them a good clean with a damp cloth to clear away any dirt. Doing this can often solve the issues that cause your door not to open or close.
Most garage door openers will have a blinking light if there’s a problem with the sensors. This simple visual clue can help you figure out where the issue lies, saving you time and frustration in your troubleshooting adventure.
5. Garage Door Tracks: Inspect for Blockages
Sometimes, the issue isn’t with the opener itself but rather with the door’s tracks. If there’s something caught in the tracks—like leaves, dirt, or other debris—it can cause your garage door to become stuck. Here’s how to check:
– Visual Inspection: Look along the tracks on both sides of the door. Are there any blockages? Sweep or vacuum any visible debris out of the way.
– Alignment Check: Sometimes, the tracks become misaligned due to wear and tear. Check if they’re still straight. If they’re bent, a little gentle persuasion with pliers might fix the alignment.
After cleaning and adjusting, give the door a try again. You’ll be amazed at how clean tracks can make all the difference!
6. Garage Door Opener Motor: Listen for Issues
If your door opener makes strange sounds when you press the remote, it could be a clue that something’s wrong. Is it grinding, clicking, or emitting any weird noises? These could be signals that the motor is struggling.
First, make sure it’s properly lubricated. A bit of garage door lubricant applied to the moving parts can often smooth out the operation. If it’s louder than usual, try to identify the source of the sound. Is it a loose part? Double-check the mounting brackets and hardware to ensure everything is tight and secure.
If you find that the motor itself is the problem, it might need replacement. While that requires calling a professional, identifying the issue early can save you time and money later.
7. Understanding the Wall Switch
The wall switch, often mounted near the garage entry, can also be a source of issues. If you can open the garage door using the remote but not the wall switch, here’s what to do:
– Check the wiring of the switch: Over time, wires can become loose or corroded. Make sure they’re connected tightly.
– Replace the switch: If you notice wear, replacing the wall switch is usually a simple DIY fix.
If you’re having trouble identifying the wiring, look up your model’s manual online. It can provide clear wiring diagrams and instructions.
8. When to Call for Help
While DIY troubleshooting can solve many common garage door issues, sometimes it’s just better to leave it to the experts. If you notice any alarming signs—like burning smells, regular belt slippage, or consistently inconsistent behavior—don’t hesitate to reach out for professional help.
It’s always better to be safe than sorry, especially when dealing with heavy machinery like garage doors. Proper maintenance, regular checks, and paying attention to any odd noises can help prevent major issues down the line.
In conclusion, being proactive with your garage door opener can save you both time and frustration. By taking the time to check for common issues and applying these straightforward DIY fixes, you keep your garage door opener humming along smoothly. You’ll feel more in control, knowing you can tackle this task without needing external help. So grab your tools, and let’s get to it!
