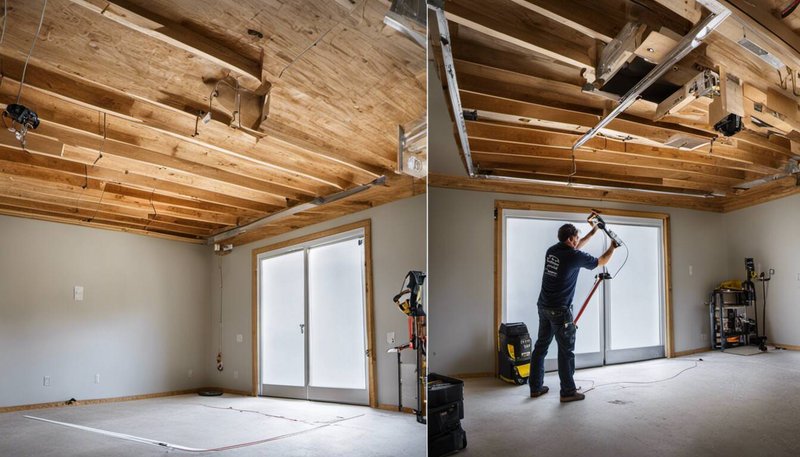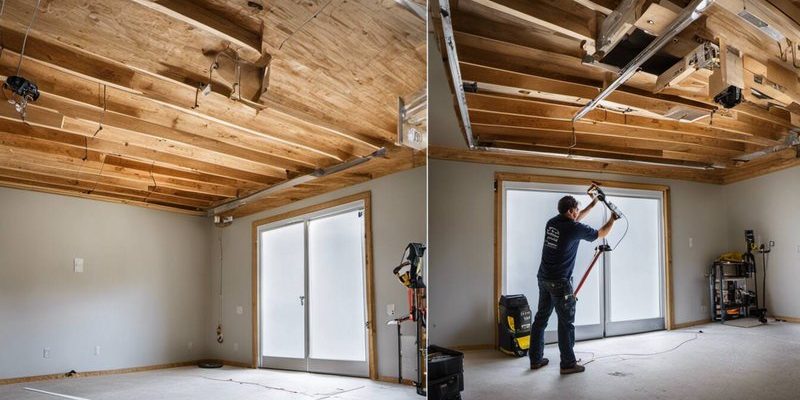
Before jumping into the installation, it’s essential to understand what a garage door opener does. In simple terms, it automates the opening and closing of your garage door, turning it from a manual task into something you can do at the push of a button. It also adds an extra layer of convenience and safety, especially on those rainy days when you’d rather not step outside. So grab your toolkit and let’s dive into how to install your garage door opener.
What You’ll Need for the Installation
Before starting any DIY project, having the right tools and materials is crucial. For installing a garage door opener, you’ll typically need the following:
- Garage Door Opener Kit: Ensure you have everything included, like the motor unit, rail, and remotes.
- Tools: A power drill, screwdriver, level, measuring tape, and ladder are essential.
- Safety Gear: Safety glasses and gloves will protect you while working.
- Assistance: Having a buddy can make the process smoother, especially for lifting heavy components.
Gathering these items will set you up for success, saving you time running back to the store if you forget something.
Choosing the Right Garage Door Opener
Not all garage door openers are created equal. Depending on your garage door’s weight, size, and style, you may need a specific type of opener. Here are the primary types:
- Chain Drive: Uses a metal chain to lift the door. It’s affordable and reliable but can be noisy.
- Belt Drive: Utilizes a rubber belt, offering a quieter operation—ideal for homes with living spaces near the garage.
- Screw Drive: Operates using a threaded steel rod, needing less maintenance but may struggle with heavy doors if not adjusted correctly.
When picking your opener, consider factors like noise level and maintenance. A quiet belt drive might be worth the extra investment if your garage is attached to the house.
Removing the Old Opener
If you’re replacing a garage door opener, you’ll need to uninstall the old one first. Here’s how to do it safely and efficiently:
1. Disconnect Power: Be sure to unplug the old opener to avoid any electrical accidents.
2. Remove the Door from the Opener: Lift the door manually to disconnect it from the opener. Most openers have a release mechanism that allows you to do this easily.
3. Unscrew the Opener: Use your power drill or screwdriver to remove the fasteners holding the opener to the ceiling and brackets.
4. Take Down the Components: Carefully remove the old unit and any rail or hardware related to it.
Taking these steps will clear the way for your new installation, ensuring a smooth transition.
Preparing for Installation
With the old opener out of the way, it’s time to prepare for the new one. Here’s what you should do:
– Read the Manual: The manufacturer will provide specific guidelines that can include important details about safety. Knowing these can prevent mistakes down the line.
– Check Garage Door Balance: Ensure that your garage door opens and closes smoothly without any binding. If it’s out of balance, fix this before installing the new opener.
– Measure the Height: Measure from the floor to the top of the door to determine how high you’ll mount the opener’s motor unit.
Preparing for the installation helps ensure everything runs smoothly, making it easier for you when you start.
Installing the Header Bracket
The header bracket serves as the attachment point for your new opener. Here’s how to install it correctly:
1. Locate the Center: Find the center of your garage door and mark it with a pencil.
2. Position the Bracket: Hold the header bracket on the wall above the closed door. It should be slightly above the door’s top edge.
3. Secure the Bracket: Use your power drill to attach it to the wall, making sure it’s level. This will provide a strong foundation for your opener.
Taking time to get this bracket positioned perfectly will save you from adjustments later and ensure everything functions correctly.
Attaching the Rail to the Motor Unit
Most garage door openers come with components that need to be assembled before installation. Here’s how you can attach the rail to the motor unit:
1. Align the Rails: Lay the rail on the ground and align it with the motor unit.
2. Secure the Connection: Use bolts or screws provided in your kit to secure the rail to the motor unit. Make sure it’s connected firmly without any loose parts that might cause rattling later.
3. Check Alignment: Before lifting, ensure that everything aligns correctly. The rail should be straight and level to work efficiently.
Properly securing the rail is crucial, as it is the structure that will guide your garage door’s movement.
Lifting the Opener into Place
Once you’ve attached the rail to the motor unit, it’s time to lift the whole opener into position. Here are the steps to do this safely:
1. Get Assistance: It’s a good idea to have a friend help you lift the opener into position to avoid dropping it or straining yourself.
2. Attach to the Header Bracket: Position the opener directly over the header bracket. Confirm that it’s centered.
3. Secure the Opener: Use the installation manual to find the proper screws and brackets to fasten the opener to the wall and the ceiling.
Following these steps will ensure your opener is secure and ready to operate without wobbling or shifting during use.
Connecting the Safety Sensors
Safety sensors are an important feature that prevents the door from closing on objects or people. Here’s how to set them up:
1. Position the Sensors: Install the sensors on either side of the garage door, approximately 6 inches above the ground.
2. Secure the Wiring: If your opener has a wire for the sensors, install these neatly along the wall, avoiding any pinch points.
3. Test the Alignment: Ensure that the sensors face each other directly. Most openers will have a light indicating if they’re properly aligned.
Getting your sensors right is crucial, as they enhance safety by preventing potential accidents.
Wiring and Power Connection
Wiring your garage door opener may sound daunting, but it typically involves straightforward connections. Here’s what to do:
1. Locate Power Source: Identify an appropriate electrical outlet near the opener. It’s often recommended to use a dedicated outlet to avoid overloading circuits.
2. Connect Wires: Follow the manual’s instructions to connect the power wires, usually color-coded for easy adjustment.
3. Plug In and Test: Once secure, plug in the opener and check for any warning lights that indicate issues.
This step ensures everything has the power it needs to operate smoothly.
Setting Up the Remote Control
Once you’ve installed the opener, you’ll want to set up remote controls for convenience. Here’s a simple process to follow:
1. Locate the Learn Button: This is usually found on the back of the motor unit. Pressing it will allow the opener to accept a new remote signal.
2. Activate the Remote: Press the button on your remote to “pair” it with the opener. You should hear a click or see a light flashing, indicating a successful sync.
3. Test Functionality: Try using the remote to open and close the door. If it doesn’t work, double-check the battery in the remote, and repeat the pairing steps.
Setting up your remote makes your new opener truly automated and more convenient for everyday use.
Final Adjustments and Testing
After installation, it’s time to make a few final adjustments and test everything before you declare victory:
1. Adjust the Opener Settings: Many units have adjustable settings for the door’s open and close limits. Refer to the manual to set these correctly.
2. Test Safety Features: Manually block the sensors to ensure the door reverses. This is critical for safety.
3. Observe Operation: Run the door several times using the remote and wall button to ensure it operates smoothly without any weird sounds or stops.
Performing these tests is crucial as it ensures your new garage door opener functions as intended, providing peace of mind.
Maintenance Tips for Longevity
You’ve successfully installed your garage door opener—now let’s keep it running smoothly. Simple maintenance can prolong the life of your opener and prevent common issues:
– Regular Lubrication: Apply lubricant to all moving parts, including the chain or belt, at least twice a year to prevent wear.
– Check the Sensors: Make sure nothing blocks the safety sensors, and clean them regularly to ensure they work effectively.
– Inspect the Door: Regularly check your garage door for signs of wear or damage. This can include checking hinges, springs, and cables.
Implementing these maintenance tips will ensure your investment pays off for years to come.
In conclusion, installing a garage door opener isn’t just a technical task; it’s an opportunity to enhance your home’s functionality. With the right tools, a clear plan, and diligent efforts, you’ve not only installed an essential device, but you’ve also gained confidence in your DIY capabilities. Remember to take your time and follow each step carefully. With your new opener against the blessings of technology, those rainy days will feel a little less dreary. Happy DIYing!
