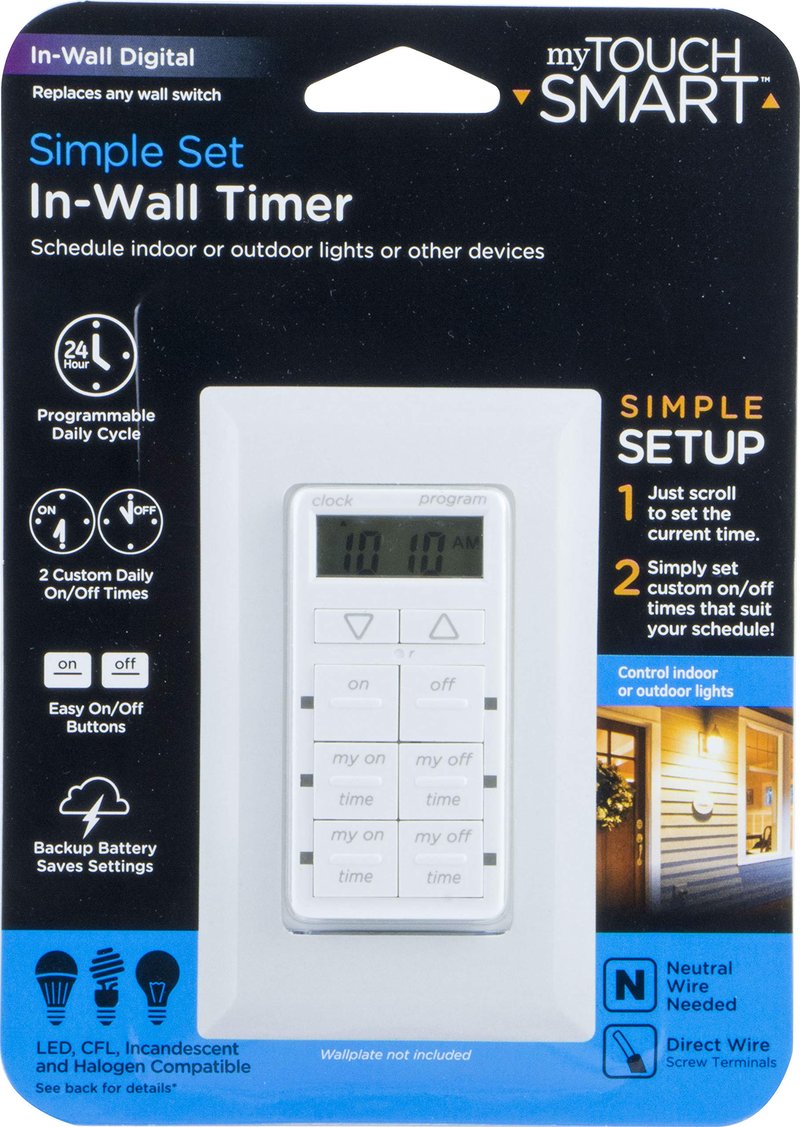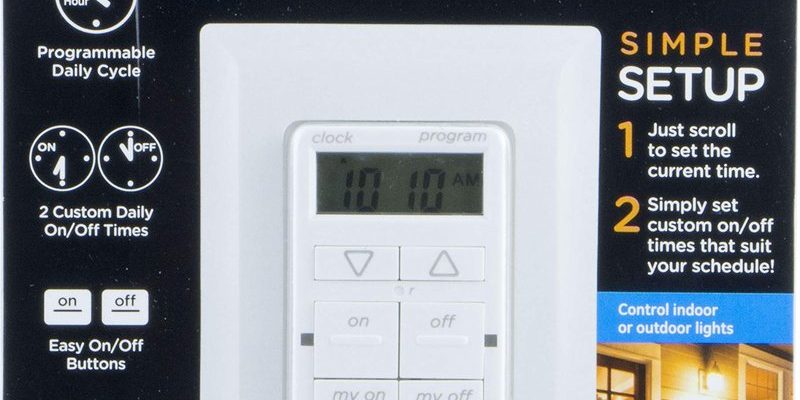
Think of a wall timer button like a smart buddy that knows your schedule. You can set it to open or close your garage door at specific times, freeing you up to focus on more important things—like figuring out what to have for dinner! This guide will make sure you grasp every detail about these handy devices, ensuring you can install, configure, and enjoy their many benefits.
What Are Wall Timer Buttons?
Wall timer buttons are specialized controls for garage door openers that allow you to program specific opening and closing times. Unlike typical push buttons, these units come with built-in timers, giving you the flexibility to automate your routine. Imagine you always leave for work at 7:30 AM; you could set this button to open your garage door at that exact time. This way, you can hop into your car and zoom off without delay.
Most wall timer buttons work with major brands of garage door openers, from LiftMaster to Genie. They sync with your existing system, making installation relatively straightforward. Plus, using a timer can enhance the security of your home, as it provides controlled access. If you’ve ever been frustrated by forgetting to close your garage door or juggling a bag of groceries while trying to hit the remote, a wall timer button is a game-changer.
How to Choose the Right Timer Wall Button
When selecting a wall timer button, compatibility is king. Most importantly, check whether the button is designed to work with your specific garage door opener brand. This information is usually available on the product packaging or manufacturer website.
Additionally, consider the features you need. Here are some things to look out for:
- Programmable options: Look for models that allow multiple programming schedules.
- Manual override: A button should still allow you to operate the garage door manually if needed.
- Ease of installation: Some models require tools for installation, while others are designed for quick setups.
You might be wondering how much these features cost. While basic models start at around $20, high-tech options with smart syncing capabilities can go up to $60 or more. Think about what fits your needs and budget best!
Installing Your Timer Wall Button
Installation of a wall timer button is typically straightforward, but remember to prioritize safety. Here’s a simple step-by-step guide to help you:
1. Turn off power to the garage door opener. This is crucial to prevent any electrical accidents during installation.
2. Remove the existing wall button (if there is one). Use a screwdriver to carefully take it off, exposing the wires securely.
3. Wrap your wall timer button’s wires carefully. Connect the wires from your wall timer button to the existing connectors. Usually, it’s color-coded, making it simpler.
4. Secure the timer to the wall. Follow the manufacturer’s instructions to ensure it’s mounted properly.
5. Turn the power back on. Test the timer to see if it works as planned.
If you encounter issues like the button turning on but not opening the door, you might need to reset the timer or check the connections. A little troubleshooting goes a long way!
Configuring the Timer: Getting Started
Once you’ve got your wall timer button installed, it’s time to configure it for your needs. Think of this step like programming your coffee maker—you want it to brew just in time for that morning rush!
Typically, you will want to:
1. Access the programming mode. Most wall timers have a specific sequence of button presses to enter this mode.
2. Set your desired times. You can usually program multiple schedules. For instance, set it to open at 7:30 AM and close at 5:30 PM on weekdays.
3. Test the settings. Run through the programmed times to ensure the button works as intended.
And remember, if your setup seems off, reviewing the manual or the manufacturer’s website can help clarify programming steps specific to your model.
Why Use a Timer Wall Button?
You might be wondering why you need a timer wall button in the first place. The benefits are plentiful! Here’s what makes these devices desirable:
– Convenience: No more hopping out of your car in the rain or snow to open the door. The timer does it for you.
– Security: Automating access can enhance home security. You can create a schedule that keeps your garage closed when you’re not around.
– Energy Efficiency: If you often forget to close your garage door, a timer can help minimize energy waste and increase safety.
By using a timer wall button, you can control your everyday routines better while enjoying comfort, security, and energy savings.
Troubleshooting Common Issues
Like any device, timer wall buttons can sometimes have hiccups. Here are a few problems and their solutions:
– If the door doesn’t respond: First things first, check if the button is wired correctly. If it is, try resetting the button and reconfiguring the settings.
– Lost programming settings: Sometimes, a power cut can cause settings to reset. Reprogramming it should resolve this issue.
– Unexpected opening/closing: This usually means there’s interference or a short in the wiring. Check for any loose connections or consult a professional.
Planning for these scenarios can make the experience smoother—and you’ll feel empowered knowing you can handle these common issues!
Keeping Your Timer in Top Shape
Regular maintenance is essential to keep your timer wall button functioning well. Here’s how to ensure it lasts:
– Check batteries: Some timer models may require batteries, so check them periodically. Replace them if you notice any declining performance.
– Inspect wiring: Look for any visible damage on the wires. If you notice fraying or other issues, it’s best to consult a professional.
– Stay updated on firmware: If your timer has smart functions, keeping the firmware current can unlock additional features or improvements.
With consistent care, your timer wall button can serve you well for years. It’s always worth it to invest time in keeping your devices running smoothly.
In conclusion, wall timer buttons can transform your garage experience by automating door functions and adding convenience to your daily life. With this guide, you’re all set to choose, install, and maintain your timer wall button, ensuring it meets your needs. Now you can step into a world where your garage door operates almost magically—leaving you to focus on what truly matters!
