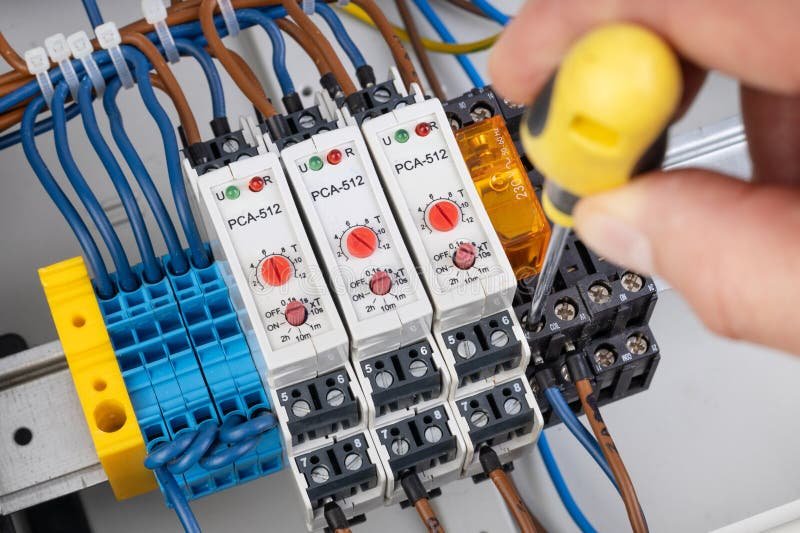
Understanding how to use these panels can feel a bit overwhelming at first. They come in various styles and functions, like those for garage door openers or smart lighting systems. But don’t worry! In this guide, we’ll break down everything you need to know about timer control panels, from what they are to how you can set them up like a pro. Ready? Let’s dive in!
What is a Timer Control Panel?
A timer control panel is essentially a smart device that lets you program and automate certain functions in your home. Picture it as a command center that controls when specific devices—like your lights or garage door opener—turn on or off. Most timer panels come with a user-friendly interface, making it easy even for non-techies to navigate through the settings.
These panels often serve different functions. Some are designed specifically for lights, while others may be tailored for appliances or garage doors. Regardless of the purpose, the goal remains the same: to take the manual effort out of daily tasks. You’ll find that modern timer control panels are pretty versatile and can be synced with a wider smart home system for added convenience.
Benefits of Using Timer Control Panels
The benefits of using timer control panels are plentiful. First off, they save you time and energy. Imagine returning home to find your living room perfectly lit because you set your timer the night before. Heck, you can even simulate your presence when you’re on vacation by programming lights to turn on and off at different times.
Additionally, these panels can help conserve energy. Automatically turning off devices when they’re not in use can lead to noticeable savings on your utility bill. More importantly, the peace of mind knowing that you won’t have to rush home to close the garage door is priceless.
Choosing the Right Timer Control Panel
Selecting a timer control panel can feel like a daunting task, but it doesn’t have to be. Start by considering what you want to automate. Is it primarily your garage door opener, or do you want to cover other devices as well? There are options tailored to different functions.
Look for features that fit your needs. Some timer panels allow for weekly programs, while others can offer more flexibility with daily settings. If you need a straightforward solution, a basic timer might suffice. However, for more advanced setups, like pairing with other smart devices via apps, you’ll want a panel that can connect to Wi-Fi or Bluetooth.
Another key aspect is compatibility. If your home already has a smart home system—like those from popular brands such as Google Home or Amazon Alexa—opt for a timer panel that syncs easily with it. This ensures you’re not wrestling with multiple apps or remote controls.
How to Set Up Your Timer Control Panel
Setting up a timer control panel might sound tricky, but let me explain how straightforward it can be. Most products come with a manual, but here’s a general step-by-step guide:
- Step 1: Unbox and place the control panel where it’s easily accessible.
- Step 2: Plug it in or connect it to power if needed. If it’s wireless, insert the batteries.
- Step 3: Follow the instructions to pair it with your existing devices; this often involves pressing a sync or pair button.
- Step 4: Program the timer functions by selecting the days and times you want to activate devices.
- Step 5: Test the settings to ensure everything works correctly!
If you run into trouble, don’t hesitate to consult the manual or the product website. Many brands offer troubleshooting resources if you need additional help.
Troubleshooting Timer Control Panels
Even the best-laid plans can go awry, and timer control panels are no exception. You might encounter issues such as the panel not responding or your connected devices not turning on as scheduled. Here’s what you can do.
First, check your connections. Ensure that the device you’re trying to control is correctly paired with the timer panel. If you have a Wi-Fi-enabled model, make sure it’s connected to a stable network. A weak connection could be the culprit.
You should also consider resetting the panel. Most timer control panels feature a reset button, often labeled in the manual. This can clear any bugs and allow you to set it up anew. Additionally, replacing the batteries in the remote or control panel is a quick fix if it’s not responding at all.
Maintaining Your Timer Control Panel
Once your timer control panel is up and running, keeping it in good shape is essential. While these devices are designed to be durable, a little maintenance goes a long way.
Make it a habit to check the battery levels periodically if you’re using a battery-operated panel. Low batteries can affect performance, so replace them as needed. Regularly inspect the settings too; sometimes, things change, and you might want to adjust your timers based on your current schedule.
Additionally, keep the panel clean. Dust can accumulate around the buttons and screen, making it difficult to read. A quick wipe down with a soft cloth should do the trick.
Final Thoughts on Timer Control Panels
Timer control panels are more than just an extra gadget in your home; they can truly enhance your everyday life. Whether it’s making sure your garage door is closed or ensuring the lights are on when you come home from work, they bring a level of convenience that can’t be beaten.
By now, you should have a solid understanding of how these panels work, how to set them up, and how to troubleshoot common issues. So grab your cup of coffee and start planning how you can implement a timer control panel in your household routines. Happy automating!
