If you’ve ever wondered how to customize your garage door remote beyond the basics, you’re in the right place. Whether you’re dealing with syncing issues or you want to tweak some settings to match your lifestyle, understanding these features can make a world of difference. Plus, knowing how to reset or pair your remote can save you a lot of headache. So, grab a cup of coffee and let’s get into the nitty-gritty of advanced settings for overhead door remotes.
Understanding the Basics of Garage Door Remotes
To appreciate the advanced settings, we first need to grasp the basics of how overhead door remotes work. Most remotes use a simple radio signal to communicate with the opener. When you press a button, it sends a coded signal to the door opener that tells it to perform actions like opening or closing the door.
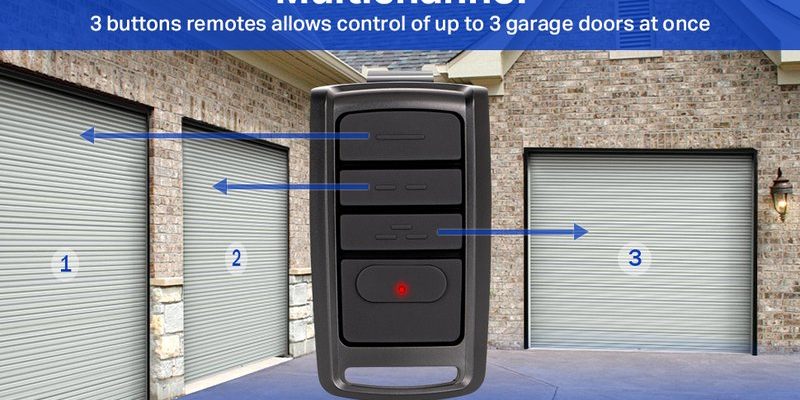
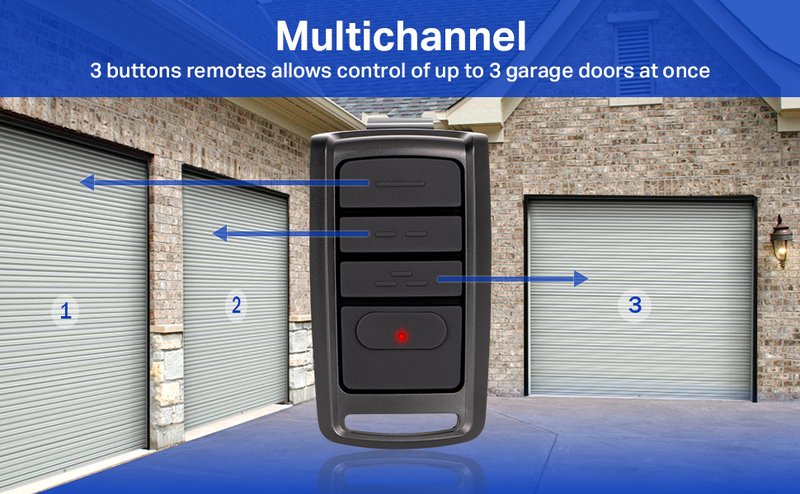
The standard features usually include buttons for opening or closing the door and a light button for illuminating the garage. However, it’s the *advanced settings* that really unlock the full potential of your remote. These settings can vary based on the brand and model but typically involve options for *safety settings*, *limited access codes*, and even *directional adjustments*.
Here’s the thing: before delving into more intricate features, it’s crucial to familiarize yourself with the basic buttons and their functions. If you don’t understand the standard operation, exploring advanced settings might feel overwhelming. So, take the time to master the basics first!
Pairing Your Garage Door Remote
Have you ever had trouble getting your new overhead door remote to work with your garage door opener? Don’t worry; it happens more often than you think! Pairing, or syncing, is essential for your remote to communicate effectively with the door opener.
Here are the general steps to *pair* your remote:
- Locate the “learn” button on your garage door opener; it’s often found on the back or side.
- Press this button until the indicator light turns on, which shows that the opener is ready to receive a signal.
- Within 30 seconds, press and hold the button on your new remote you want to use.
- Wait for the opener to click or the light to blink, indicating that the pairing was successful.
Honestly, it feels a bit like magic when you get it right! If it doesn’t work on the first try, just repeat the steps. You might be wondering why it’s essential to pair your remote correctly. If it’s not synced, you won’t get that satisfying “whoosh” as your garage door opens, and that can lead to frustration, especially when you’re in a hurry.
Setting Temporary Access Codes
What if you have guests coming over, and you want to give them access to your garage without giving them your permanent door code? That’s where temporary access codes shine. Many advanced remotes allow you to set temporary access or codes that expire after a certain period.
To set a temporary code:
- Access your garage door opener settings via the remote.
- Navigate to the access code feature; you may need to consult your manual for specific instructions.
- Input the desired code and set the expiration time.
This feature ensures your friends can get in while keeping your garage secure. It’s perfect for when you’re on vacation or just need someone to pop in without jeopardizing your home security. Besides, it’s super convenient—no need to hand out spare keys!
Adjusting the Auto-Close Timer
Have you ever left your garage door open, only to remember it hours later? If so, adjusting your remote’s *auto-close timer* is a game-changer. Most overhead door remotes allow you to set how long the door remains open before automatically closing—anywhere from just a few seconds to a couple of minutes.
Here’s how to adjust it:
- Find the auto-close setting in your remote’s menu.
- Choose the time duration you’d like the door to remain open.
- Save the settings and test it out to ensure it works as intended.
Setting this feature is not just about convenience; it’s about safety too. Think about emergencies or simply forgetting to shut the door—it can prevent unwanted entry and accidents. So often, we focus on things like locks, but this can be just as vital!
Resetting Your Garage Door Remote
Sometimes, resetting your remote might be necessary—maybe it’s malfunctioning, or you simply want to start fresh. Many people panic at the thought of a reset, thinking it’s complicated. Fortunately, resetting your remote is usually a straightforward process.
Here’s a general guide:
- Locate the reset button or switch on your remote; it’s often labeled and can be accessed via a small tool or paperclip.
- Hold it down for approximately 10 seconds or until the indicator light flashes.
- Once reset, you’ll need to re-pair your remote with the opener using the original pairing steps.
It’s vital to remember that resetting will erase any previous settings, including access codes or paired devices. So, take a mental note of what you had configured before hitting that reset button!
Troubleshooting Common Issues
Even with all these features at your fingertips, you might still run into some hiccups. When your overhead door remote refuses to work, it can feel frustrating. But don’t worry; a bit of troubleshooting can often solve the problem.
First, check the battery. It’s the most common culprit when remotes stop working. Replace it if it’s low. If that doesn’t help, look for any obstacles blocking the signal between your remote and the opener. Sometimes, positioning can affect performance, especially with older models.
Lastly, consult your owner’s manual. It often has a troubleshooting section for specific issues that might arise. If problems persist, consider reaching out to customer support for your specific brand. It can be a lot easier to fix than you think!
Navigating the advanced settings for your overhead door remote can feel daunting, but with a little patience, you’ll discover a world of customization waiting for you. From pairing your remote with your opener to tweaking the auto-close timer, these features not only add convenience but also make using your garage door safer and smarter. Whether you’re adjusting temporary access codes for guests or troubleshooting common problems, these steps can enhance your overall experience.
Remember, mastering your remote can turn an ordinary garage door into a responsive feature of your home. So, don’t hesitate to dive into those advanced settings—you’re equipped to unlock every benefit your overhead door remote has to offer!
Originally posted 2025-02-04 09:47:53.