Think of your LiftMaster opener like a car. You wouldn’t just drive off without knowing how to adjust the mirrors or set the seat, right? In the same way, understanding those advanced settings lets you take full control of your unit, ensuring smooth operation and peace of mind. Here, we’ll dig into these settings in a friendly, approachable way, as if we’re chatting over coffee.
Understanding LiftMaster Advanced Settings
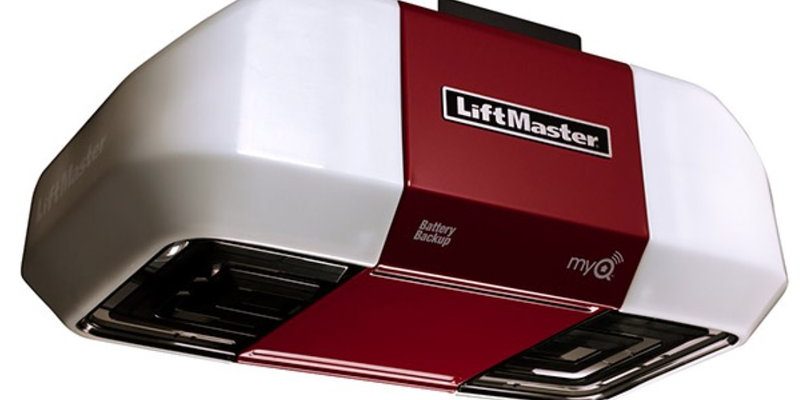
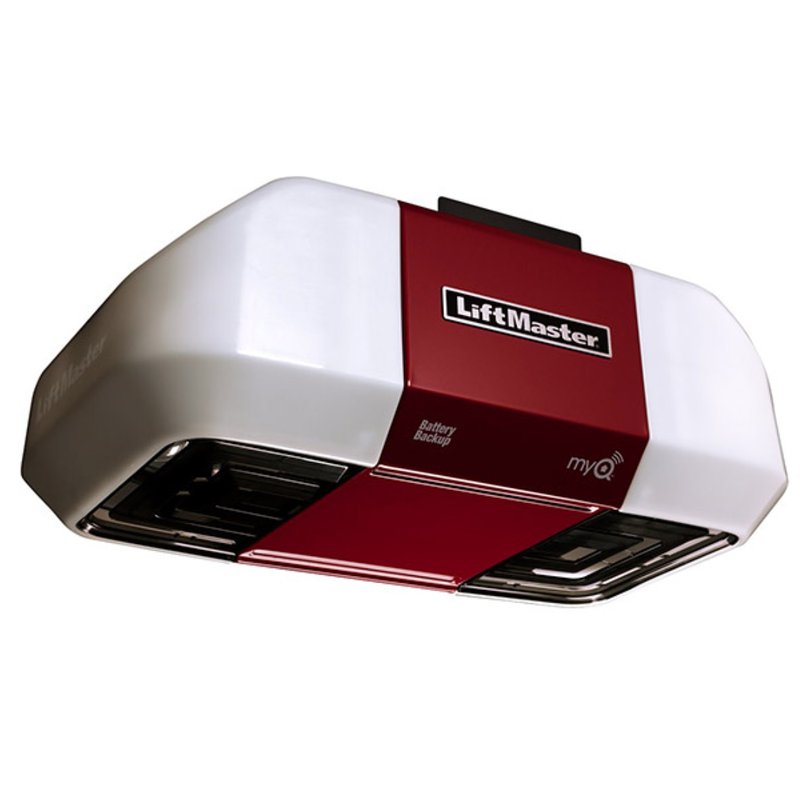
LiftMaster motor units come equipped with a variety of advanced settings designed to enhance their performance. These features can easily seem daunting if you’re not familiar with them, but understanding their purpose can really empower you. These settings may include things like force adjustments, travel limit settings, and security features.
Let’s break it down: Force adjustments determine how much power the garage door uses when opening or closing. If set too low, the door may struggle to move, but if set too high, it could create safety hazards. Travel limits tell the door precisely where to stop when open or closed, ensuring it doesn’t damage itself or anything nearby. Knowing how to manage these settings can prevent unwanted jams and protect your investment.
Adjusting Force Settings
The force settings on your LiftMaster are crucial for operating your garage door smoothly and safely. The adjustment usually involves two separate dials: one for opening and another for closing. Here’s how to adjust them:
1. Locate the adjustment dials on the motor unit, usually found on the back or side.
2. Use a screwdriver to turn the dial for the opening force—start by turning it clockwise to increase power if the door hesitates or won’t move.
3. Repeat the process for the closing force.
You might be wondering, “How do I know if I’ve set it correctly?” A good rule of thumb is to monitor the door’s operation after each adjustment. It should move freely without excessive straining or stalling. Remember, it’s all about finding the sweet spot!
Setting Travel Limits
Next up, let’s talk about travel limits. This setting controls how far your door travels when it opens and closes. If set incorrectly, your door might not open enough for you to fit your car inside or could damage the opener by trying to push against a closed position.
Setting travel limits can be done in just a few simple steps:
1. With the door closed, locate the travel limit screws on the motor unit.
2. To set how high the door opens, adjust the up limit screw. Turn it until the door raises to your desired height.
3. To set how low the door closes, adjust the down limit screw until it rests firmly on the ground.
Here’s the key: after making adjustments, always test the door. If it stops unexpectedly or reverses, go back and make small tweaks. This isn’t a one-and-done deal; fine-tuning takes a little patience.
Enhancing Security Features
Your LiftMaster opener isn’t just about convenience; it’s also about security. Within the advanced settings, you’ll find features like rolling codes and timer-to-close functions. These features help prevent unauthorized access and ensure your door doesn’t stay open longer than necessary.
Rolling codes change each time you use your remote, making it much harder for someone to intercept your signal. If you’ve ever thought, “What if someone copies my remote frequency?” this feature puts those worries to bed.
Then there’s the timer-to-close function. You can set it to automatically close the door after a specified time, like 1, 5, or even 10 minutes. It’s a fantastic safety feature if you often forget to close your garage door after driving in.
Troubleshooting Common Issues
Sometimes, even with advanced settings, things can go wrong. Let’s talk about common issues and easy fixes.
1. Door doesn’t open or close completely: This might indicate incorrect travel limits or force settings. Revisit those dials and make small adjustments as necessary.
2. Remote not syncing: If your remote won’t pair with the unit, try resetting the remote. Consult your manual for specific syncing instructions; most often, it involves pressing a button on the motor unit.
3. Unusual noise: If your garage door sounds like a freight train, it could signify a need for lubrication or loose hardware. Regular maintenance can prevent bigger problems down the line.
Honestly, having these troubleshooting tips can save you a lot of time and grief. If you’re unsure, always consult the owner’s manual or reach out to a professional.
Maintaining Your LiftMaster Unit
Maintenance is the unsung hero of performance. Keeping your LiftMaster motor unit in tip-top shape ensures those advanced settings function smoothly. Here’s how you can maintain it:
– Regular lubrication: Use garage door lubricant on the moving parts to minimize wear and tear.
– Check for wear: Inspect the tracks and rollers for debris or damage. Removing any buildup can prolong the life of your unit.
– Test safety features regularly: Make it a habit to test the safety reverse feature and the sensors. Place a small object where the door would close and ensure it reverses appropriately.
These little maintenance tasks can save you on bigger repairs later. Plus, a well-maintained opener runs more efficiently.
Mastering the advanced settings on your LiftMaster motor units makes a significant difference in how your garage operates. By taking the time to adjust force settings, manage travel limits, enhance security features, and troubleshoot minor issues, you’ll create a safer and more efficient environment for your garage space. Over time, regular maintenance will keep everything running smoothly, sparing you those unexpected headaches.
Remember, your garage door isn’t just a barrier; it’s a gateway to convenience and security. So, get in there, roll up your sleeves, and make those settings work for you!