The truth is, many users aren’t even aware of the advanced features their Craftsman remotes offer. Maybe you’ve stumbled upon this article wondering if it’s time to unlock the full potential of your remote. Or, perhaps you’ve experienced issues like syncing problems or looking for a way to reset it after replacing the batteries. Let’s dive in and explore those advanced settings and troubleshooting tips that can help you maximize the utility of your Craftsman remote.
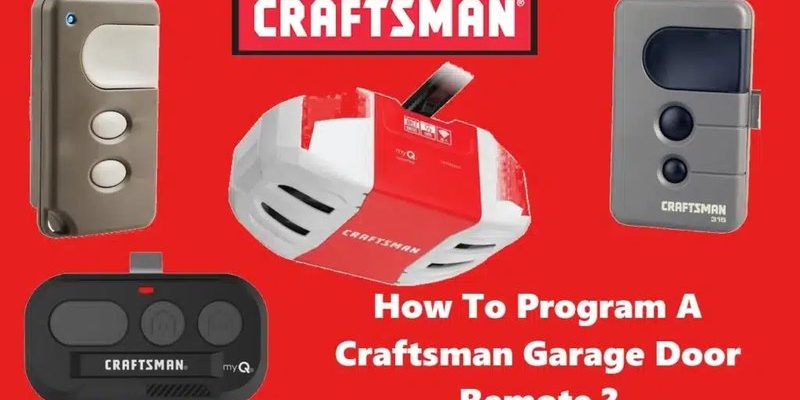
Understanding Your Craftsman Remote
To appreciate the advanced settings of your Craftsman remote, it’s essential to understand the basic components. Think of your remote as a small computer, packed with circuitry that communicates with your garage door opener. When you press a button, it sends a code to the opener, much like sending a text message. This communication requires the system to be synced and set up correctly, so you don’t accidentally trigger your neighbor’s door.
Most Craftsman remotes feature several buttons corresponding to different functions. For instance, you might have a standard open/close button, a light button, and possibly a keypad for entering a code. Each button can be configured for various uses. Understanding these basic features gives you a solid foundation for accessing the remote’s advanced settings.
Pairing Your Remote with the Garage Door Opener
One of the first steps to unlocking your Craftsman remote’s advanced features is to pair it correctly with your garage door opener. If you’ve recently installed a new opener or replaced the remote, this process is crucial.
Here’s how to pair your Craftsman remote:
- Locate the Learn Button: This button is typically found on the back or side of the garage door opener unit. It’s often labeled with “Learn” or “Program.”
- Press the Learn Button: Once you press this button, you’ll have a short window to send a signal from your remote.
- Press a Button on the Remote: Choose one of the buttons and press it. If successful, the garage door opener will produce a blinking light or a sound.
*You might be wondering why this is necessary*. When paired correctly, your remote can effectively communicate with the opener, ensuring smooth functionality. Without this step, your remote might not work at all!
Advanced Sync Options
Once your remote is paired, you may encounter situations where you want to sync multiple remotes or keypads. This is especially useful for larger households or multi-car families. Craftsman remotes typically allow for syncing up to a specific number of devices.
Here’s how to sync additional remotes:
- Repeat the Pairing Process: Follow the same steps as before; press the Learn button on the garage door opener.
- Use Different Buttons: When programming different remotes, ensure you press different buttons. This way, you’re not overwriting previous settings.
- Confirm Synchronization: After pairing, each remote should open the door without any issues. Test them out!
With these options, you can easily manage access for family members or friends. It’s almost like granting them a VIP pass to your personal garage space!
Resetting Your Craftsman Remote
Maybe your remote isn’t responding the way it should, or perhaps it’s been acting a bit quirky. This might be an indication that it’s time for a reset. Think of resetting like rebooting your computer—it clears temporary glitches and restores functionality.
To reset your Craftsman remote, follow these steps:
- Remove the Battery: Open the battery compartment and take out the battery. Wait for about 10 seconds.
- Press Button for Reset: While the battery is out, press any button on the remote a couple of times to discharge any residual power.
- Replace the Battery: Put the battery back in, ensuring you’re installing it in the correct direction.
Now that you’ve reset the remote, you’ll need to re-pair it with your garage door opener to ensure everything works smoothly again. Simple, right?
Adjusting the Range and Responsiveness
Some Craftsman remotes come equipped with the ability to adjust the range or sensitivity of the buttons. If you’ve noticed your remote has become less responsive over time, this feature might be just what you need. Adjustability can be a game changer!
To tweak the range and responsiveness:
- Access the Opener’s Settings: Depending on your model, turn on the opener and locate the settings menu. You might need the user manual for specific navigation details.
- Change Range Settings: Use the provided buttons to increase or decrease the signal range based on your needs.
- Test After Adjusting: After changing the settings, take your remote out for a spin! Press the button from various distances to see if the responsiveness improves.
In situations where your garage is far from where you usually park, adjusting the remote’s range can save you time and hassle. Isn’t it amazing how small tweaks can lead to a much-improved experience?
Batteries and Maintenance
A common issue many remote users face is the battery dying unexpectedly. Think of your remote as a tiny gadget that requires regular maintenance to keep operating optimally. Replacing the battery occasionally can significantly prevent malfunctions or connectivity problems.
Here are a few tips for battery care:
- Use High-Quality Batteries: Choosing name-brand batteries can make a difference in longevity and performance compared to generic options.
- Replace Annually: If you notice decreased performance, even if the battery isn’t dead, it might be time for a change.
- Check for Corrosion: Occasionally inspect the battery compartment for any signs of corrosion, which could damage your remote significantly.
By keeping your remote in top shape, you’ll avoid those frustrating moments when you’re stuck waiting for the door to respond. Consistency in maintenance pays off!
Troubleshooting Common Remote Issues
Even with the best of us, sometimes things just don’t work as they should. You might find the remote getting unresponsive or the opener not responding when you press the button. Here’s a simple checklist to help you troubleshoot:
- Check the Batteries: Start with this step; weak batteries are often the culprit.
- Re-sync the Remote: If the remote has lost communication with the opener, re-pair it to restore functionality.
- Inspect for Damage: Look for any wear and tear. Physical damage can hinder performance.
If you’ve tried all these troubleshooting steps and your remote still isn’t working, it might be time to contact Craftsman’s customer service for assistance. Sometimes, a little help goes a long way.
In summary, understanding the advanced settings and features of your Craftsman remote can greatly enhance your overall experience. From pairing and syncing to troubleshooting and maintenance, these steps can help ensure your remote becomes a reliable part of your garage routine. So, the next time you press that button to open your garage door, know that you’ve unlocked a world of functionality at your fingertips!